IP whitelisting with your VPN address is one of the most important solutions for critical admin pages/panels, internal, testing or development applications. We do not want our admin panels open to the world. We do not want our testing platform publicly accessible. These scenarios can increase attack surfaces for your cloud environment. Attackers love admin pages and default passwords, brute forcing text boxes, and founding exploits in them. So, if you have built applications, you must think “How should access my admin panels privately?”, “How can I protect my testing environments from attackers?”
There are lots of new solutions such as AWS Verified Access for whitelisting you with some different cases and scenarios. But, as you know, IP whitelisting is a traditional solution, and many customers and developers still use it. We don’t leave it suddenly. That’s why I want to explain IP Whitelisting using AWS WAF with an example scenario.
Our scenario:
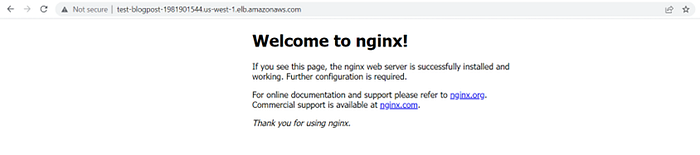
I have an application with an admin panel. This is my main page:
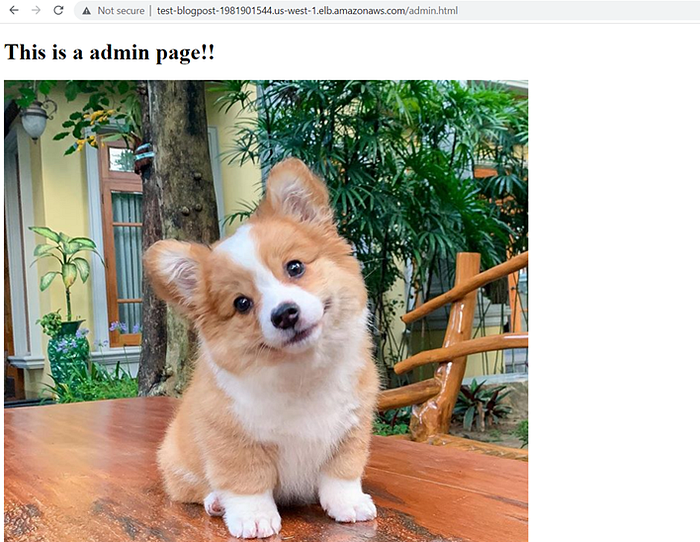
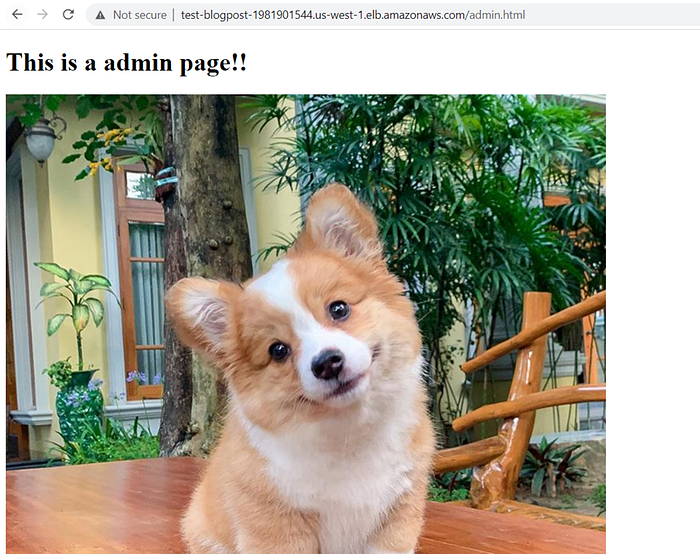
And this is my admin panel (with /admin URL):
We want to IP whitelist our /admin path with our VPN address. Let’s start together!
💡 Speed up your blog creation with DifferAI.
Available for free exclusively on the free and open blogging platform, Differ.

Note: I don’t use any domain configuration or SSL settings for this demo. If you’re following this guide to do all security configurations, please ensure that you’re attaching a certificate to your custom domain with AWS ACM and use AWS WAF rules wherever possible.
Note: Please ensure that the correct AWS region is chosen for your AWS WAF settings.
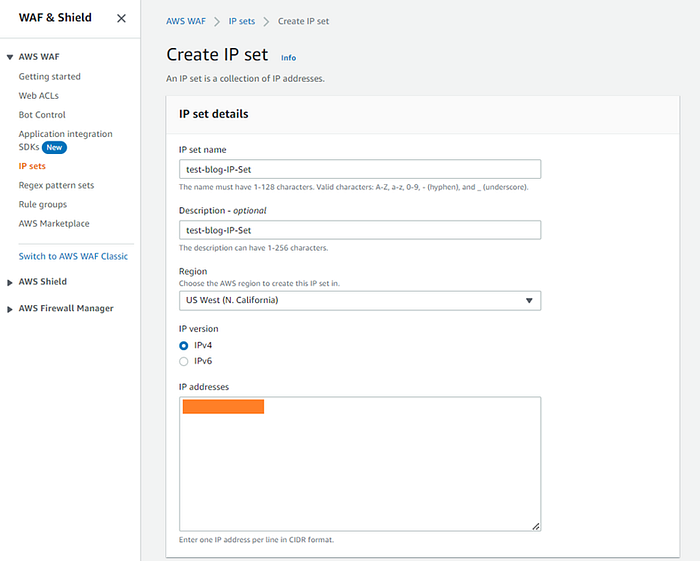
Step 1: Create an IP set for your Corporate VPN Address
Select Create IP set:

Add your IP addresses for whitelisting with the correct format.
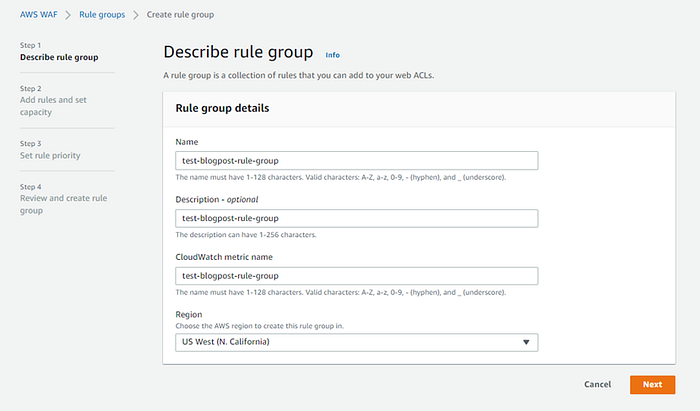
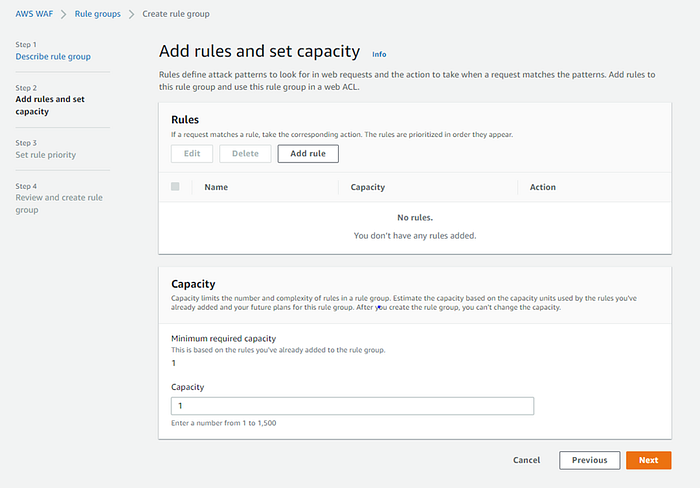
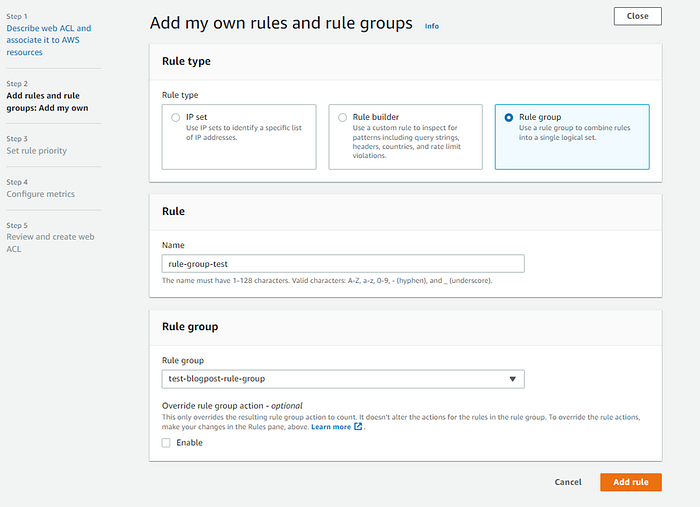
Step 2: Create a Rule Group
Add your rule group details:
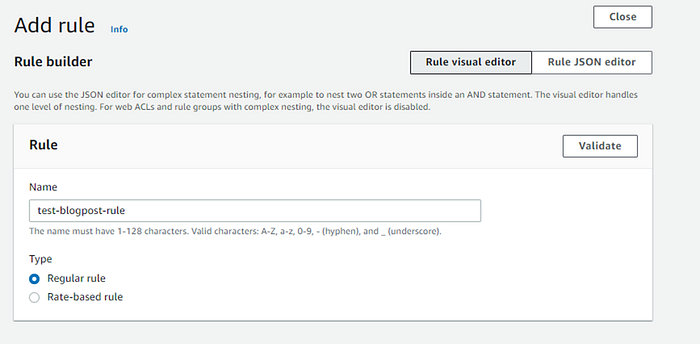
Add your rules:
For our rule, we need to select the regular rule type. We do not want any rating control for this case.
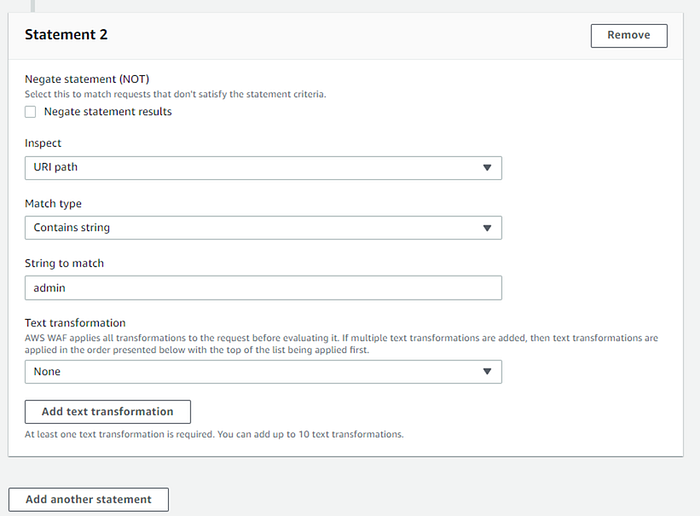
This step is important. We have two conditions here: IP and path for whitelisting. We need to tell the AWS WAF: If the “/admin.html” URL path request is not coming from our VPN, you can block the request.
For the IP side, we need to select the IP set which we’ve created in Step 1.

For the path side, we can add the “Contains string” match type for admin. You need to think about all possible admin panel paths for your application.
If the request matches the statements above, block this.

If you have another rule, you need to set your rule priority.

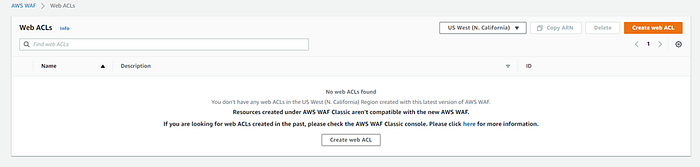
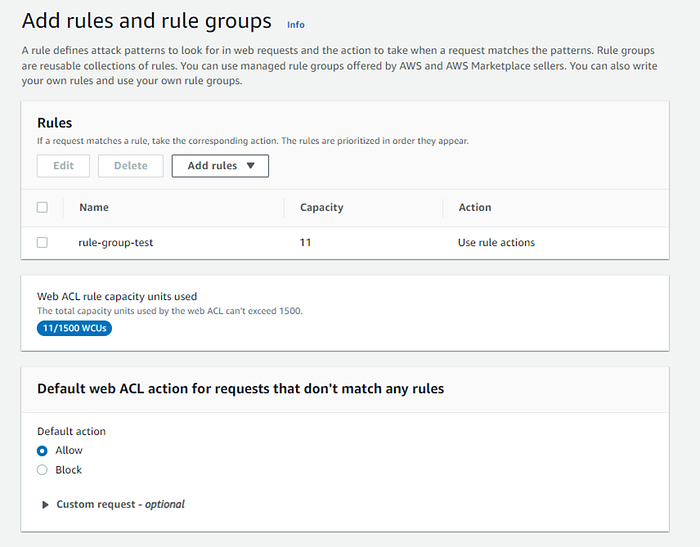
Step 3: Create a Web ACL
For the last step, we need to create a Web ACL.
We need to associate with your AWS resources. For this scenario, we need to associate AWS ALB.

We need to add our rule group to the Web ACL.
If the requests do not match any rules, the default action should be allowed.
Step 4: Testing
With VPN, we need to see the admin panel:
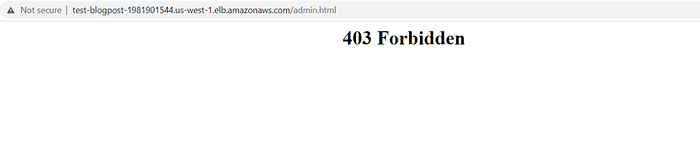
Without VPN, we should not see the admin panel:
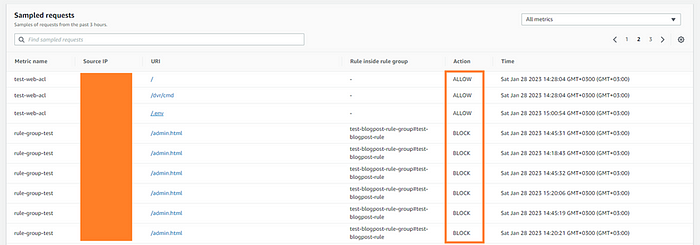
Also, you can review your sampled requests in the AWS WAF Web ACL console.
Thanks for reading! Stay safe in the cloud! 🤞 ⛅️
Comments
Loading comments…