This article will give you a basic tutorial for creating a website login page with HTML, CSS, JavaScript (Bootstrap 5) and an external API. The login will perform by the use of an external API from MeCallAPI.com (my website :D). If you want to try a mockup API for CRUD and authentication operations, feel free to check on the website.
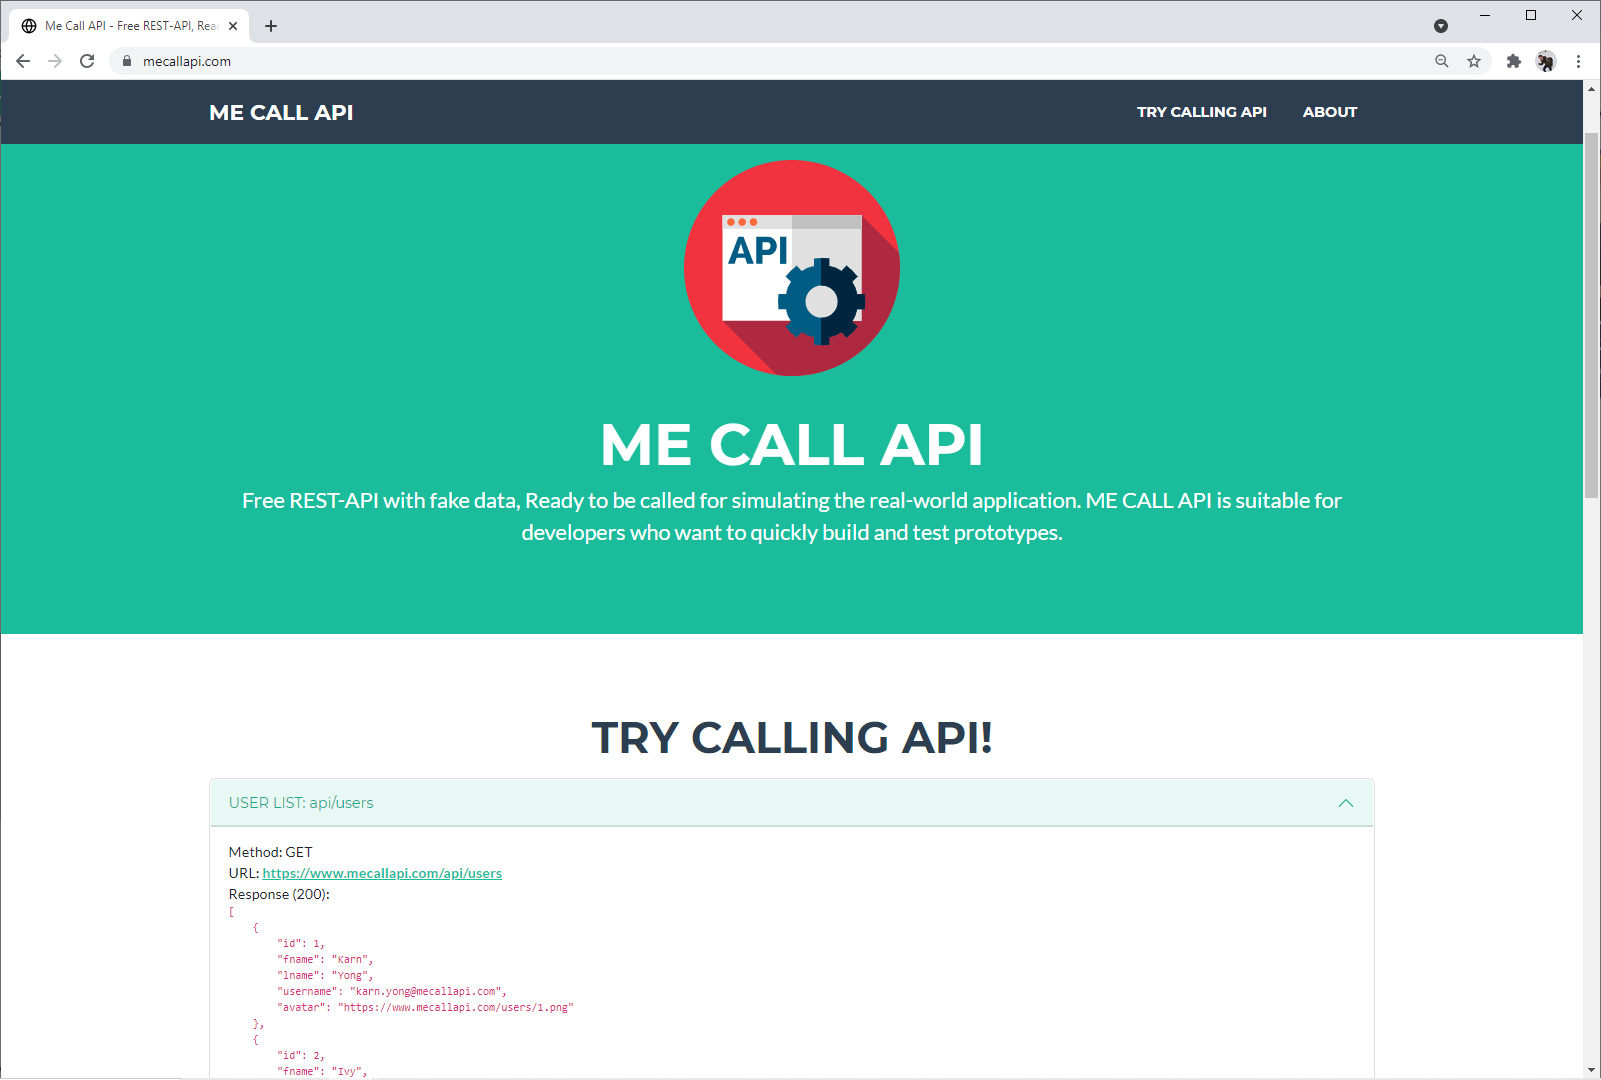
You can also check an example of the login page similar to what we want to achieve in this article here: https://www.mecallapi.com/login/

_https://www.mecallapi.com/login/
Software Installation
It's only required a Text Editor/IDE (VS Code, Notepad, etc.) and a web browser (Chrome, Firefox, Edge, etc.) to do this tutorial!
Let's Code! (HTML and CSS)
HTML documents are designed to be displayed in a web browser. There are more than a hundred of HTML elements you can choose to create an HTML file. Let's start from creating index.html. I will explain a bit about what is included:
-
Bootstrap 5, a framework to create a responsive web pages (line 9 and 36).
-
login.css, an extra CSS (Cascading Style Sheets) to style your login.html in addition from the Bootstrap 5 (line 12).
-
A login form with the inputs for username and password and a button (line 15–32).
-
Sweetalert, a JavaScript library for easily creating nice popups (line 35).
-
login.js, JavaScript file using in login.html to call a login API (line 34).
<!doctype html>
<html lang="en">
  <head>
    <!-- Required meta tags -->
    <meta charset="utf-8">
    <meta name="viewport" content="width=device-width, initial-scale=1">

    <!-- Bootstrap CSS -->
    <link href="https://cdn.jsdelivr.net/npm/bootstrap@5.0.1/dist/css/bootstrap.min.css" rel="stylesheet" integrity="sha384-+0n0xVW2eSR5OomGNYDnhzAbDsOXxcvSN1TPprVMTNDbiYZCxYbOOl7+AMvyTG2x" crossorigin="anonymous">

    <title>My App</title>
    <link href="login.css" rel="stylesheet">
  </head>
  <body class="text-center">
    <main class="form-signin">
      <form onsubmit="return login()">
        <img class="mb-4" src="./logo.png" alt="" height="300">
        <h1 class="h3 mb-3 fw-normal"><b>My App</b> - Login</h1>

        <div class="form-floating">
          <input type="email" class="form-control" id="username" placeholder="name@example.com">
          <label for="floatingInput">Email address</label>
        </div>
        <div class="form-floating">
          <input type="password" class="form-control" id="password" placeholder="Password">
          <label for="floatingPassword">Password</label>
        </div>

        <button class="w-100 btn btn-lg btn-primary mt-3" type="submit">Login</button>
        <p class="mt-5 mb-3 text-muted"></p><a href='https://www.freepik.com/free-photos-vectors/technology'>Technology vector created by freepik - www.freepik.com</a></p>
      </form>
    </main>

    <script src="login.js"></script>
    <script src="https://cdn.jsdelivr.net/npm/sweetalert2@11.0.16/dist/sweetalert2.all.min.js"></script>
    <script src="https://cdn.jsdelivr.net/npm/bootstrap@5.0.1/dist/js/bootstrap.bundle.min.js" integrity="sha384-gtEjrD/SeCtmISkJkNUaaKMoLD0//ElJ19smozuHV6z3Iehds+3Ulb9Bn9Plx0x4" crossorigin="anonymous"></script>
  </body>
</html>
Create login.css
html,
body {
  height: 100%;
}

body {
  padding-top: 5rem;
  background-color: #f5f5f5;
}

.form-signin {
  max-width: 25rem;
  margin: auto;
}
Open login.html on a web browser to see the result:
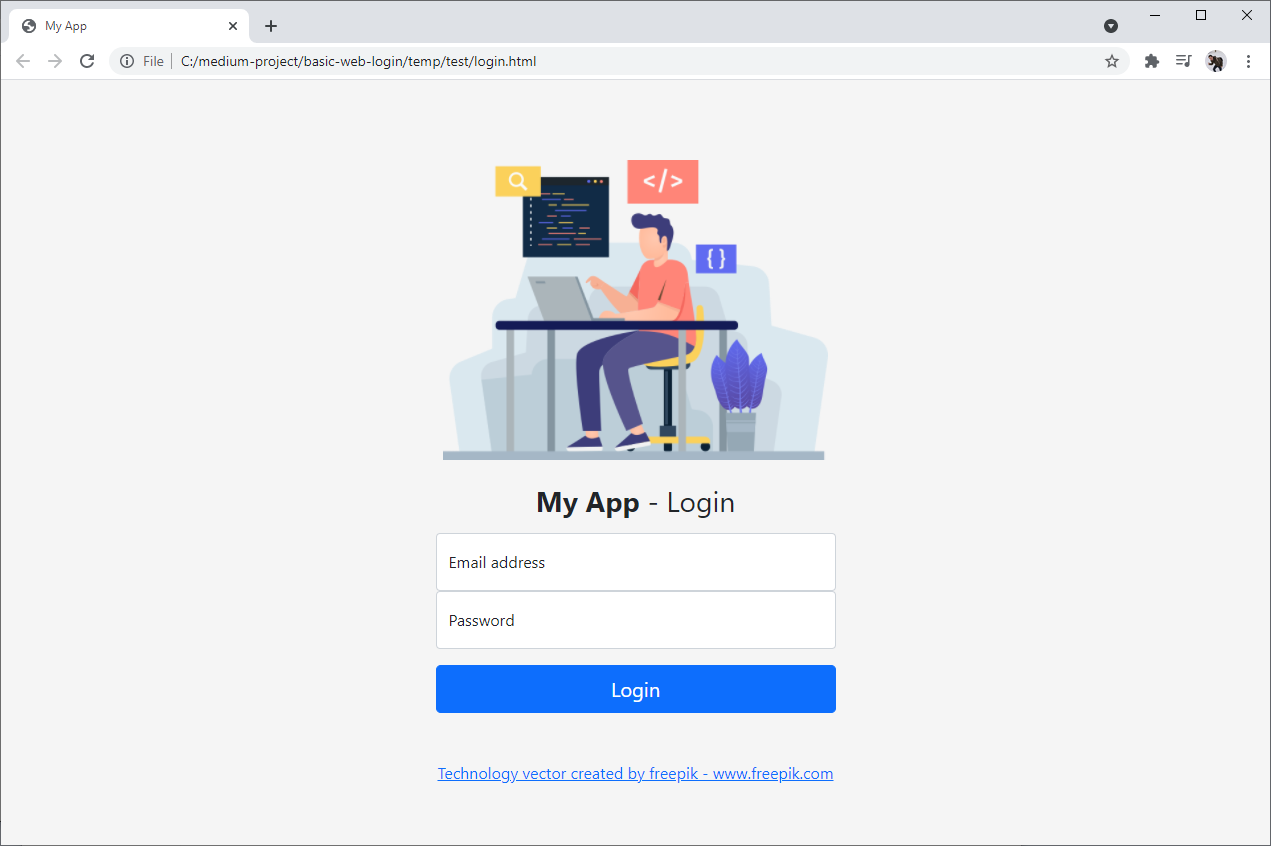
login.html on a web browser
Create index.html to show the information of the currently logged user. Therefore, at the end of this tutorial, this page will be only accessible when logged in.
<!doctype html>
<html lang="en">
  <head>
    <!-- Required meta tags -->
    <meta charset="utf-8">
    <meta name="viewport" content="width=device-width, initial-scale=1">

    <!-- Bootstrap CSS -->
    <link href="https://cdn.jsdelivr.net/npm/bootstrap@5.0.1/dist/css/bootstrap.min.css" rel="stylesheet" integrity="sha384-+0n0xVW2eSR5OomGNYDnhzAbDsOXxcvSN1TPprVMTNDbiYZCxYbOOl7+AMvyTG2x" crossorigin="anonymous">

    <title>My App</title>

    <link href="index.css" rel="stylesheet">
  </head>
  <body>
    <nav class="navbar navbar-expand-lg navbar-dark bg-mynav">
      <div class="container-fluid">
        <a class="navbar-brand" href="#">My App</a>
        <button class="navbar-toggler" type="button" data-bs-toggle="collapse" data-bs-target="#navbarSupportedContent" aria-controls="navbarSupportedContent" aria-expanded="false" aria-label="Toggle navigation">
          <span class="navbar-toggler-icon"></span>
        </button>
        <div class="collapse navbar-collapse" id="navbarSupportedContent">
          <ul class="navbar-nav me-auto mb-2 mb-lg-0">
            <li class="nav-item dropdown">
              <a class="nav-link dropdown-toggle" href="#" id="fname" role="button" data-bs-toggle="dropdown" aria-expanded="false">
                ...
              </a>
              <ul class="dropdown-menu" aria-labelledby="navbarDropdown">
                <li><a class="dropdown-item" onclick="logout()">Logout</a></li>
              </ul>
            </li>
        </div>
      </div>
    </nav>

    <div class="container-fluid p-3">
      <div class="card">
        <img class="p-2" src="user.png" id="avatar" width="200">
        <div class="card-body">
          <p class="card-text" id="username">...</p>
        </div>
      </div>
    </div>

    <script src="index.js"></script>
    <script src="https://cdn.jsdelivr.net/npm/bootstrap@5.0.1/dist/js/bootstrap.bundle.min.js" integrity="sha384-gtEjrD/SeCtmISkJkNUaaKMoLD0//ElJ19smozuHV6z3Iehds+3Ulb9Bn9Plx0x4" crossorigin="anonymous"></script>

  </body>
</html>
Create index.css
.bg-mynav {
  background-color: #2c3e50;
}
Open index.html on a web browser to see the result:
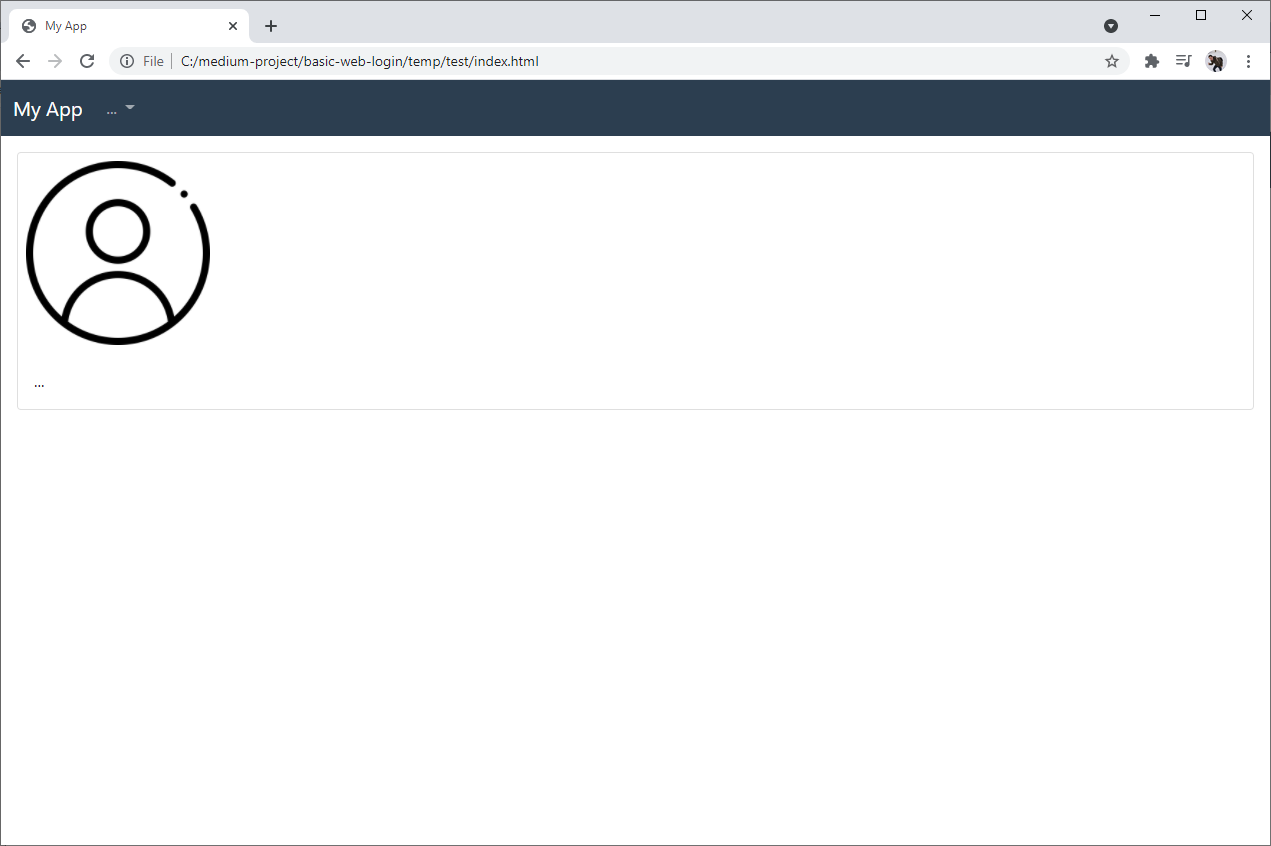
index.html on a web browser
Login with API (JavaScript)
Create login.js to call an API for login based on JWT (JSON Web Token)
Standard provided by MeCallAPI.com
API URL: https://www.mecallapi.com/api/login
Method: POST
Sample body (JSON):
{
    "username": "karn.yong@mecallapi.com",
    "password": "mecallapi"
}
Sample Response (JSON):
{
    "status": "ok",
    "message": "Logged in",
    "accessToken": "eyJhbGciOiJIUzI1NiIsInR5cC..."
}
The accessToken from the response represents the authorization of a user. Therefore, we will check whether the user is logged in by this accessToken.
-
In the JavaScript (line 1–4), we will first get the jwt item from localStorage (The localStorage allow to save key/value pairs in a web browser). If jwt has value which means that a user is logged in, the web browser will load index.html.
-
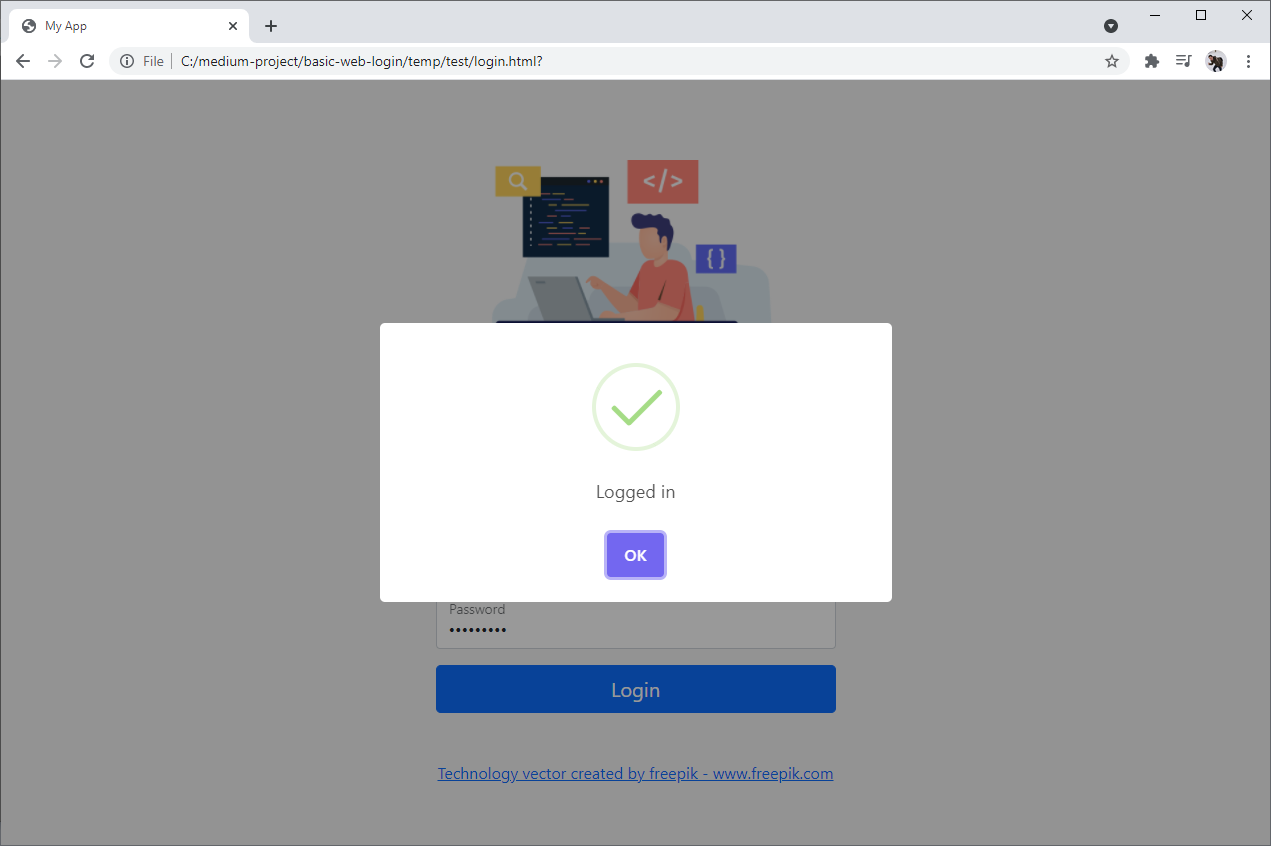
We create a function login which will execute when user click Login button in login.html. In this function, we use XMLHttpRequest to request an API for retrieving response in JSON. If the response status is ok (meaning that login successful), we will save the accessToken value to jwt in localStorage and show the popup (Sweetalert). Once the user click ok in the popup, the web browser will load index.html.
var jwt = localStorage.getItem("jwt");
if (jwt != null) {
  window.location.href = "./index.html";
}

function login() {
  const username = document.getElementById("username").value;
  const password = document.getElementById("password").value;

  const xhttp = new XMLHttpRequest();
  xhttp.open("POST", "https://www.mecallapi.com/api/login");
  xhttp.setRequestHeader("Content-Type", "application/json;charset=UTF-8");
  xhttp.send(
    JSON.stringify({
      username: username,
      password: password,
    })
  );
  xhttp.onreadystatechange = function () {
    if (this.readyState == 4) {
      const objects = JSON.parse(this.responseText);
      console.log(objects);
      if (objects["status"] == "ok") {
        localStorage.setItem("jwt", objects["accessToken"]);
        Swal.fire({
          text: objects["message"],
          icon: "success",
          confirmButtonText: "OK",
        }).then((result) => {
          if (result.isConfirmed) {
            window.location.href = "./index.html";
          }
        });
      } else {
        Swal.fire({
          text: objects["message"],
          icon: "error",
          confirmButtonText: "OK",
        });
      }
    }
  };
  return false;
}
Open login.html on a web browser, therefore input:
username: karn.yong@mecallapi.com
password: mecallapi
We can use other usernames from MeCallAPI.com while password remains the same.
Click Login button and you will see this result:
User information with API (JavaScript)
Create index.js to request the API for retrieving the information of the currently logged user.
API URL: https://www.mecallapi.com/api/auth/user
Method: GET
The API request header needs to have the value of access token of the user as Authorization (Bearer) to response back with that user information.
-
In the JavaScript (line 1–4), we check if jwt item from localStorage has value or not. If it is not, the web browser will load login.html.
-
We create a loadUser function to retrieve and display the currently logged user information in index.html. Basically, we use XMLHttpRequest to call the API with jwt in the Authorization header (Bearer). Note that this function will be called when loading index.html.
-
We create a logout function to remove jwt from localStorage then load login.html on the web browser. This will be called when click Logout button.
var jwt = localStorage.getItem("jwt");
if (jwt == null) {
  window.location.href = "./login.html";
}

function loadUser() {
  const xhttp = new XMLHttpRequest();
  xhttp.open("GET", "https://www.mecallapi.com/api/auth/user");
  xhttp.setRequestHeader("Content-Type", "application/json;charset=UTF-8");
  xhttp.setRequestHeader("Authorization", "Bearer " + jwt);
  xhttp.send();
  xhttp.onreadystatechange = function () {
    if (this.readyState == 4) {
      const objects = JSON.parse(this.responseText);
      if (objects["status"] == "ok") {
        const user = objects["user"];
        document.getElementById("fname").innerHTML = user["fname"];
        document.getElementById("avatar").src = user["avatar"];
        document.getElementById("username").innerHTML = user["username"];
      }
    }
  };
}

loadUser();

function logout() {
  localStorage.removeItem("jwt");
  window.location.href = "./login.html";
}
The result:
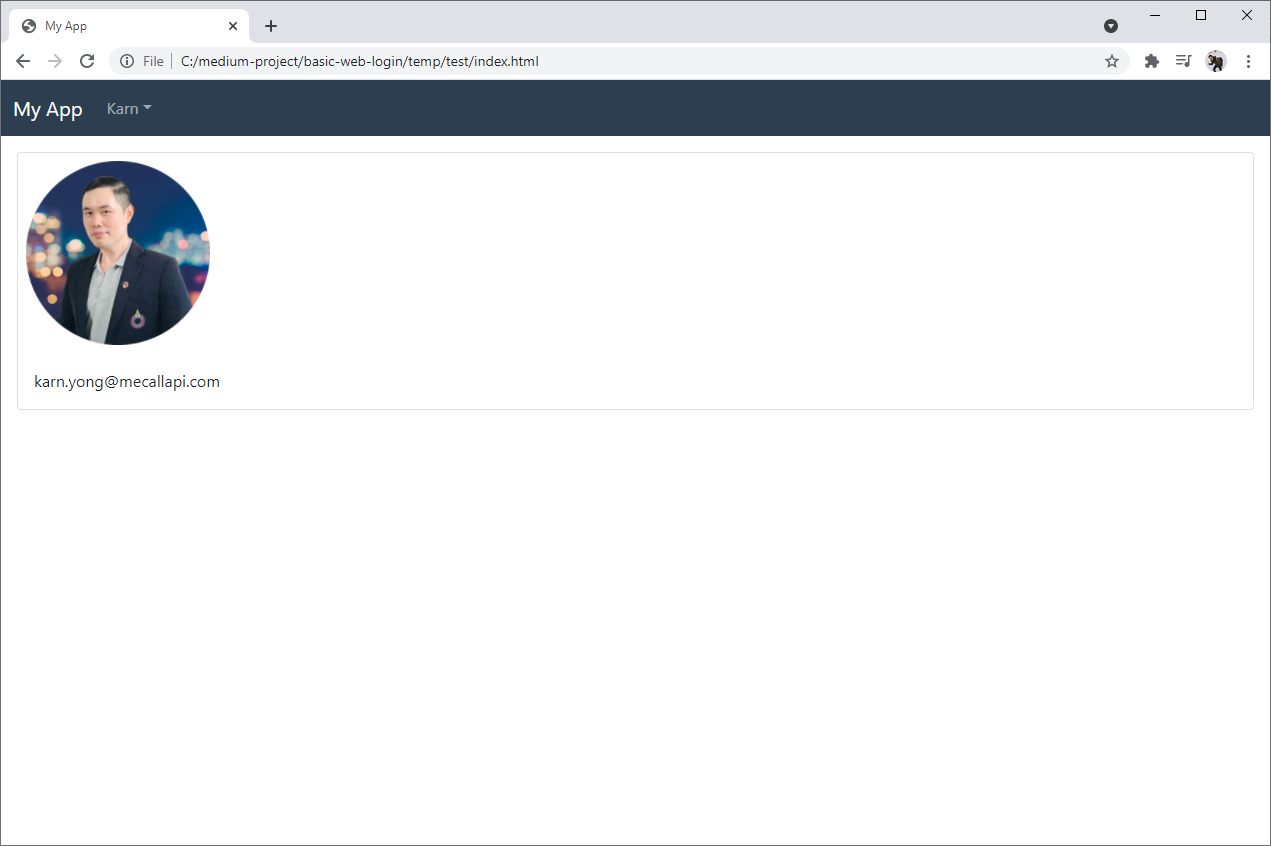
index.html after logged in
Conclusion
That's it for building a basic login page using just HTML, CSS, JavaScript and an API. As now most of the applications are driven with API, therefore I will try to cover more about the API in the upcoming articles. Stay tuned. :D
Comments
Loading comments…