Sequelize and Next.JS screenshot logos
The help and support from Next.js community have made a tremendous impact on how it grows to become one of the most popular React Framework right now. There are many good examples from Next.js and the community that are worth seeing in this link.
There are several ORM engines in Node.js ecosystem such as Sequelize, [TypeORM](https://typeorm.io/#/), and Objection. I had working with Sequelize before and I want to share with you how I have managed to combine it with Next.js.
Request and Response can be used in the API pages in your project without any addition of a custom server like Express.js. This is the explanation from Next.js API route support.
/** ./pages/api/hello.js **/
export default (req, res) => {
   res.statusCode = 200;
   res.json({ name: "John Doe" });
};
So far this is one of my favorite features from the latest Next.js version. This feature can be used as a Full-Stack Development and could be an effective replacement to custom servers in Next.js apps such as express. It can be used to connect to an external API or backend system to access databases like MongoDB/NoSQL or MySQL/SQL.
Next.js with Sequelize web application
Requirements are Sequelize-cli, Database drivers, JWT (jsonwebtoken), and of course Next.js with the React library. For this project purpose, this is the complete package.json setup:
package.json for Next.js and Sequelize
Setup Note: This application uses SQLite in local development and PostGres in production for the RDBMS. It is up to you if you want to use MySQL both in local and production. You can skip installing SQLite parts and take a look at the table schema files for the database structure.
Next.js Setup
npx create-next-app or just create-next-app and type your project name nextjs-sequelize or any name. Install npm i create-next-app if you haven't.
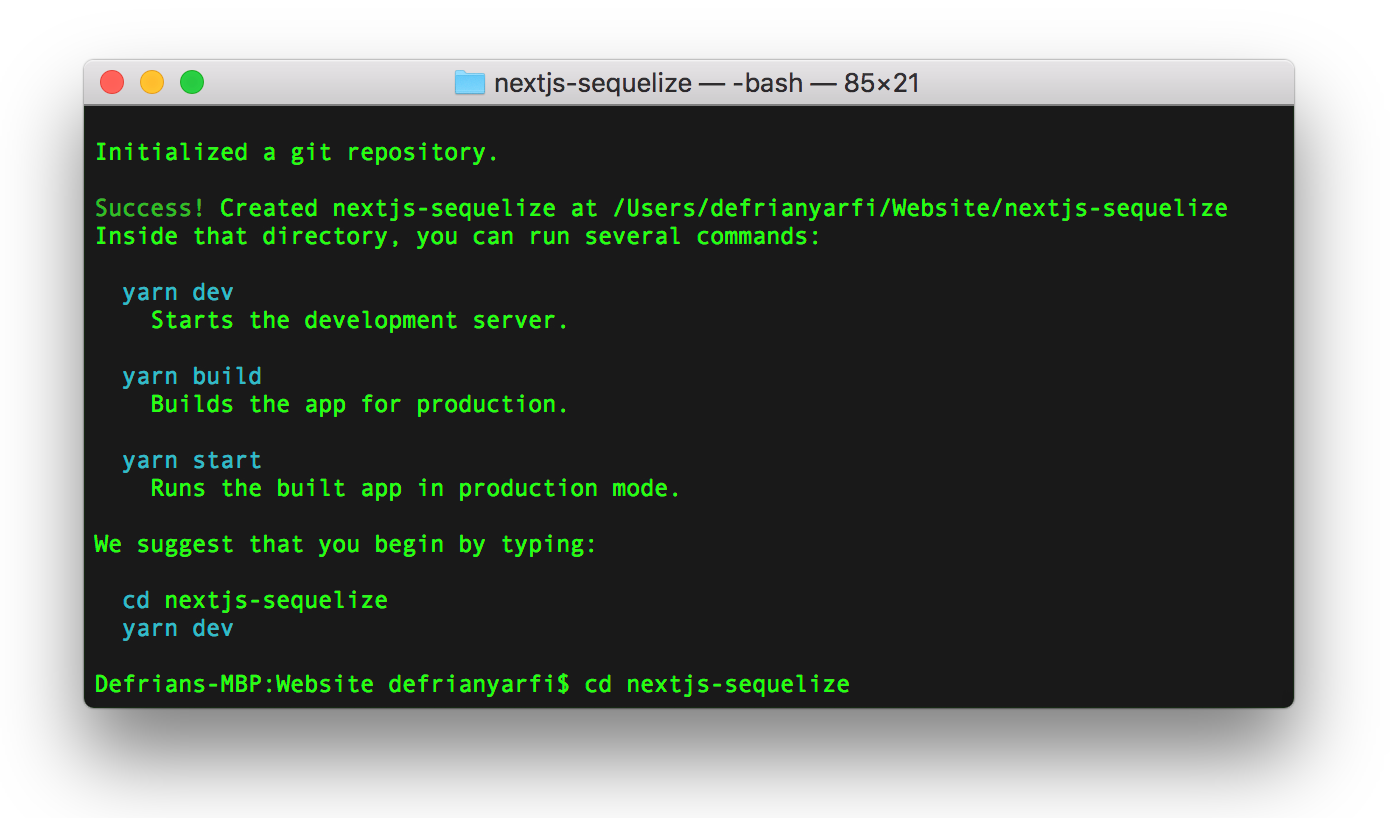
create-next-app nextjs-sequelize
Add other libraries for the project: bcryptjs, js-cookie, jsonwebtoken, sqlite3, mysql2, next-connect, nprogress, pg, pg-hstore, postcss-preset-env, sequelize.
yarn add bcryptjs js-cookie jsonwebtoken sqlite3 mysql2 next-connect nprogress pg pg-hstore postcss-preset-env sequelize
or
npm i bcryptjs js-cookie jsonwebtoken sqlite3 mysql2 next-connect nprogress pg pg-hstore postcss-preset-env sequelize
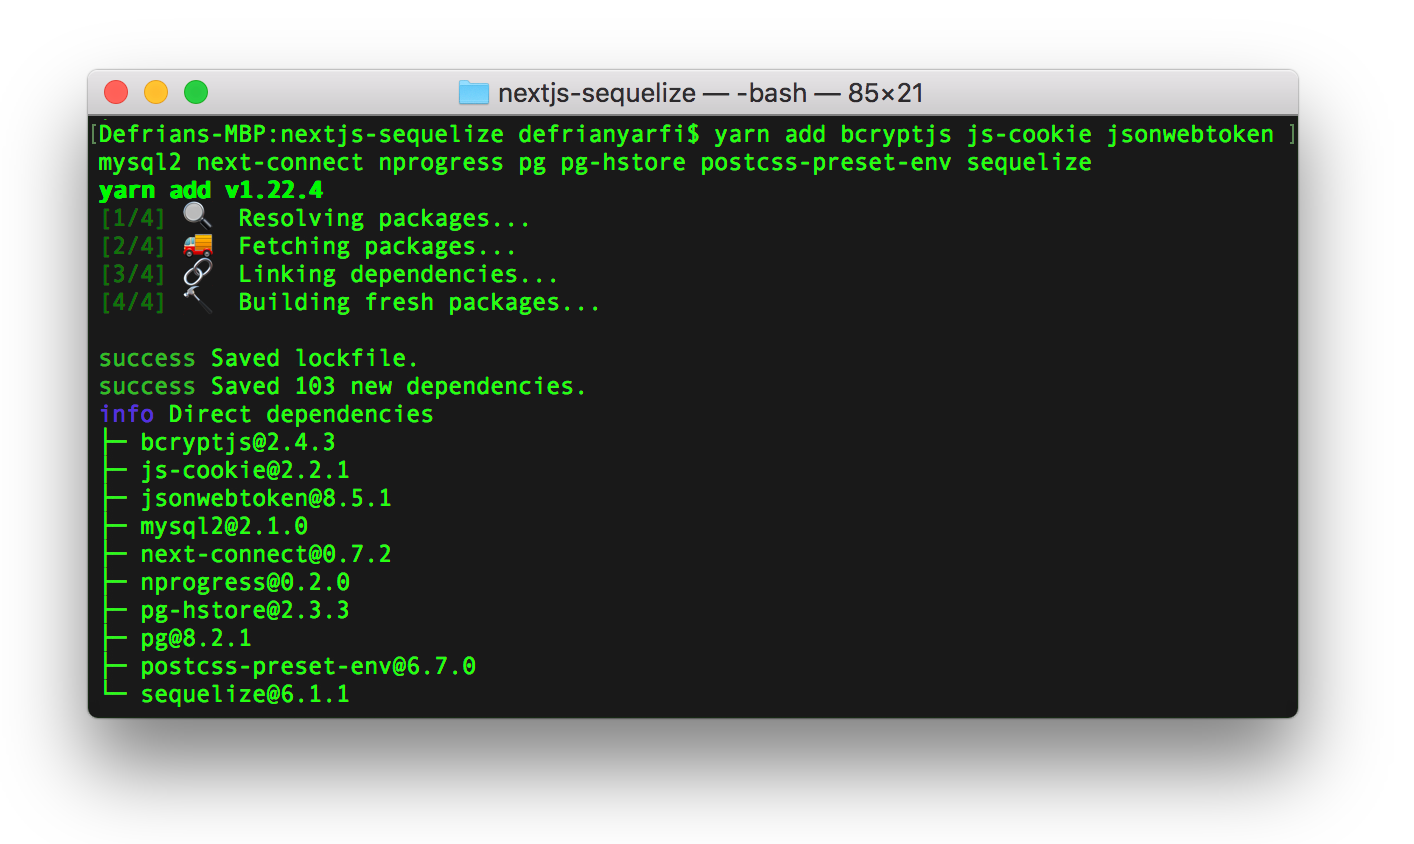
add libraries to the project
Create .env file variables
Sequelize Setup
Setup Note: This application uses sequelize@^5.21.11 which is very different prior to ^6.2.* version of sequelize and sequelize-cli.
Using Sequelize-cli command
Install CLI with npm i -g sequelize-cli or yarn global add sequelize-cli
If we use sequelize-cli commands, at first we will be asked for executing sequelize init that will generate some files in our root directory. Generated files will be used to make Sequelize modules run with the project.
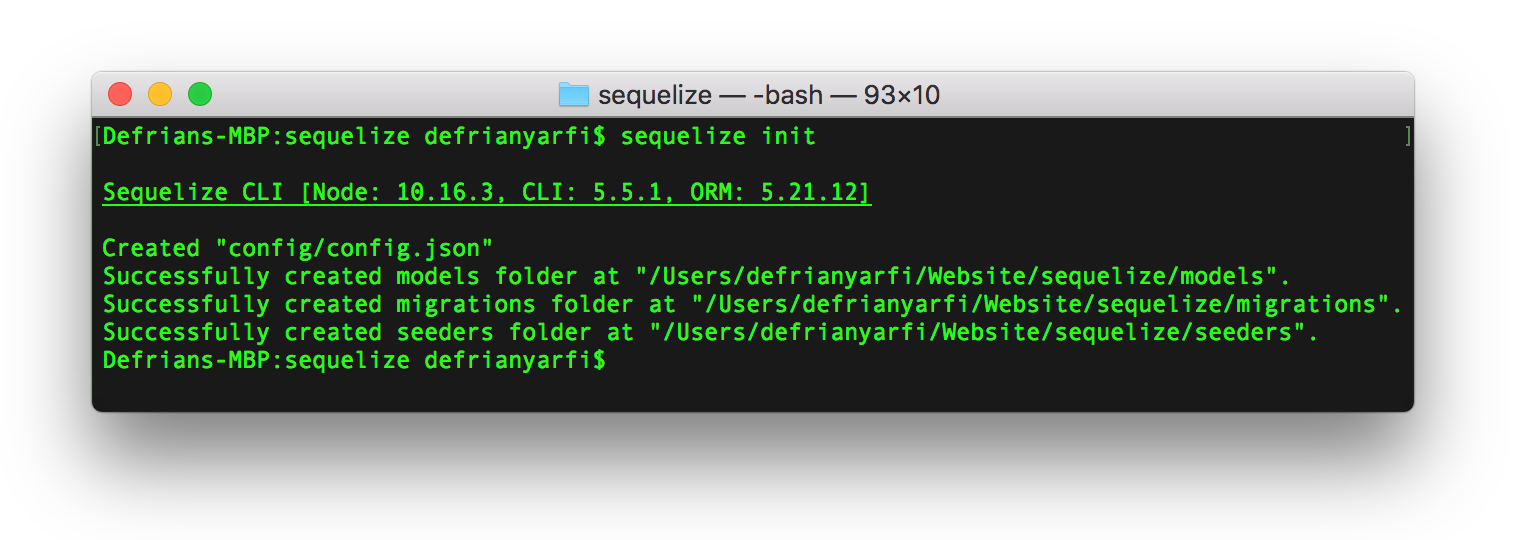
Sequelize init generated files
These files and directories are generated via the Sequelize-cli command. If you want to move and organize into a different directory, use .sequelizerc like the one, I used in this project.
Using .sequelizerc file
Sequelize has a project setup file that you can you use to organize your project directory. Meaning that you can put and set up your Sequelize files in a specific directory like the way you want it to be in a file called .sequelizerc. Below is the sample that Sequelize files and directory will be generated in a directory named /db in your project root. Just type sequelize init to generate a Sequelize project from a .sequelizerc file.
const path = require('path');
module.exports = {
   'config': path.resolve('db/config', 'config.js'),
   'models-path': path.resolve('db', 'models'),
   'seeders-path': path.resolve('db', 'seeders'),
   'migrations-path': path.resolve('db', 'migrations')
};

Initialing Sequelize in our Next.js project root
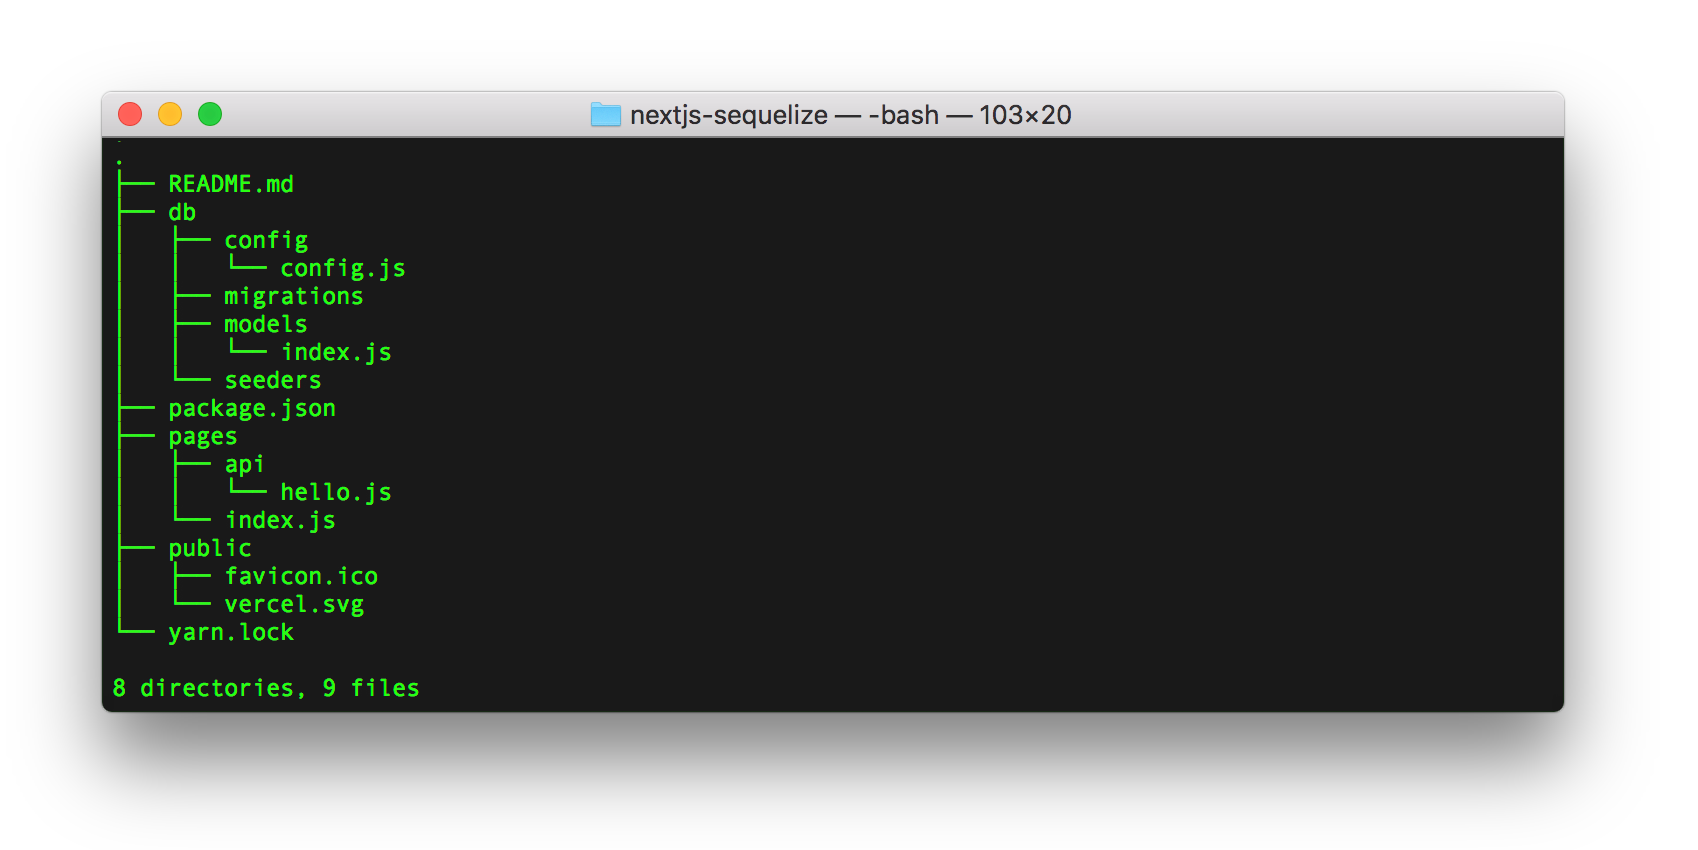
Generated Sequelize files and directory in /db/ directory inside Next.js project root
Open up config.js in the editor and add an export default to the files like this one and replace the config and put your env variables from .env.local:
Sequelize config.js
Sequelize config.js with Node .env variables
Setup install for Sequelize, Sqlite3, and Mysql2 modules
Sequelize-cli will be used for generating migrations and models setup. More information about the features is in this link.
Install sequelize-cli
npm i -g sequelize-cli or yarn global add sequelize-cli
Install sequelize and type sequelize init
npm i sequelize or yarn add sequelize and sequelize init
Install sqlite3 driver
npm i sqlite3 or yarn add sqlite3
Install mysql2 driver
npm i mysql2 or yarn add mysql2
Create a SQLite3 database in /db/nextjs-sequelize.db and continue for migration setup.
- Users model
sequelize model:create --name users --attributes firstName:string,lastName:string,username:string,password:string,email:string,phoneNumber:string,gender:string,status:boolean
- Users model seed
sequelize seed:generate --name users
- Posts model
sequelize model:create --name posts --attributes userId:integer,title:string,slug:string,content:text,status:boolean
- Posts model seed
sequelize seed:generate --name posts
- Jobs model
sequelize model:create --name jobs --attributes userId:integer,title:string,slug:string,content:text,emailTo:string,reportManager:string,dateLimit:date,status:boolean
- Jobs model seed
sequelize seed:generate --name jobs
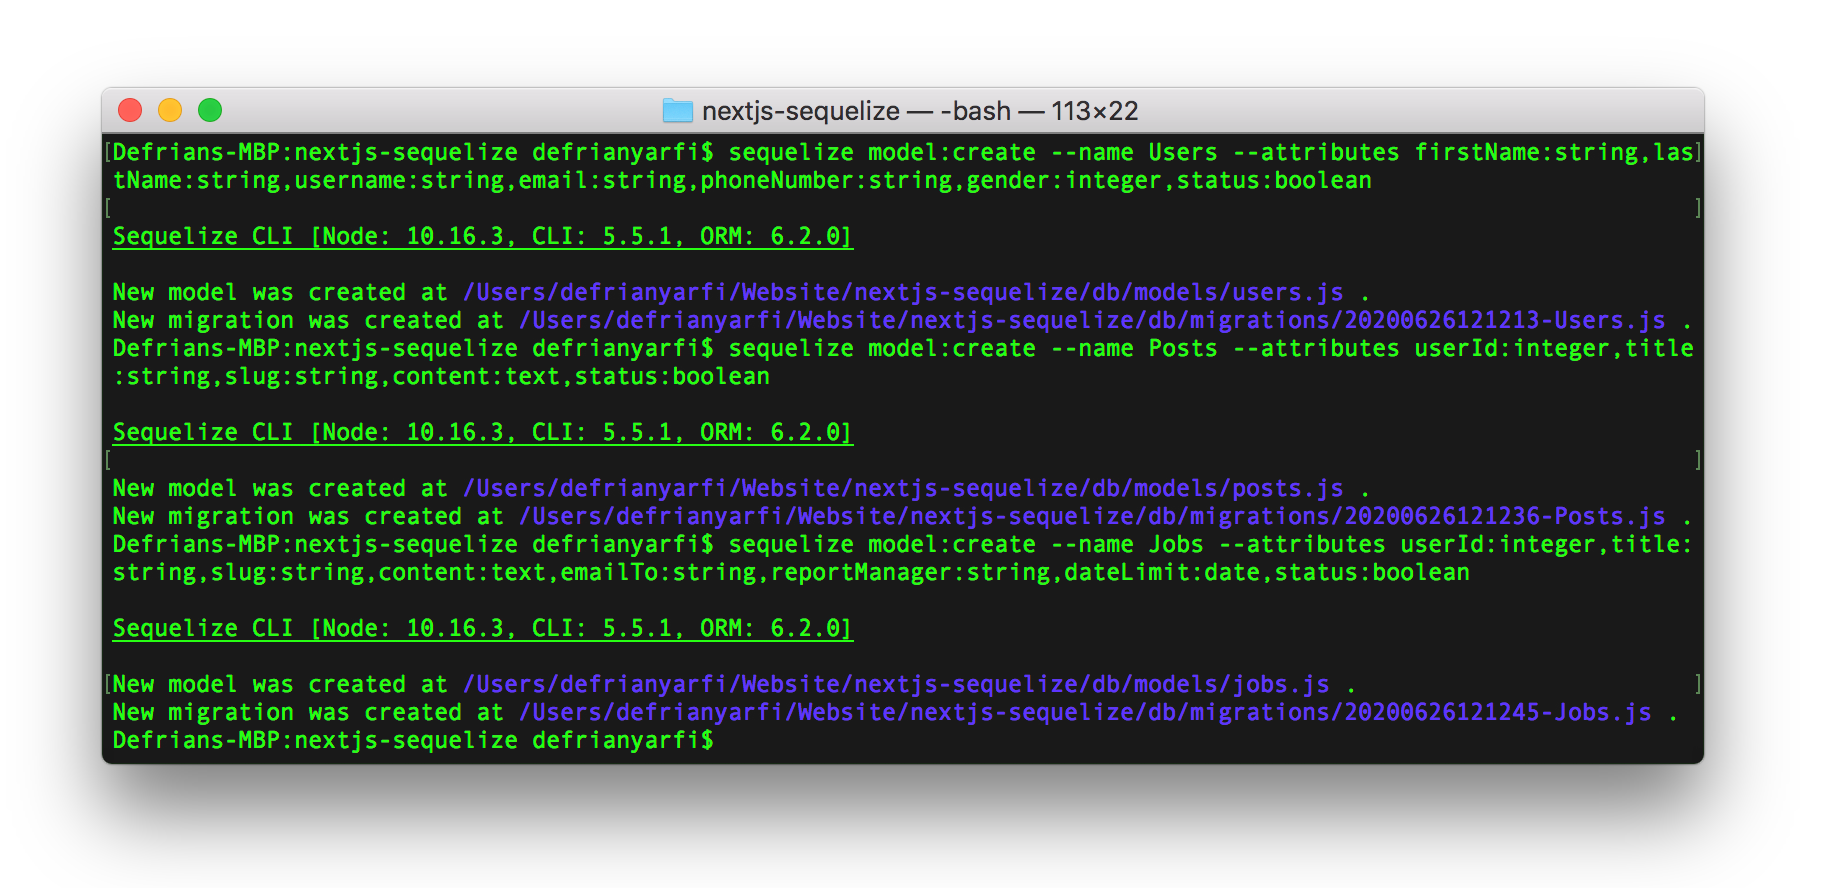
Sequelize creating Users, Posts and Jobs Models
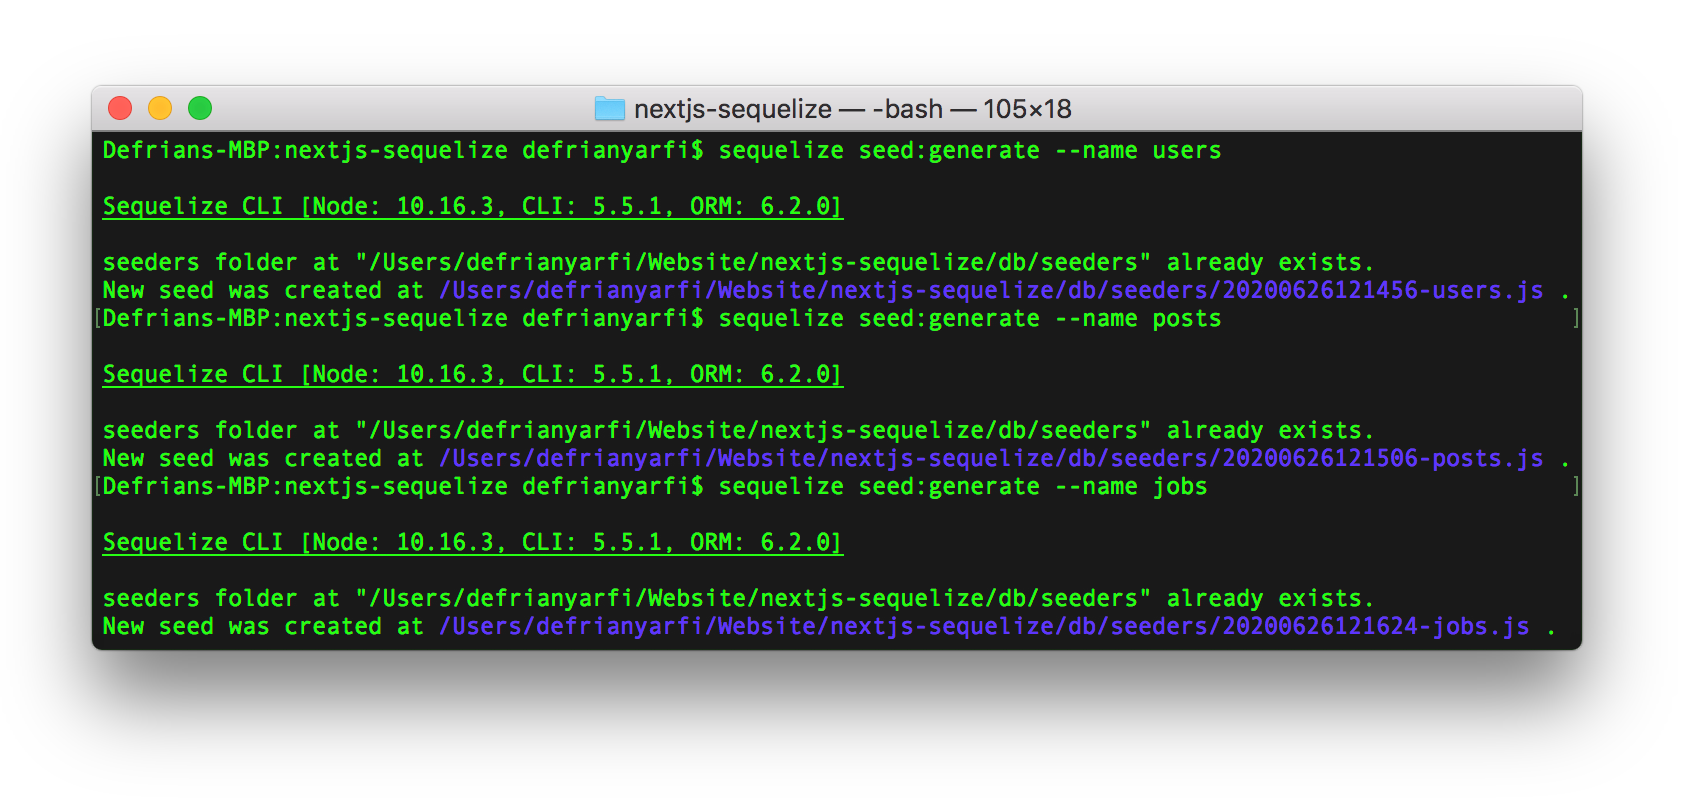
Sequelize creating Users, Posts and Jobs Seeds
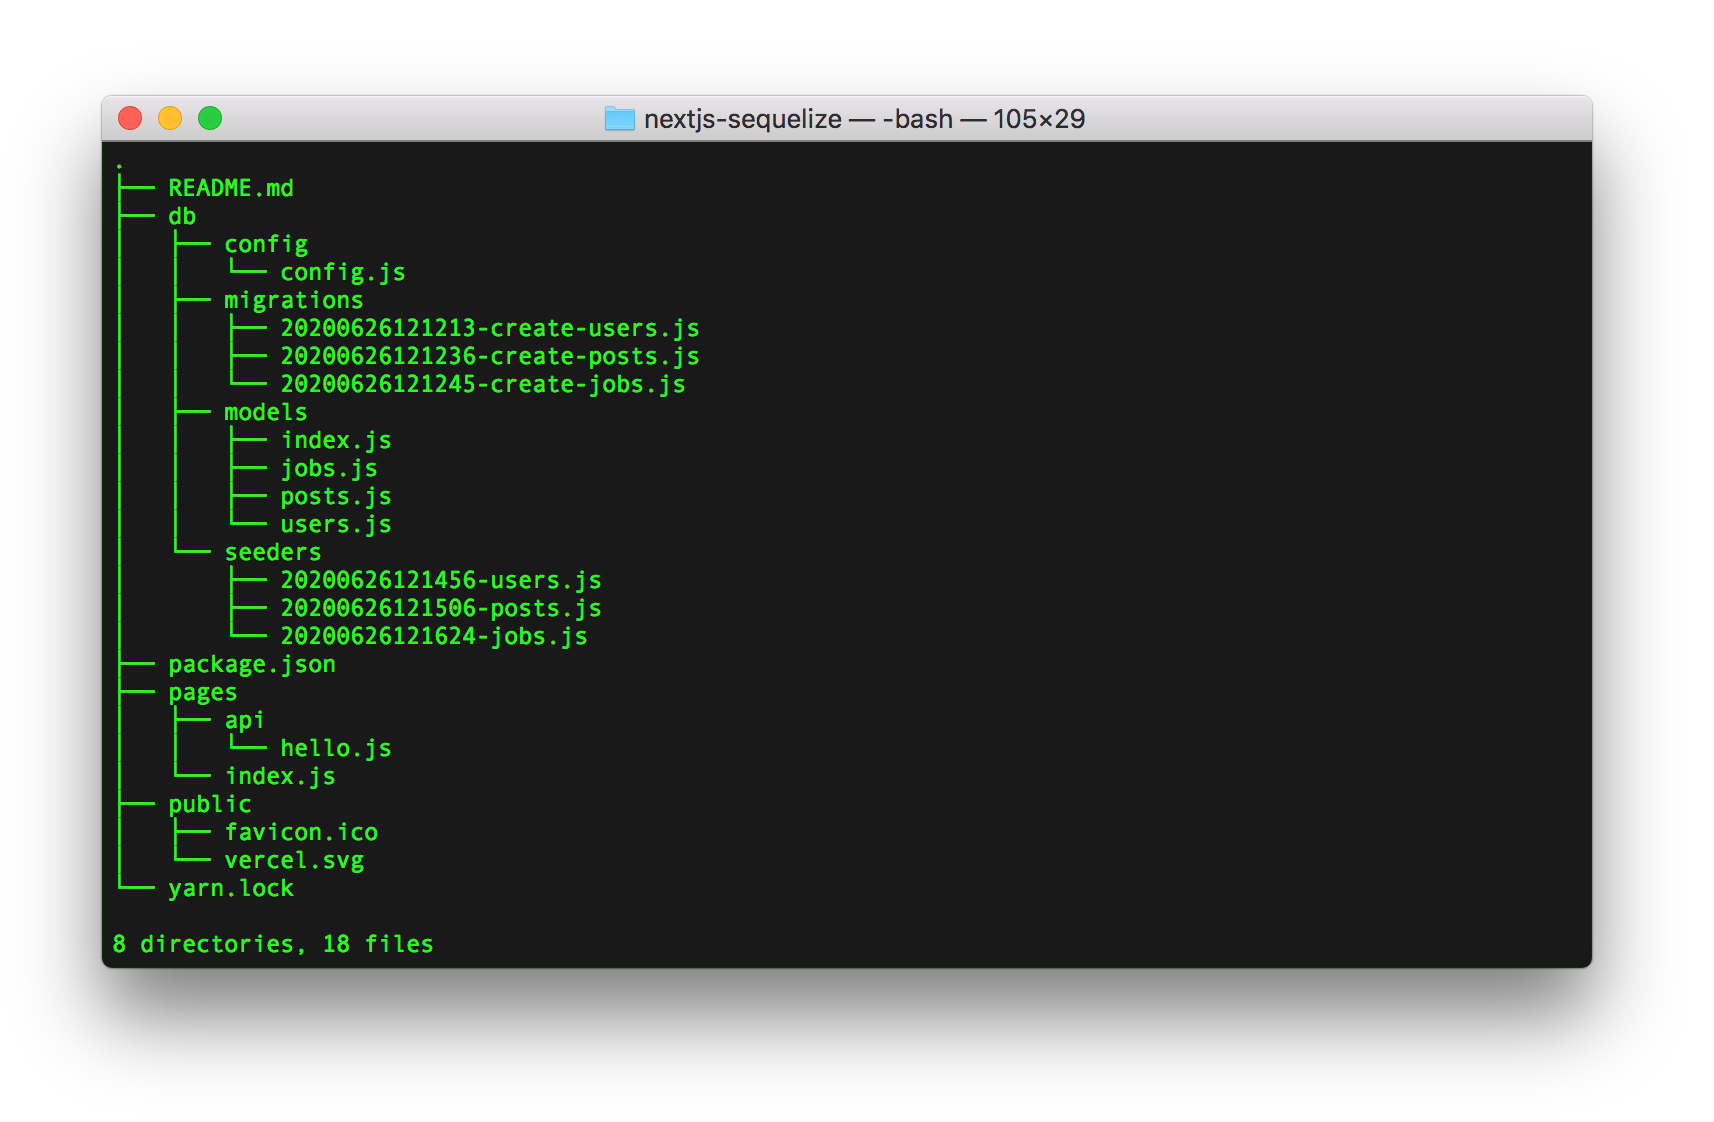
Sequelize migrations, seeds files and directories in Next.js root project
Open seeders files and modify to add arrays of data items.
- ./seeders/xxxxxxxxxxx-users.js
./seeders/xxxxxxxxxxx-users.js
./seeders/xxxxxxxxxxx-posts.js
./seeders/xxxxxxxxxxx-posts.js
./seeders/xxxxxxxxxxx-jobs.js
./seeders/xxxxxxxxxxx-jobs.js
Sequelize database migration and seed command
sequelize db:migrate to execute database migrations.
sequelize db:seed:all to execute all table seeders.
Sequelize undo database migration and seed command
sequelize db:migrate:undo:all to undo database migrations.
sequelize db:seed:undo:all to undo seeders.
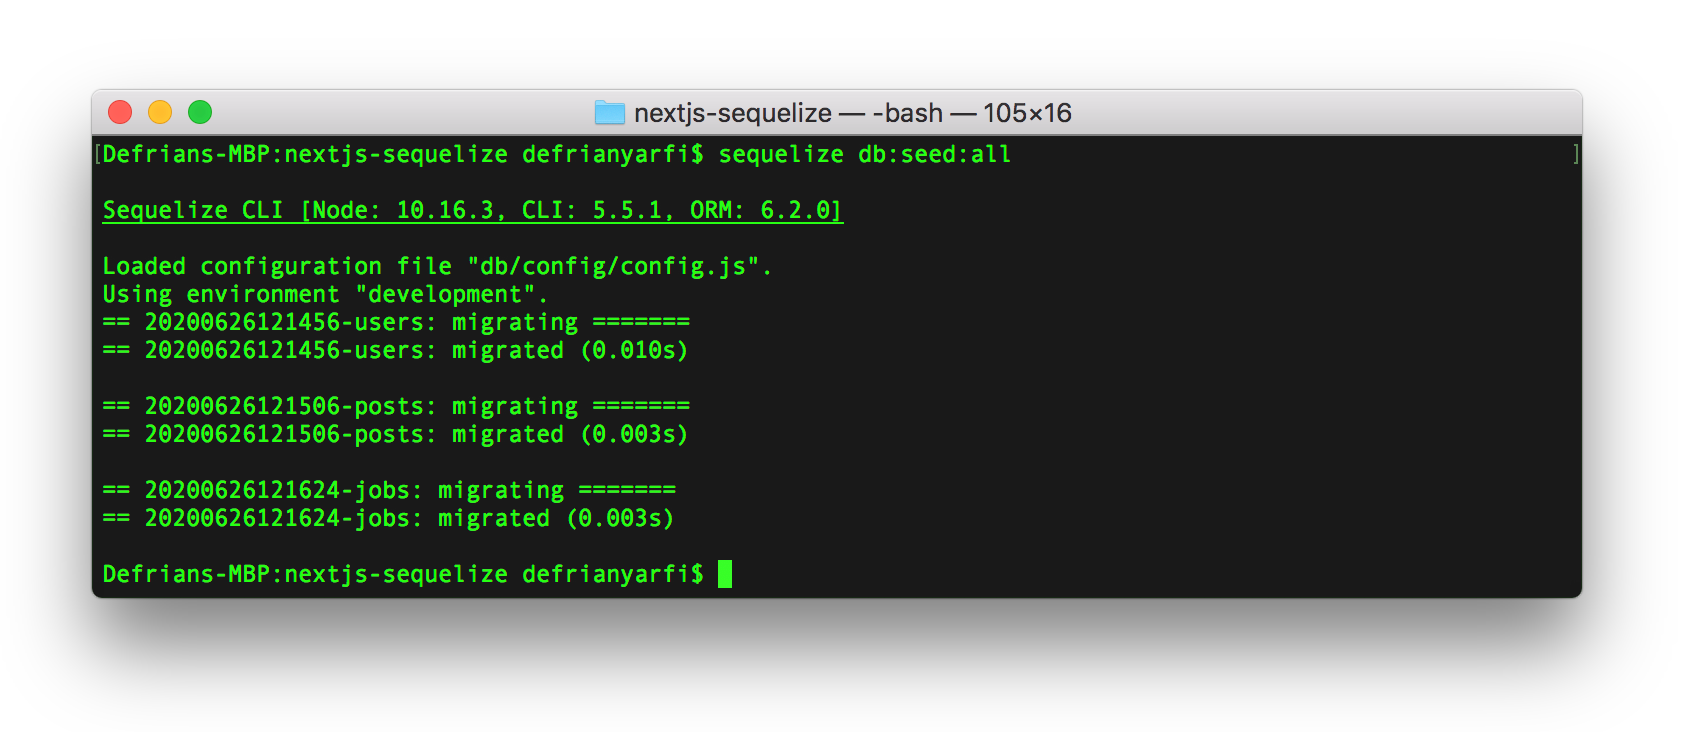
Sequelize Seeders
- Add Associations (execute after you edited the association migration files)
sequelize migration:generate --name add-post-associate
./migrations/xxxxxxxxxxx-add-posts-associate.js
sequelize migration:generate --name add-jobs-associate
./migrations/xxxxxxxxxxx-add-jobs-associate.js
sequelize db:migrate to execute database associate migrations.
Open up ./models/index.js that was previously generated from sequelize init and modified the codes.
./models/index.js
Create .env.development.local and put your DB credentials see .env.local.example
DB_HOST=myhost_local
DB_USER=myuser_local
DB_PASS=mypassword_local
DB_NAME=mydatabase_local
JWT_KEY="secretOrKeyJWTRandom"
Start the Next.js dev server and open up http://localhost:3000/
yarn dev to start Next.js the dev server and notice the .env.development.local loaded on the application startup.

yarn dev
Deployment on Vercel
Install Vercel Cli npm i -g vercel or yarn add global vercel and see this link for available commands. This will enable you to instant cloud deployment and local development. Follow the instruction and press enter for your setup choice. Just type vercel --prod to deploy or update the changes in your root terminal.
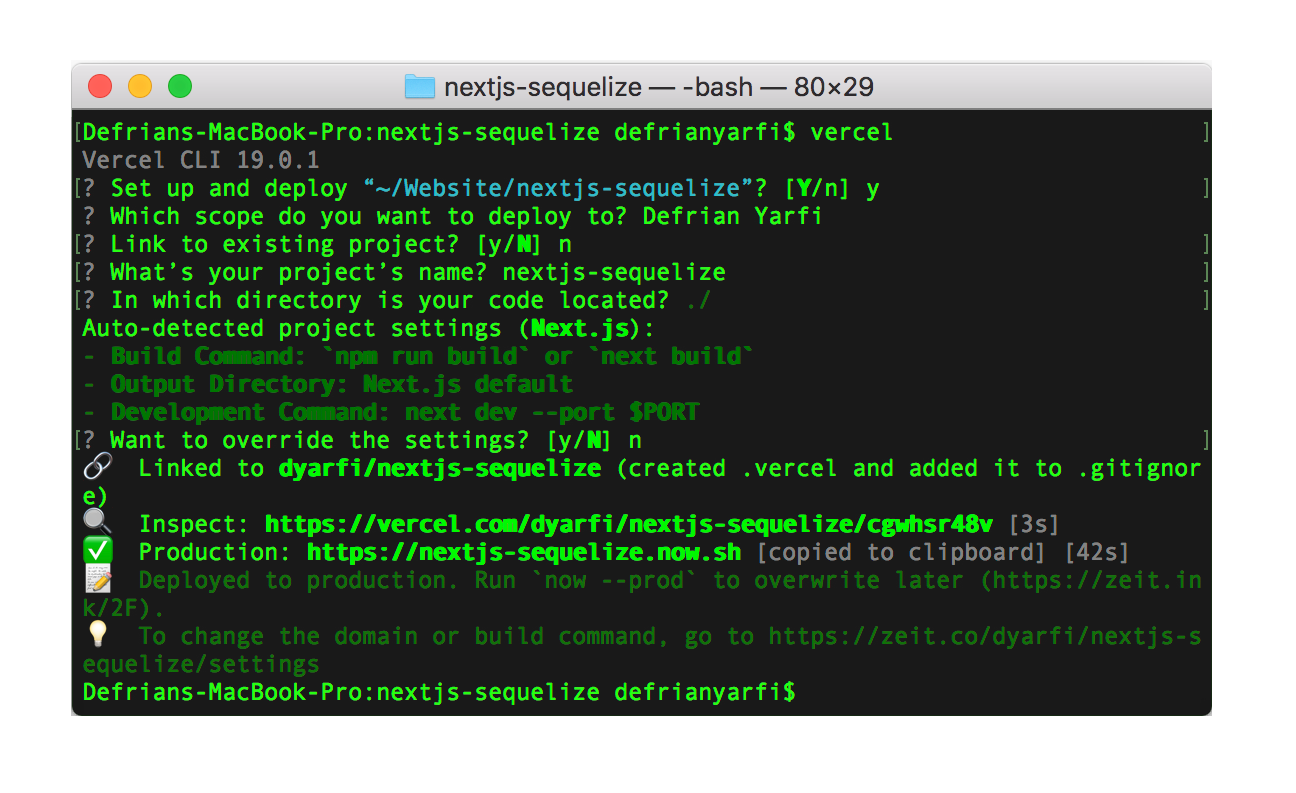
Deploy project to Vercel
Production environment setup
Check your default .env.local.example in your root directory and match the variables into vercel project settings. Below is an example of the .env.
DB_HOST="db/nextjs-sequelize.db"
DB_USER=null
DB_PASS=null
DB_NAME="nextjs-sequelize"
JWT_KEY="secretOrKeyJWTRandom"
Add your database credentials in .env to point to the database in your production server. If you using Vercel hosting, add your env variables in the production tabs of the project settings page. These will be auto encrypted and available for use in the production .env of our app. Below is the setup .env production for our remote database credential on Vercel:
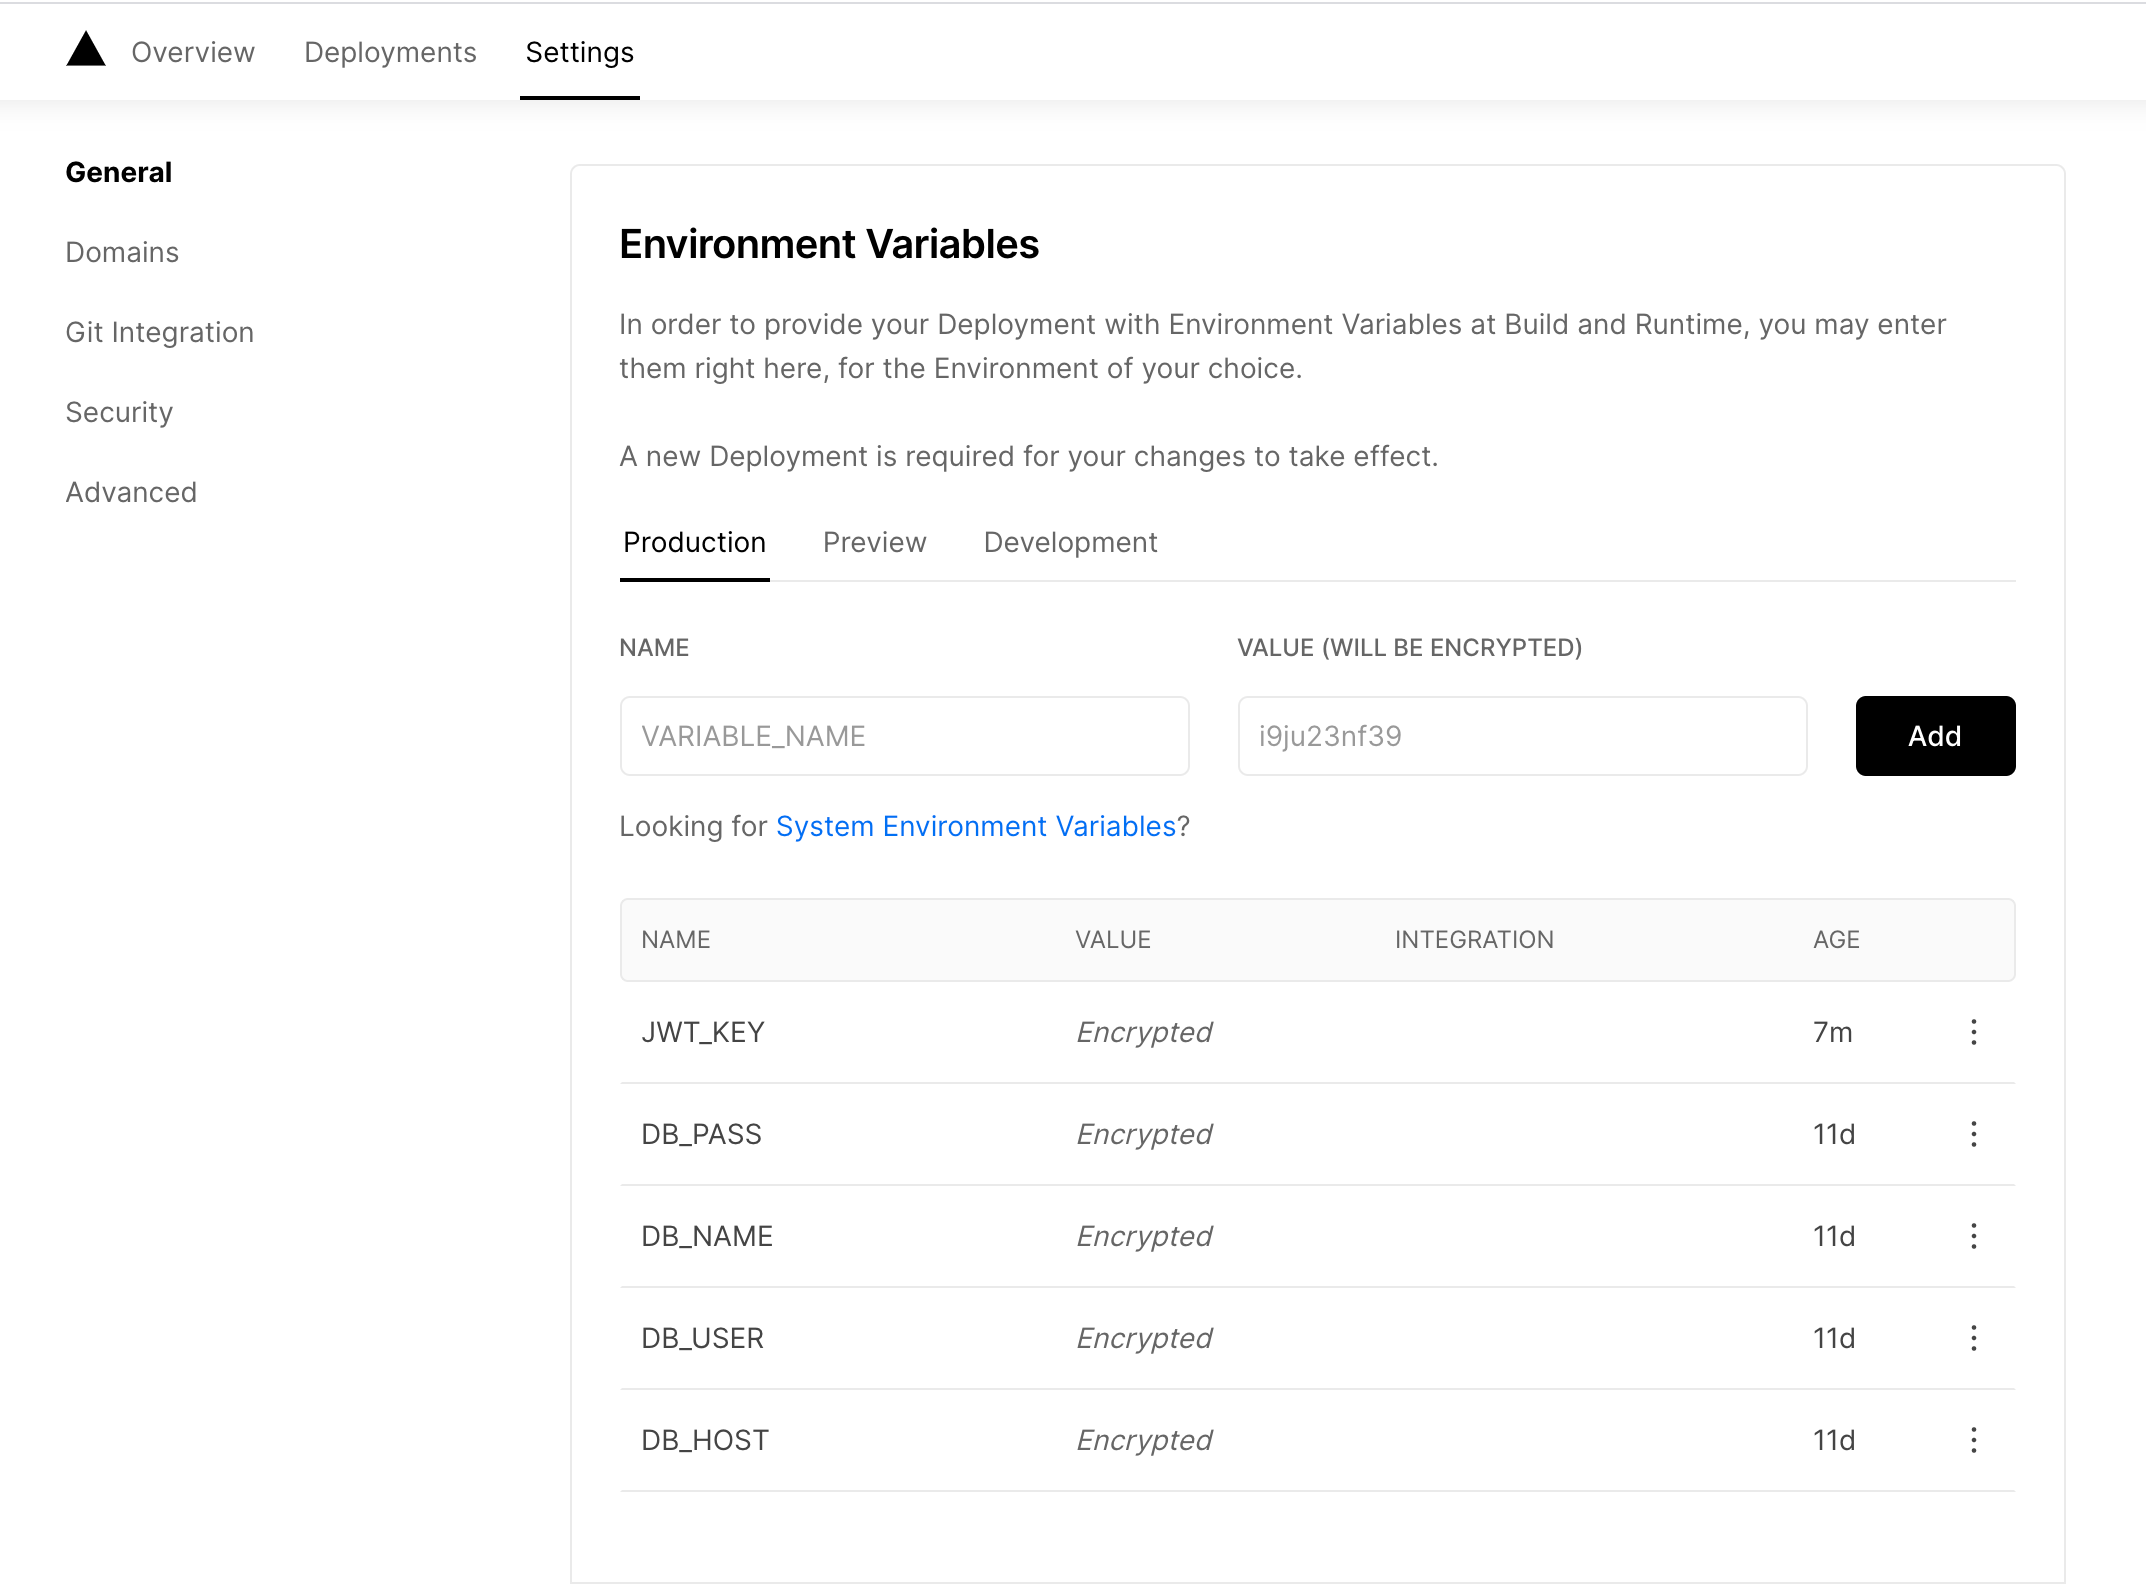
.env production in vercel hosting
Demos : Next.js with Sequelize
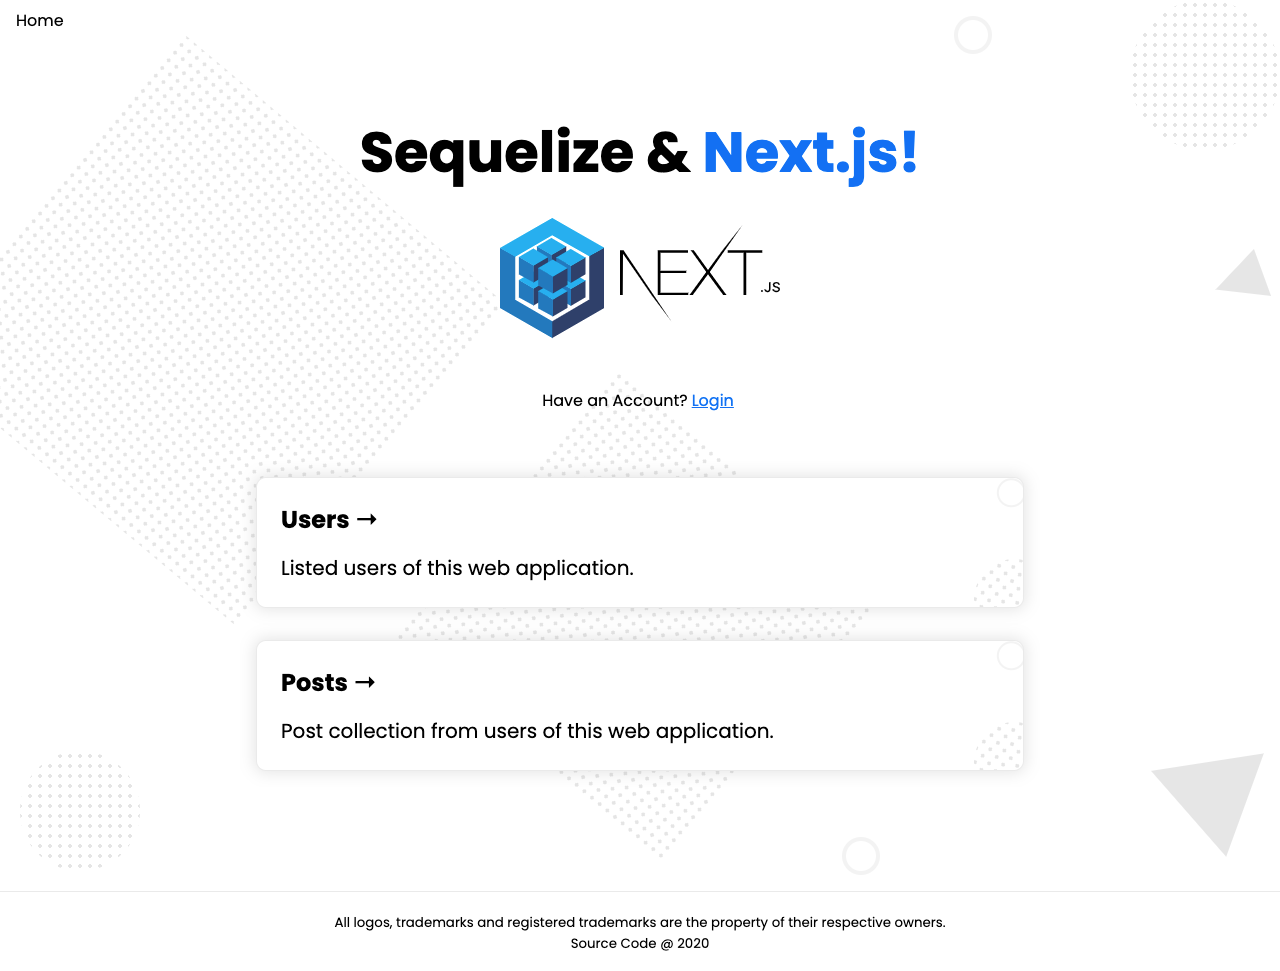
https://nextjs-sequelize.now.sh/
Note: The source code on GitHub is a full version with users, posts, and jobs models and uses SQLite database on the development / local server. Login with any email accounts in the demos using passkey “password”. The one on the demo is a cut version due to the limit of serverless functions on Vercel and uses the Postgres database on elephantsql.com. Use the branch origin/serverless if you want to use it and deploy on Vercel hosting.
Things to improve:
-
Make field aliases in Sequelize to obfuscate and not to expose the real name of your database field names.
-
Consider using UUID for the primary key that can be handled by Sequelize.
-
Consider making a separate presentational container to handle all the Next.js page logics involved in the views components.
-
Set up a React State Management like Redux and combine it with Redux-Saga so you can have that fancy loader to the application.
-
Use Next.js Absolute Imports and Aliases for importing components.
-
Make versioning to the API pages such as
/pages/api/v1/**/**.jsto track changes and features. -
Make use of next-seo to improve your SEO pages in the SERP.
-
Setup a Reverse Proxy Server such as Nginx or Apache for your Web Application in production.
-
Use PM2 / Production Manager for production and clustering system.
References:
- Sequelize: https://sequelize.org/
- Next.js: https://nextjs.org/docs/
- Jwt: https://jwt.io/
TL;DR
Next.js: Since its inception, Next.js features come with API pages that can be used as a local API to access your data besides all the new and rich features. Server Side Rendering is one of the best features of Next.js
Sequelize: A multi SQL dialect ORM (Object Relation Mapping) for Node.js ecosystem or in Express.js framework application. It can be used to connect to your RDBMS databases. Common queries methods in ORM are: hasMany, belongsTo, hasOne, and belongsToMany.


