
Note: This guide assumes you already know how to create your own React app, have its source code on a GitHub repo already, have set up your GCP account, and know the command line enough to traverse folders and delete files.
Assuming you've already created your React app, have its source code saved in a GitHub repository, and have your GCP account set up, these are the five steps we'll need to take to successfully deploy and host our hard work on the internet:
-
Create our app in the GCP
-
Clone our app from our GitHub repository
-
Build our app for deployment
-
Delete everything else
-
Add an app.yaml to the root directory and deploy!
1. Create our app on the App Engine
Go to Google's App Engine Console and create a new project:
Click on the top dropdown and a window will pop up.
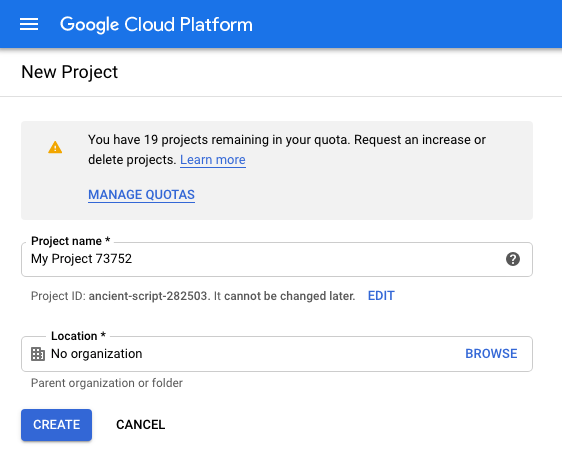
Click on NEW PROJECT at the top right

Give it a name and click CREATE
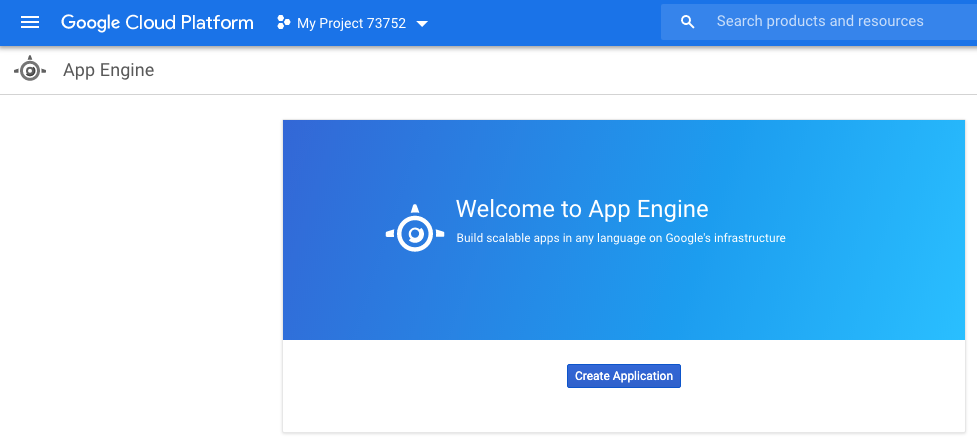
Click on Create
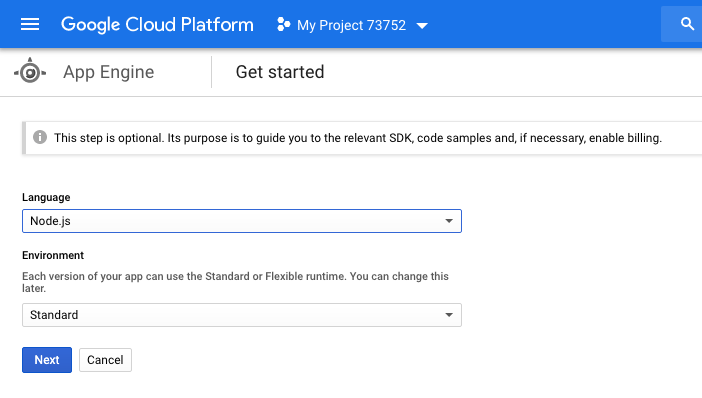
Select any region you'd like
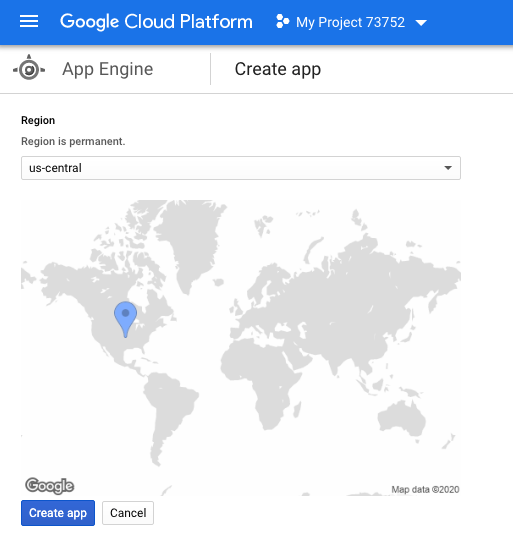
Select Node.js on the Language dropdown, and leave the Environment as Standard
2. Clone our app's source code from GitHub
Open up the Cloud Shell by clicking on the icon near the top right
Click on this symbol to Activate the Cloud Shell

Once your shell is open, it's time to bring our app's source code into the cloud.
git clone <https://github.com/github-username/repo-name.git>
3. Build our app for deployment
To do this, simply go into your app's root folder (where your “src” folder is),
cd <your github project folder>
cd <your app's root directory>
And type the following command:
npm i
npm run build
This creates a folder named “build” in our root directory.
4. Delete every thing else besides the build folder
Get rid of everything else, **except **for the build folder.
rm <file-to-remove>
rm -r <remove-recursively-like-directories-inside-directories>
5. Add an app.yaml and deploy!
In the same folder where we have our “build” folder, create a new file named app.yaml. By the end of this step, the only things left should be the “build” folder and “app.yaml”. That's all the App Engine will need to run our app.
touch app.yaml
vim app.yaml
And add the following to its content:
runtime: nodejs12
handlers:
# Serve all static files with url ending with a file extension
- url: /(.*\..+)$
  static_files: build/\1
  upload: build/(.*\..+)$
# Catch all handler to index.html
- url: /.*
  static_files: build/index.html
  upload: build/index.html
In case you've never used vim or simply forgot:
i (to insert text)
(ctr+v to paste above code)
(esc key to exit insert mode)
:wq! (to save and exit file)
Now deploy!
gcloud app deploy
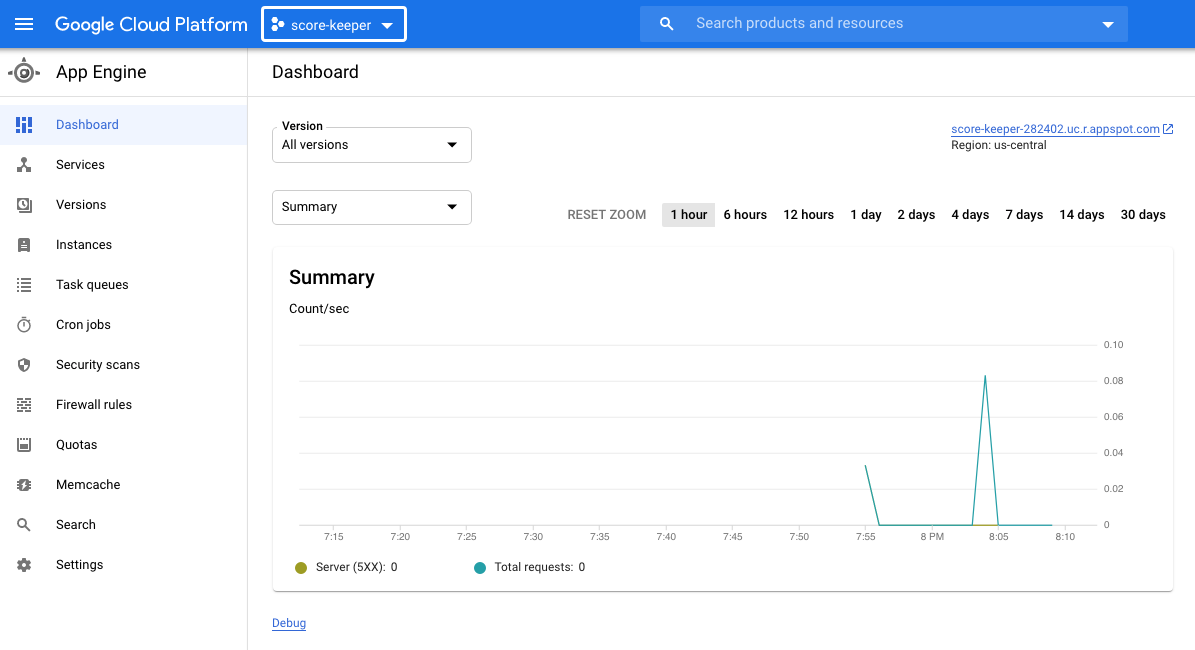
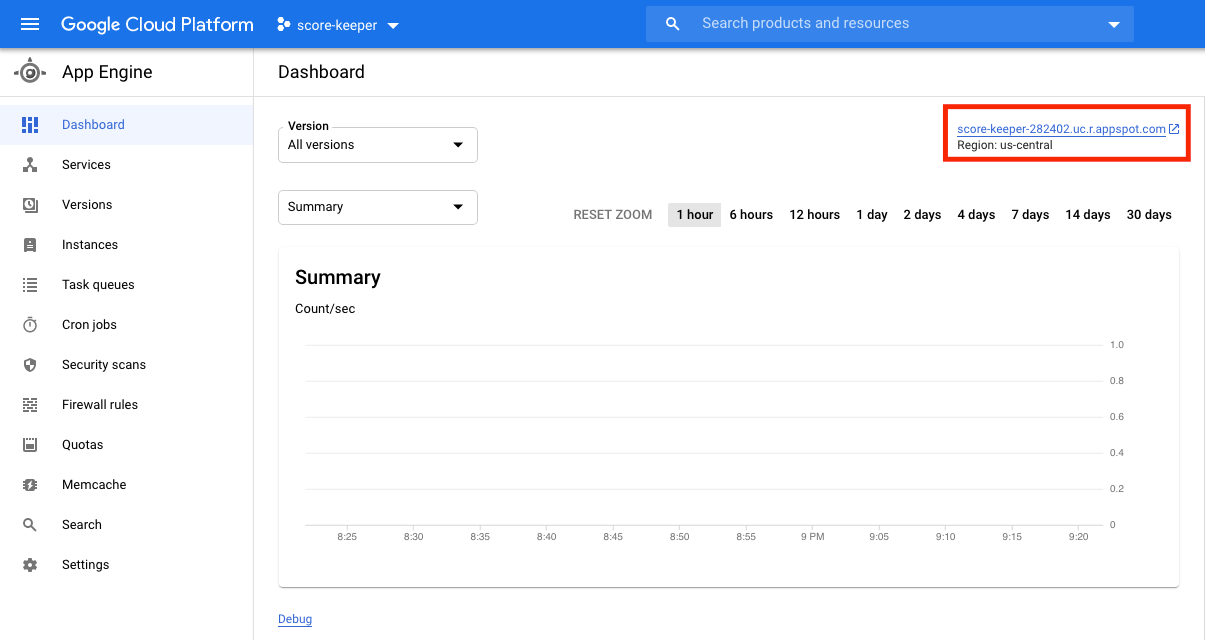
When a prompt comes up, just type “y” so it continues the deployment process. Once deployed, you should be able to visit the App Engine Dashboard where you can see your app's analysis. In the dashboard, at the top right, you'll see a link to your app. Yay!
That's it for this topic. Thank you for reading.
Comments
Loading comments…