Everyone knows writing tests is super important for software development. It enables us to change codes more speedy with less bugs.
When it comes to frontend, React Testing Library is becoming popular because it’s easier to test React hooks compared with enzyme. However, there is not enough articles explaining it with TypeScript.
So this guide focuses on how to write tests in TypeScript with React Testing Library .
If you would like to know other topics of React Testing Library, please refer the articles below.
-
How to Setup React Testing Library for Material UI Styled component with TypeScript
-
Snapshots of Material UI styled component with React Testing Library and TypeScript
React Testing Library
It was created by Kent C Dodds who is working in PayPal as a pioneer of frontend TDD. The first principal of React Testing Library is
The more your tests resemble the way your software is used, the more confidence they can give you.
It intends that your test should work like how user acts instead of how your app is implemented.
The package of React Testing Library (called @testing-library/react) is one of the family of @testing-library. The core library of the family, @testing-library/dom provides common APIs for React, Anguler, Vue. But if you use a framework such as React, you should use the wrapper library, @testing-library/react .
And for a test framework, it says that React Testing Library can work in any test framework. On the other hand, because many articles and people are using it with JEST, this guide also use with JEST.
Setup a demo app
Because it’s better to code by yourself, a demo application is prepared, called My Pokemon.
The tech stack is below.
-
React
-
TypeScript
-
react-router
-
Redux
-
Material-UI
-
others (webpack, babel, eslint, prettier, PokéAPI)
Because I would like to explain how to write tests with Redux, react-router and Material-UI, tech stack is bit complex.
You can browse Pokedex and add favorite pokemons as My Pokemons .
- Home: “/”
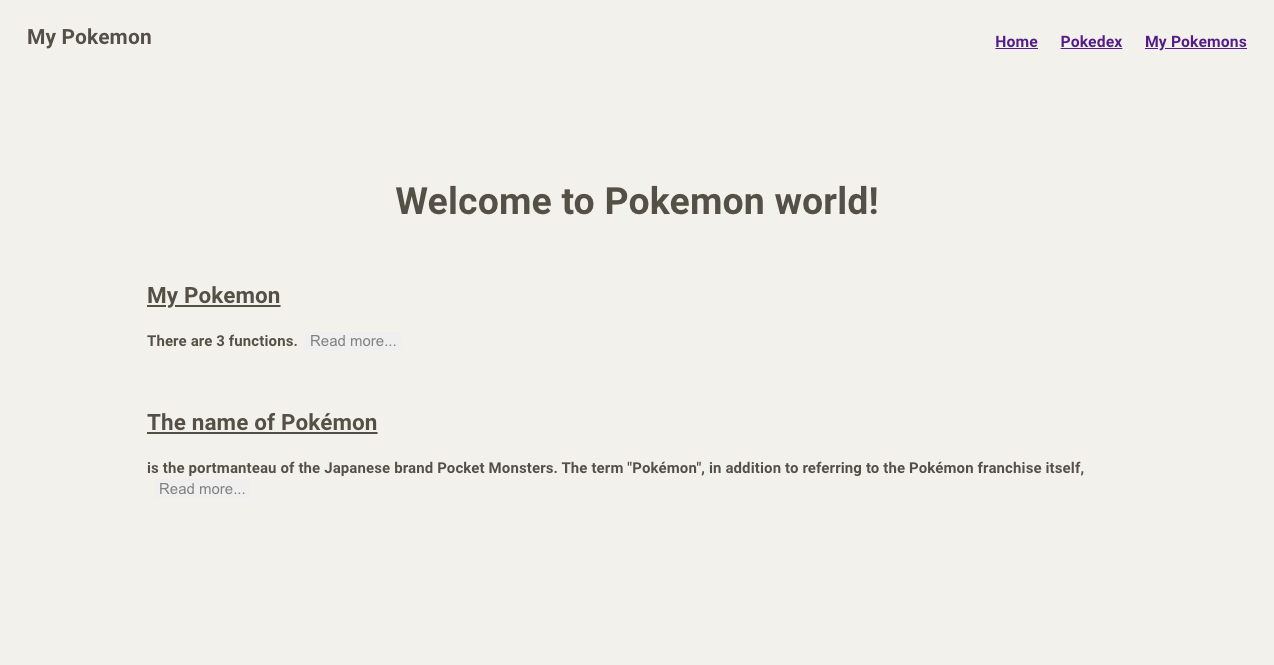 Home
Home
- Pokedex: “/pokemons”
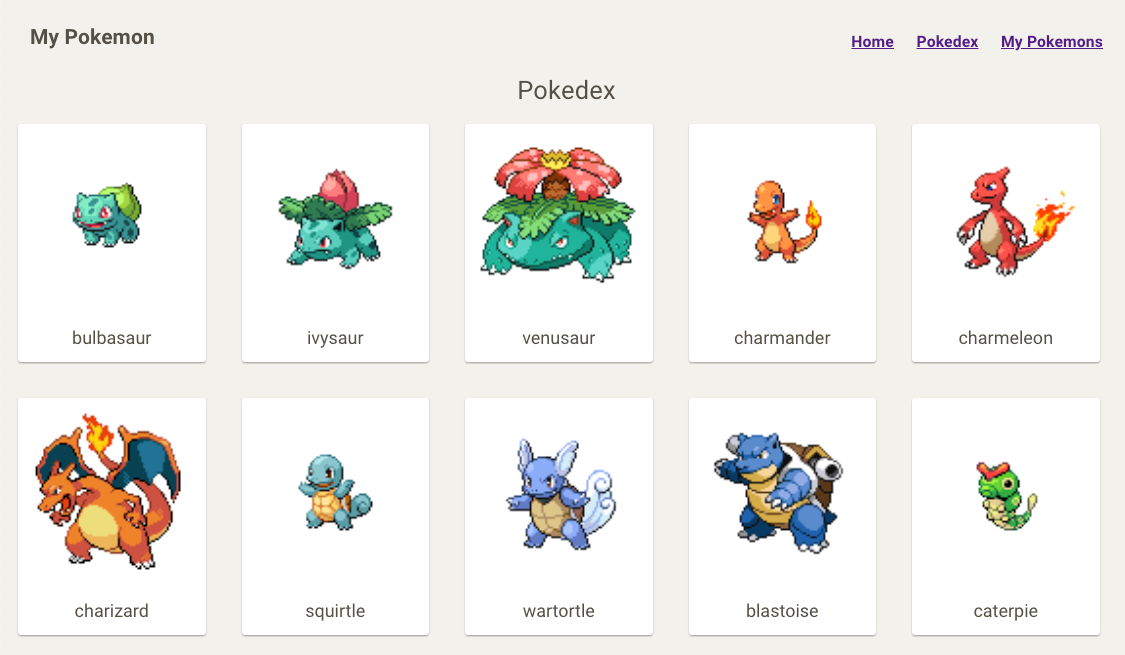 Pokedex
- PokemonDetail: “/pokemons/:id”
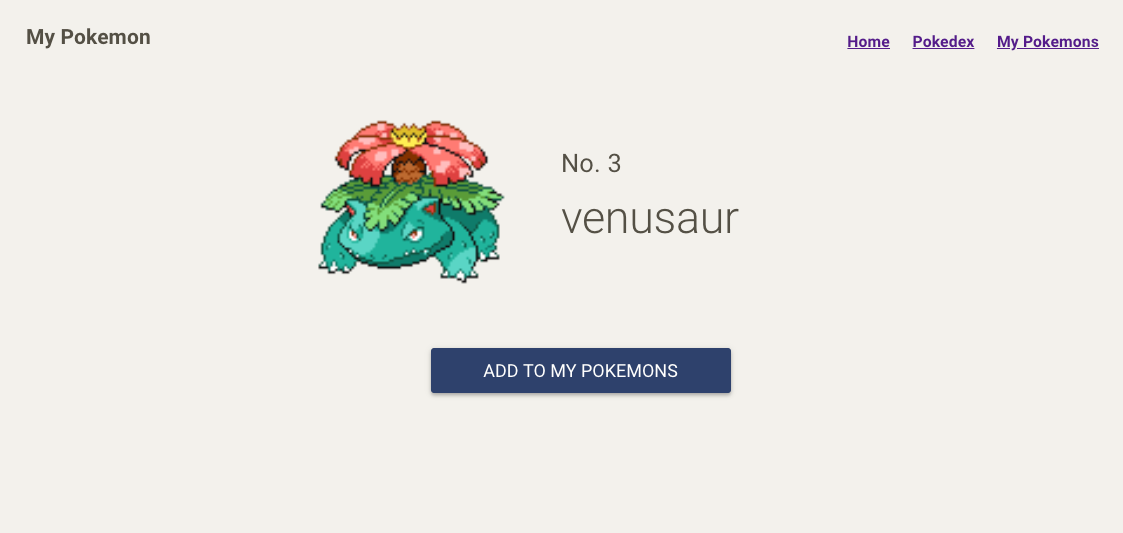 Pokemon Detail
- My Pokemons: “/my_pokemons”
 My Pokemons
Please clone this repo if you want.
git clone [https://github.com/egurinko/react-testing-library-demo.git](https://github.com/egurinko/react-testing-library-demo.git)
Install packages
Let’s add packages for React-Testing-Library. What you need is below.
yarn add -D [@testing](http://twitter.com/testing)-library/react [@testing](http://twitter.com/testing)-library/jest-dom jest
@testing-library/jest-dom provides custom DOM matchers for JEST. It makes your test life easier.
For TypeScript, you should add some packages.
yarn add -D ts-jest [@types/jest](http://twitter.com/types/jest) [@types/testing-library__react](http://twitter.com/types/testing-library__react) [@types/testing-library__jest-dom](http://twitter.com/types/testing-library__jest-dom)
@types packages are type files of each packages. ts-jest is a JEST preprocessor of TypeScript. It enables you to do type checking.
Setup
Setup Jest and TypeScript first ! Just run one command below. It creates a jest config file (jest.config.js) with TypeScript setting.
yarn ts-jest config:init
Before writing tests, please add eslint setting if you need it because eslint does not know test framework codes.
// .eslintrc.json

{
  ...
  "env": {
    "browser": true,
    "jest": true       // ADD THIS
  }
  ...
}
Let’s write the first test. Because I would like to create test files in src directory, please make a test directory called test . JEST automatically detect that files under test are test files.
// src/__test__/integration/first.spec.ts

it('runs the first test', () => {
  expect(true).toBe(true);
});
Because other types of files like configs, mocks, will normally be created, I usually make integration directory for pure test files.
To run JEST test easily, I recommend you to create yarn script like below.
// package.json

....

"scripts": {
  ....
  "check-types": "tsc",
  "test": "jest"
}

....
So ready for run the first test. Just do it!
yarn test

$ jest
 PASS  src/__test__/integration/first.spec.ts
  ✓ runs the first test (2ms)

Test Suites: 1 passed, 1 total
Tests:       1 passed, 1 total
Snapshots:   0 total
Time:        2.141s, estimated 3s
Ran all test suites.
✨  Done in 3.50s.
Congratulations 🎉🎉
Write the first test with React Testing Library
The test above is not a test of React Testing Library. It’s just a JEST test. So let’s write a simple component test with React Testing Library.
The simplest component in My pokemon repo is src/components/NotFound.tsx . It has just plain html tag and text. No Redux, no Material UI, no react-router, but with TypeScript.
// src/components/NotFound.tsx

import React from 'react';

const NotFound: React.FC<{}> = () => (
  <div>
    <h1>Not Found</h1>
    <h1>404</h1>
  </div>
);

export default NotFound;
So please rename the first test to notFound.spec.tsx and write a simple test.
// src/__test__/notFound.spec.tsx

import * as React from 'react';
import { render, RenderResult } from '@testing-library/react';
import NotFound from '../../components/NotFound';

let documentBody: RenderResult;

describe('<NotFound />', () => {
  beforeEach(() => {
    documentBody = render(<NotFound />);
  });

  it('shows not found message', () => {
    expect(documentBody.getByText('Not Found')).toBeInTheDocument();
    expect(documentBody.getByText('404')).toBeInTheDocument();
  });
});
render API renders the component you passed as an argument under document.body . It returns RenderResult . If you are more interested in RenderResult , please check it by yourself. You can learn what you can do with render API.
So let’s run the test.

Umm 🤔 It says using the wrong test environment. Consider using the "jsdom" test environment . It’s because current environment is set as node in jest.config.js.
// jest.config.js

module.exports = {
  preset: 'ts-jest',
  testEnvironment: 'node',
};
But node environment can’t handle DOM. So please change testEnvironment to jsdom.
Still get an error 🤔
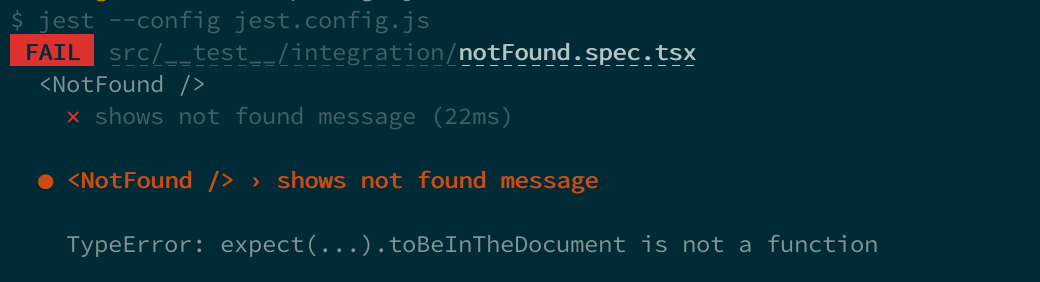
It’s because toBeInTheDocument matcher comes from @testing-library/jest-dom . If you import @testing-library/jest-dom , the test will success.
However, it’s not productive to write import sentence in all file. So let’s create a JEST config to enable to import @testing-library/jest-dom globally.
First, please create the config file.
// src/__test__/config/importJestDOM.ts

import '@testing-library/jest-dom';
And add the file to setupFilesAfterEnv of jest.config.js like below.
// jest.config.js
module.exports = {
  preset: 'ts-jest',
  testEnvironment: 'jsdom',
  setupFilesAfterEnv:['<rootDir>/src/__test__/config/importJestDOM.ts']
};
If you use setupFilesAfterEnv, you can run any module before each test file is executed.
Now the first test will pass !!
PASS  src/__test__/integration/notFound.spec.tsx
  <NotFound />
    ✓ shows not found message (23ms)

Test Suites: 1 passed, 1 total
Tests:       1 passed, 1 total
Snapshots:   0 total
Time:        1.48s, estimated 4s
Ran all test suites.
✨  Done in 2.58s.
Snapshot Test for fixed text
If you want to test fixed texts in app, you don’t have to write fixed text solidly in tests because you must manage fixed texts both in app and in tests.
In such situation, snapshot test is effective. You take a snapshot of component and commit it to GitHub. If fixed text is changed, just update snapshot and commit it again.
The code itself is very simple.
// src/__test__/integration/notFound.spec.tsx

.....

describe('<NotFound />', () => {
  beforeEach(() => {
    documentBody = render(<NotFound />);
  });

  it('matches snapshot', () => {
    const { baseElement } = documentBody;
    expect(baseElement).toMatchSnapshot();
  });
})
You don’t have to write fixed texts in test anymore.
When you firstly run snapshot test, snapshot directory and .snap file will be created like below.
// src/__test__/integration/__snapshots__/notFound.spec.tsx.snap

exports[`<NotFound /> matches snapshot 1`] = `
  <body>
    <div>
      <div>
        <h1>Not Found</h1>
        <h1>404</h1>
      </div>
    </div>
  </body>
`;
When you updated something, your test would fail. But if it’s intentional change, you can run test with --updateSnapshot option and commit it.
※ Attention Snapshot test is very easy, but it has some disadvantages for a big component. If you would like to know effective snapshot, please go the link Effective Snapshot Testing *I guess I've been on a bit of a testing kick recently, I promise this newsletter will delve into more stuff later. But…*kentcdodds.com
Extra: Handling Static Assets
Because the example of NotFound does not have static assets like stylesheets and images. But if you test a component with them, it fails because jest cannot parse.
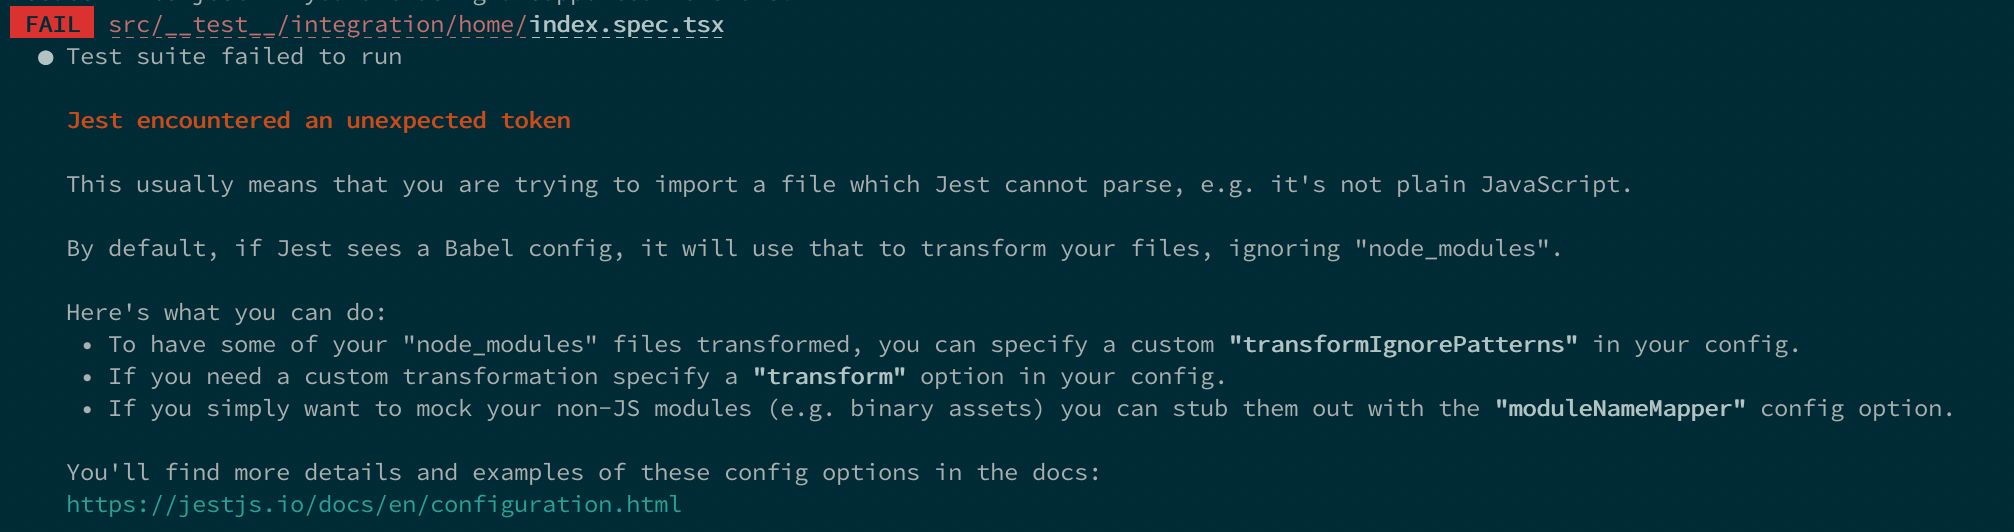 Error with static assets
To avoid this error, you should mock static assets. [Using with webpack · Jest *Jest can be used in projects that use webpack to manage assets, styles, and compilation…*jestjs.io](https://jestjs.io/docs/en/webpack#handling-static-assets)
In this example, create mock files.
// src/__test__/mock/styleMock.ts

export default {};

// src/__test__/mock/fileMock.ts

export default "test-file-stub";
And use them in moduleNameMapper ofjest.config.js . ModuleNameMapper replaces some modules with what you indicated.
// jest.config.js

module.exports = {
  preset: 'ts-jest',
  testEnvironment: 'jsdom',
  setupFilesAfterEnv: ['<rootDir>/src/__test__/config/importJestDOM.ts'],
  moduleNameMapper: {
    "\\.(jpg|jpeg|png|gif|eot|otf|webp|svg|ttf|woff|woff2|mp4|webm|wav|mp3|m4a|aac|oga)$": "<rootDir>/src/__test__/mock/fileMock.ts",
    "\\.(css|less)$": "<rootDir>/src/__test__/mock/styleMock.ts"
  }
};
With this option, you can include static assets to your tests 🎉
This article focuses on how to setup JEST and React Testing Library with TypeScript and runs the first test. Because I wrote other articles about React Testing Library, check it out if you like.
-
How to Setup React Testing Library for Material UI Styled component with TypeScript
-
Snapshots of Material UI styled component with React Testing Library and TypeScript
Thank you !
Comments
Loading comments…