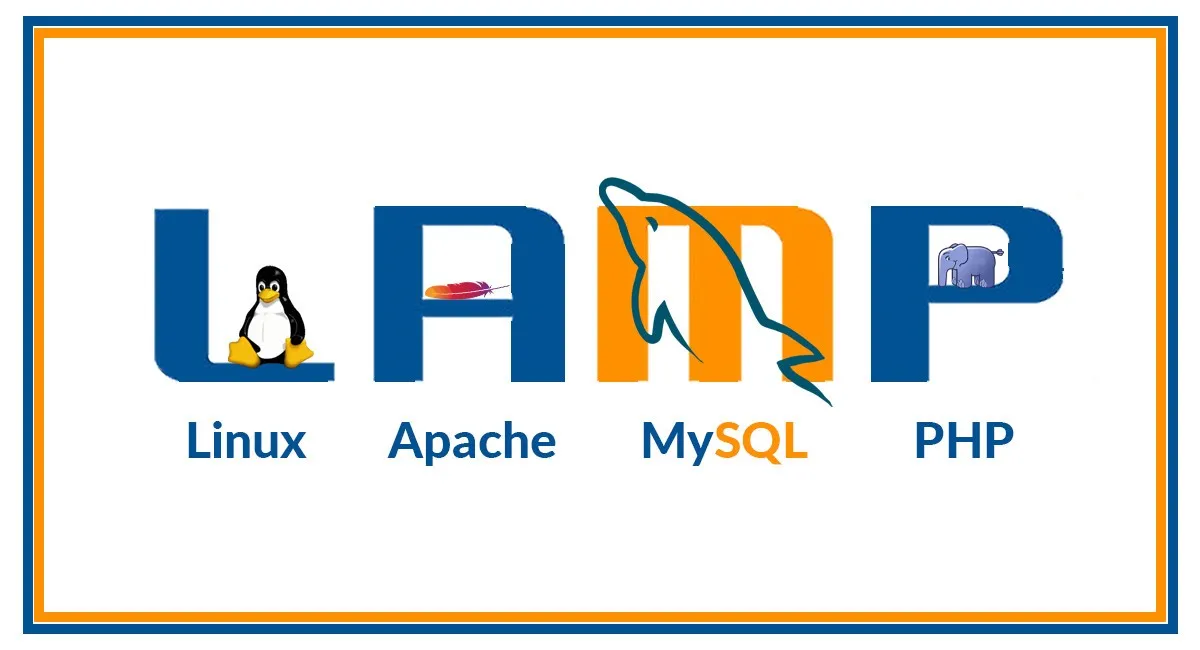
As your website grows, at some point in time you definitely will want to migrate to a more advanced hosting solution, for example from shared hosting to linux vps hosting. One way of doing it is using the LAMP stack, a set of server software consisting of Linux, Apache web server, MySQL, and PHP. In the following article, we'll have a look at the procedure for transferring your website by means of LAMP.
Why use LAMP?
Each component of LAMP is a widely used and well-established tool capable of performing various kinds of tasks. In particular, Linux is the operating system of choice for many web servers, as it is stable, secure, and has a large community of developers contributing to its development. Apache is the most popular web server, and it is known for its flexibility and performance. MySQL is a powerful and reliable relational database management system that is widely used for storing and managing website data. PHP is a server-side scripting language that is widely used for creating dynamic and interactive web pages.
The benefits of LAMP include:
Cost. All four components of LAMP are distributed free of charge.
Popularity. LAMP is a popular and time-proven solution, so you won't have to test it a lot, as most developers have already dealt with it.
Maintenance. LAMP has a large community of developers all over the globe, so all four components are regularly maintained, updated released, so its performance is only getting better.
Support. Another advantage of the LAMP's popularity is that it is supported by a global community, with lots of materials and documentation, so you'll be able to fix most issues without much trouble.
Flexibility. LAMP is open source and many of its components can be modified or replaced if needed. Professional developers will definitely know how to benefit from this feature to realize various kinds of projects.
Transferring your website with LAMP
Installing LAMP
Before you are able to use LAMP for the task of the article, you'll first have to install it. You can do it by simply executing these four commands in your Linux terminal:
sudo apt install apache2
sudo apt install mysql-server
sudo apt install php7.2 libapache2-mod-php7.2 php-mysql
sudo apt install php-curl php-json php-cgi php-gd php-zip php-mbstring php-xml php-xmlrpc
The further important step is to make sure that your server can be accessed from the outside. Use the command:
sudo ufw allow in 80/tcp
Note: you should use your port number in case it is different from 80.
Alternatively, you can install LAMP in your control panel. But keep in mind that not all control panels support this function.
Create a backup copy of your database
Go to the "Backup" section of your cPanel. Press "Download a Full Account Backup" and specify the folder.
Now you can either transfer the copy physically or upload it directly to the VPS with FTP, SFTP, or SSH protocols.
Copy the website data on your VPS
First, you should open the control panel on your server with root rights. Go to the data recovery section and select the archive you created in the previous step. This way you can transfer the files from your previous hosting to the new one.
Configure the web server
To make sure that the things you've just transferred work correctly, the first step is to configure the web server. To do it, open the wp-config.php file, find the MySQL database details and actualize them.
First, open the file and find the "MySQL settings" key in it. Then you'll see something like this:
/** MySQL settings - You can get this info from your web host ** //
/** The name of the database for WordPress */
define('DB_NAME', 'u694443746_meryr'); /** MySQL database username */
define('DB_USER', 'u694443746_tatym'); /** MySQL database password */
define('DB_PASSWORD', 'fjg#fKLO033j'); /** MySQL hostname */
define('DB_HOST', 'mysql');
Now, modify the DB_NAME, DB_USER, DB_PASSWORD, and DB_HOST values according to what they look like on the new server
Modify the A record
The last step to make everything work is to modify the A record. A record is what connects your domain name with your IP address. If you change your IP address, the A record needs to be changed as well, so your domain name works again.
To do it, open your control panel and go to the DNS zone editor. Enter your new IP and save changes.
Test your newly transferred website
Now that everything is in the right place and properly configured, you'll need to test your website on the new server or hosting account to make sure that everything is working as expected. This includes checking for broken links, testing forms, and other functionality, and making sure that your website is loading properly.
Conclusion
For now, this has been a more or less complete guide to transferring your website using the LAMP stack. We hope that this procedure has run smoothly on your VPS, and now you can enjoy the increased performance and reliability of your new hosting plan.