
We can handle user authentication for our Django project very easily using the UserCreationForm. In this article, I will discuss how to handle user registration, login, and logout in a Django application.
**Table of contents:**

· [Initial Setup](#fba9)
· [Creating the Register view](#fa9e)
  ∘ [views.py](#72e0)
  ∘ [Templates](#9801)
  ∘ [regiseter.html](#6a33)
  ∘ [urls.py](#28d8)
· [Registration Form With Additional Fields](#ed5e)
  ∘ [forms.py](#fa8f)
  ∘ [views.py](#1735)
  ∘ [register.html](#c91f)
· [Log in and Log out](#1425)
  ∘ [login.html](#ae9a)
  ∘ [logout.html](#1ea0)
  ∘ [home.html](#2d97)
· [Conclusion](#fad3)
· [Helpful Resources](#e524)
Initial Setup
First, we will create a project named demo. I am using Django version 3.2. Check your Django version before following this article.
django-admin startproject demo
Then inside the project, we will create an app named users. Keeping a specific portion of a Django project as an app like this is good practice.
python manage.py startapp users
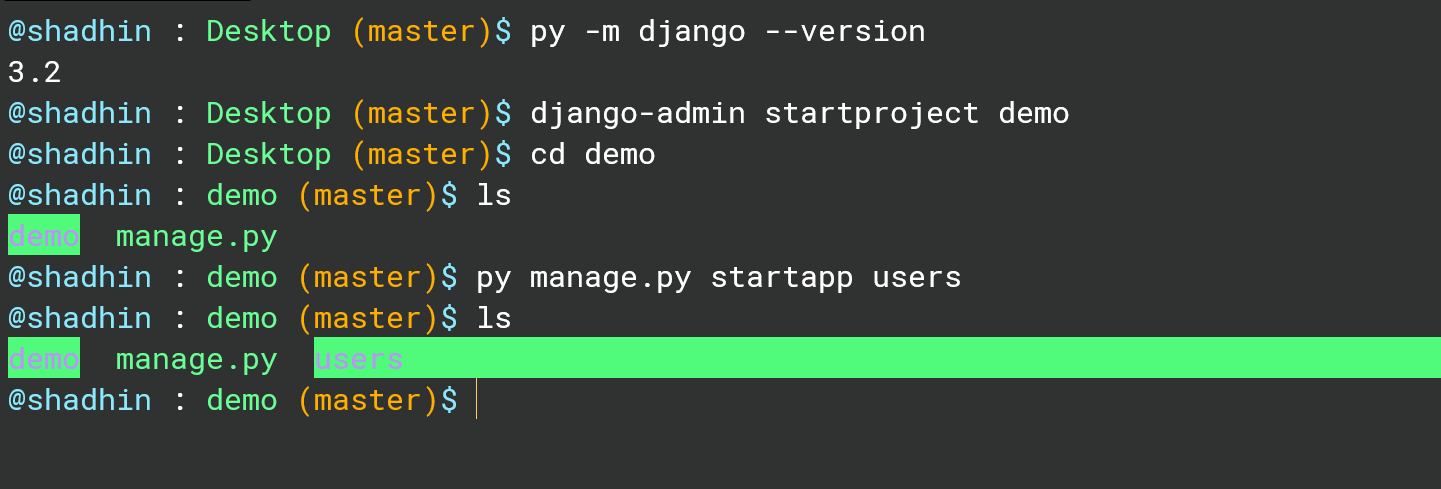
In the screenshot, you will see instead of using python I am using py in the commands. That's because I am using bash alias for the python command. Depending on your operating system or version you may need to specify the python version too. Like if you are using Python version 3.9 you may need to write the command like this —
python3.9 manage.py startapp users
So don't get confused by this.
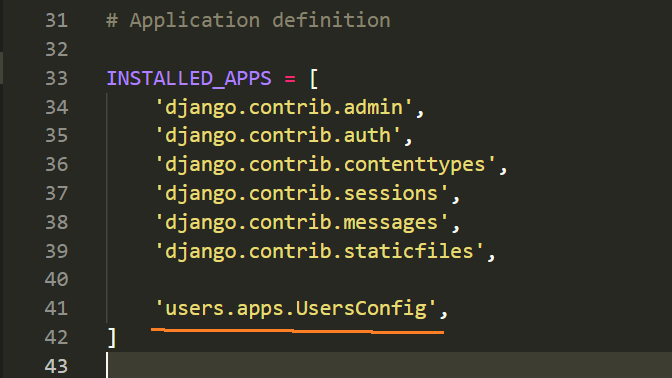
After creating the app we need to add it to the settings.py file. Inside settings.py there is a list called INSTALLED_APPS. We need to add users.apps.UserConfig inside the INSTALLED_APPS list.
Then we need to create admin for our application. Before creating the admin we will migrate.
python manage.py makemigratons

python manage.py migrate
Then we will run this command —
python manage.py createsuperuser
To create a superuser we need to provide a username, email, and password.
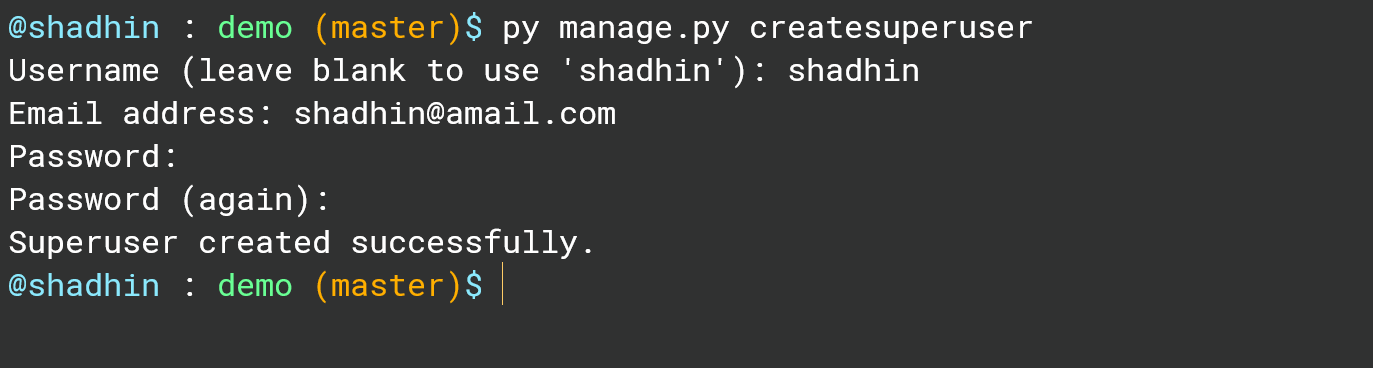
The admin panel setup is done. We will be able to see new users in the admin panel now.
Creating the Register view
Inside the users app, there is a file named views.py. We need to write our views here. We will create a simple register view first.
views.py
from django.shortcuts import render, redirect
from django.contrib.auth import login, authenticate
from django.contrib import messages
from django.contrib.auth.forms import UserCreationForm

def home(request):
    return render(request, 'users/home.html')

def register(request):
    if request.method == 'POST':
        form = UserCreationForm(request.POST)
        if form.is_valid():
            form.save()

            messages.success(request, f'Your account has been created. You can log in now!')
            return redirect('login')
    else:
        form = UserCreationForm()

    context = {'form': form}
    return render(request, 'users/register.html', context)
Make sure to add relevant imports. The function home simply creates a Welcome view for the home page.
Templates
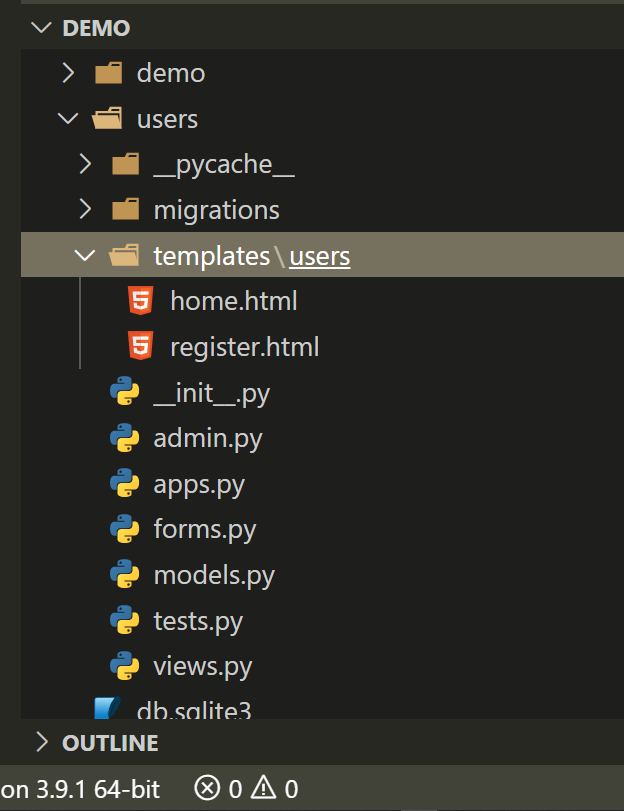
We need the necessary html files for our views. Inside the users app, we will create our templates. Inside the users directory, we will create a directory called templates. Then inside the templates directory, we will create another directory named users. Here we will put the html files. In our case home.html and register.html.
Look at the file structure to clear confusion —
register.html
<h3>Register here</h3>
<hr />

<form action="" method="POST">
  {% csrf_token %} {{ form.as_p }}

  <button type="submit">Register</button>
</form>
urls.py
We need to modify the urls.py file inside demo.
from django.contrib import admin
from django.urls import path
from django.contrib.auth import views as auth_views

from users import views as user_views

urlpatterns = [
    path('admin/', admin.site.urls),
    path('', user_views.home, name='home'),
    path('register/', user_views.register, name='register'),
]
Now let's open the application in localhost http://127.0.0.1:8000/
python manage.py runserver
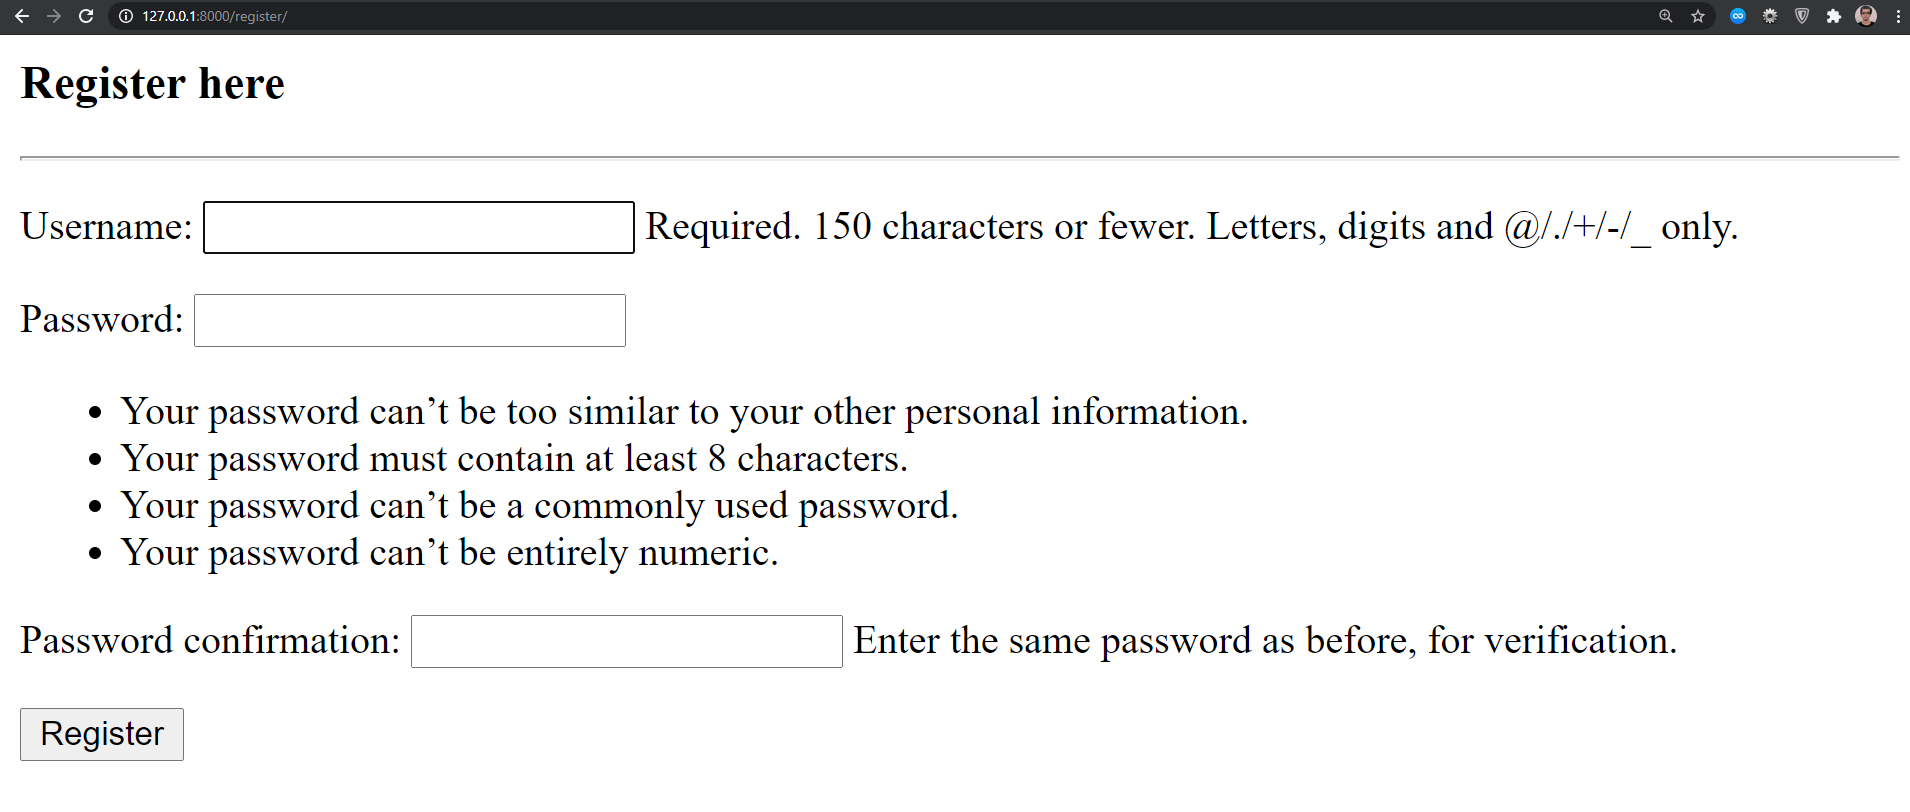
If we navigate to http://127.0.0.1:8000/register we will see the basic user registration form.
Registration Form With Additional Fields
By default, the form has a username, password, and password confirmation. We will add some additional fields to it. To do so we need to create forms.py inside the users app.
forms.py
from django import forms
from django.contrib.auth.forms import UserCreationForm
from django.contrib.auth.models import User


class UserRegistrationForm(UserCreationForm):
    first_name = forms.CharField(max_length=101)
    last_name = forms.CharField(max_length=101)
    email = forms.EmailField()

    class Meta:
        model = User
        fields = ['username', 'first_name', 'last_name', 'email', 'password1', 'password2']
Now in views.py we will use UserRegistrationForm instead of the UserCreationForm.
views.py
from django.shortcuts import render, redirect
from django.contrib.auth import login, authenticate
from django.contrib import messages
from .forms import UserRegistrationForm

def home(request):
    return render(request, 'users/home.html')

def register(request):
    if request.method == 'POST':
        form = UserRegistrationForm(request.POST)
        if form.is_valid():
            form.save()

            messages.success(request, f'Your account has been created. You can log in now!')
            return redirect('login')
    else:
        form = UserRegistrationForm()

    context = {'form': form}
    return render(request, 'users/register.html', context)
And the additional fields are added. UserRegistrationForm inherited from the default UserCreationForm then added extra fields to it.
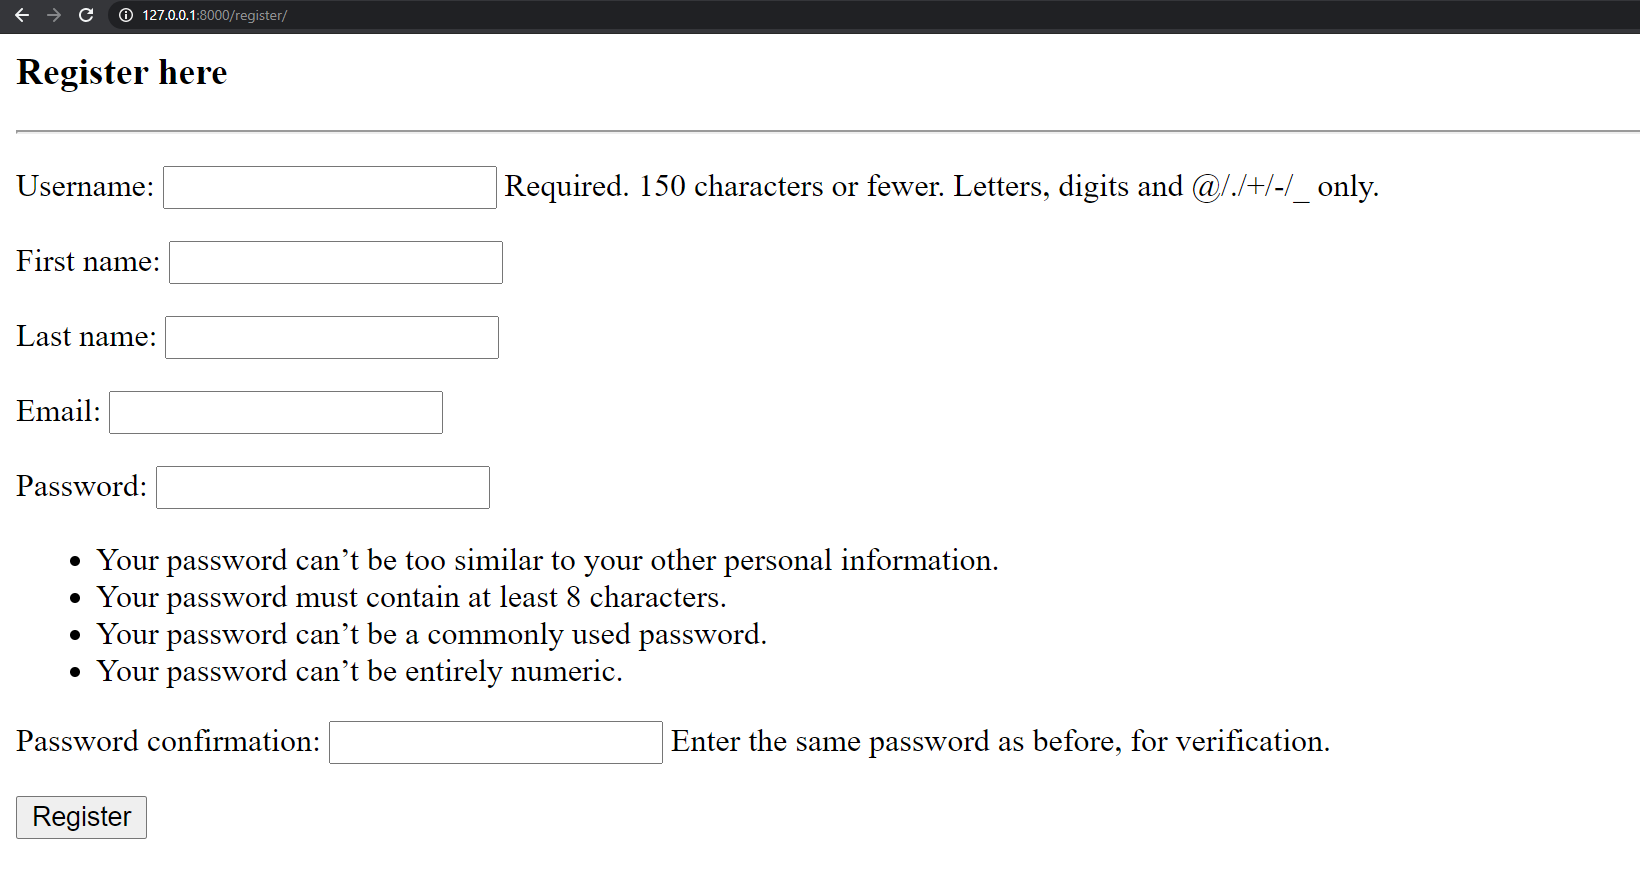
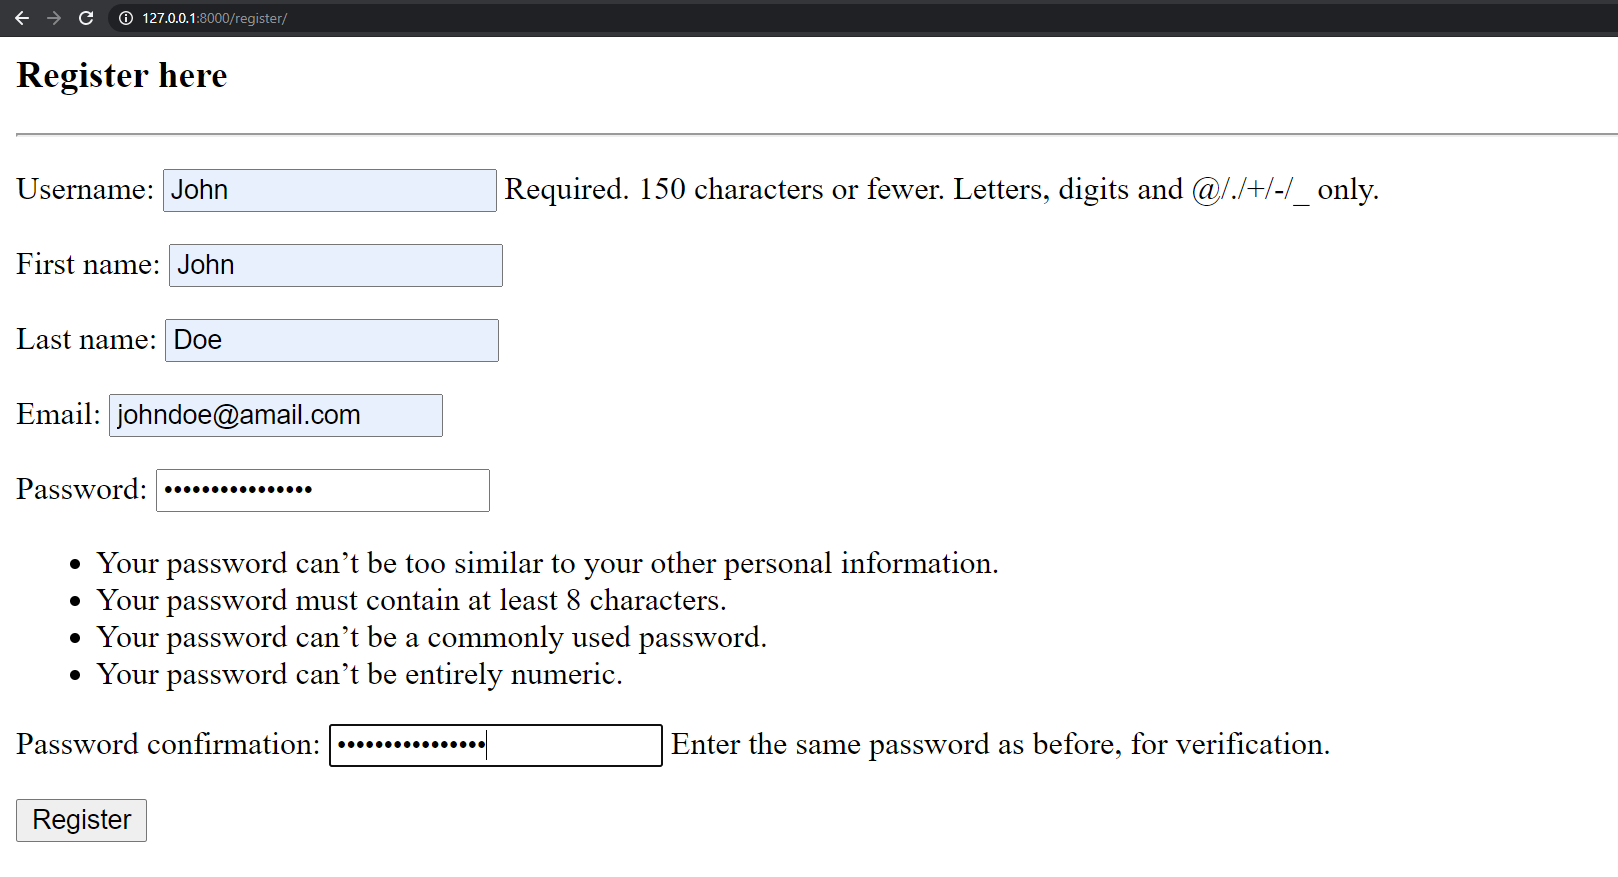
Now we are able to add new users to our application. Let's fill-up the form and check if the user appears in the admin panel or not.
New user ‘John' is visible in the admin panel.
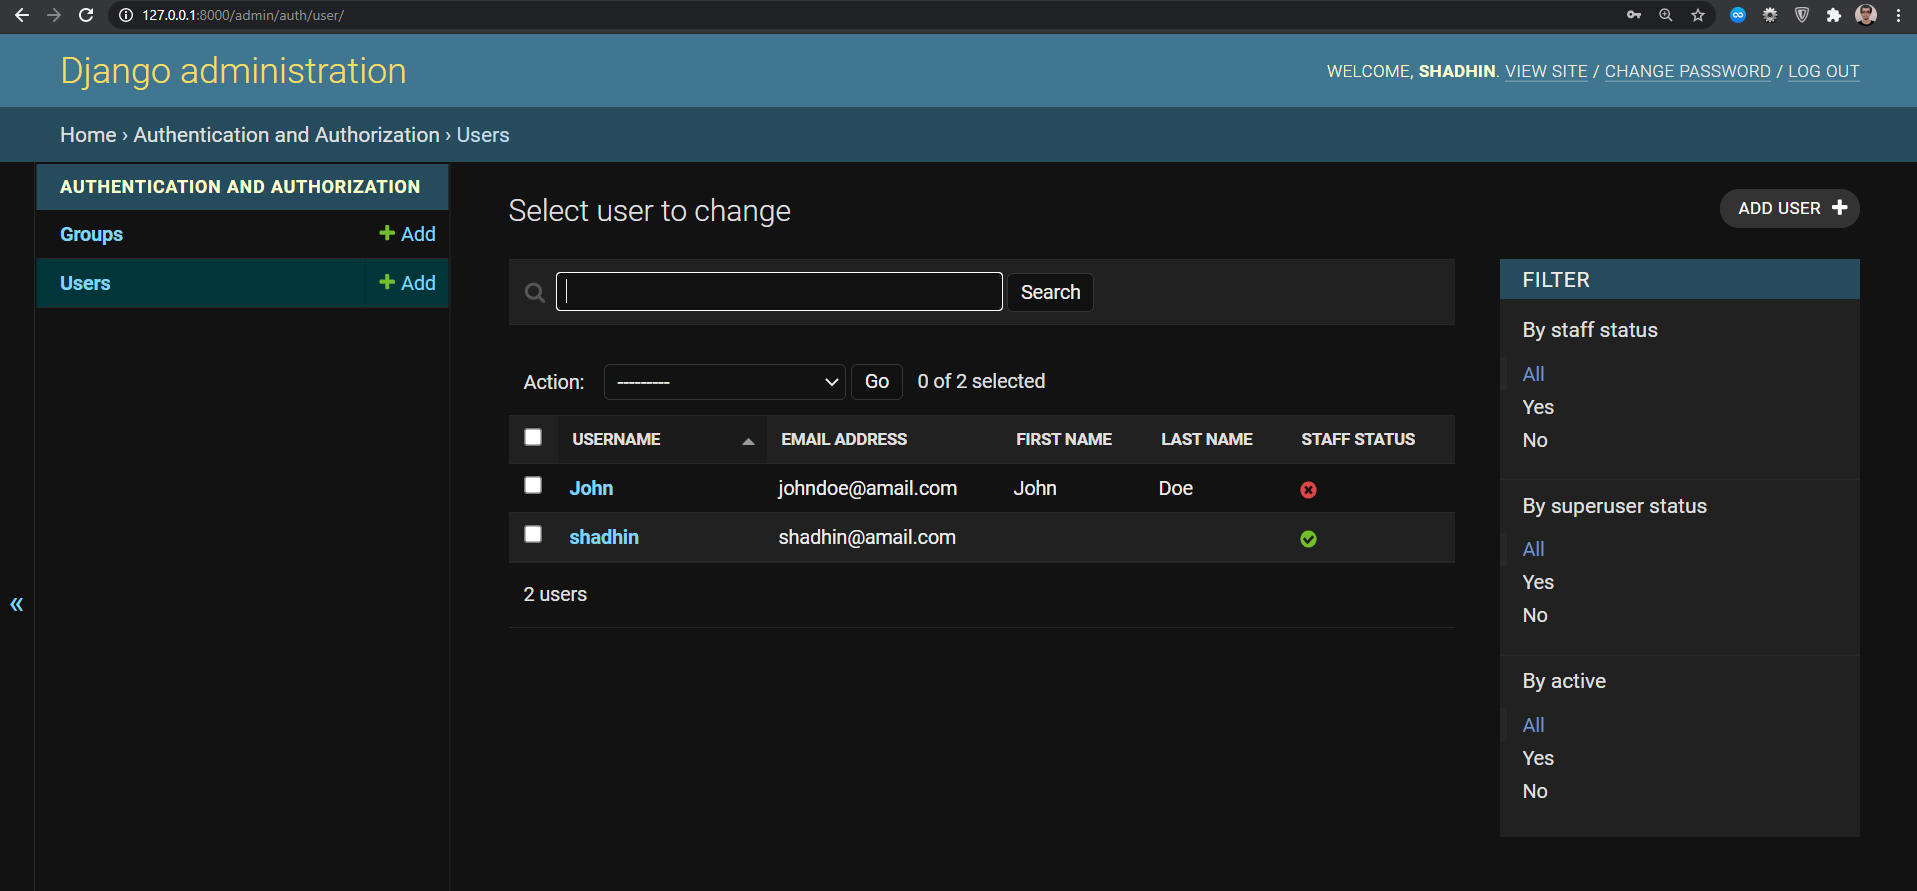
We can see staff status is crossed for the user ‘John'. That means this user is not a superuser.
By modifying register.html a little we can make the page look better.
register.html
<h3>Register here</h3>
<hr />

<form action="" method="POST">
  {% csrf_token %} {% for field in form %}
  <div>
    <p>
      {{ field.label }}: <br />
      {{ field }}
    </p>

    {% for error in field.errors %}
    <small style="color: red">{{ error }}</small>
    {% endfor %}
  </div>
  {% endfor %}
  <button type="submit">Register</button>
</form>
Now the form looks like this —
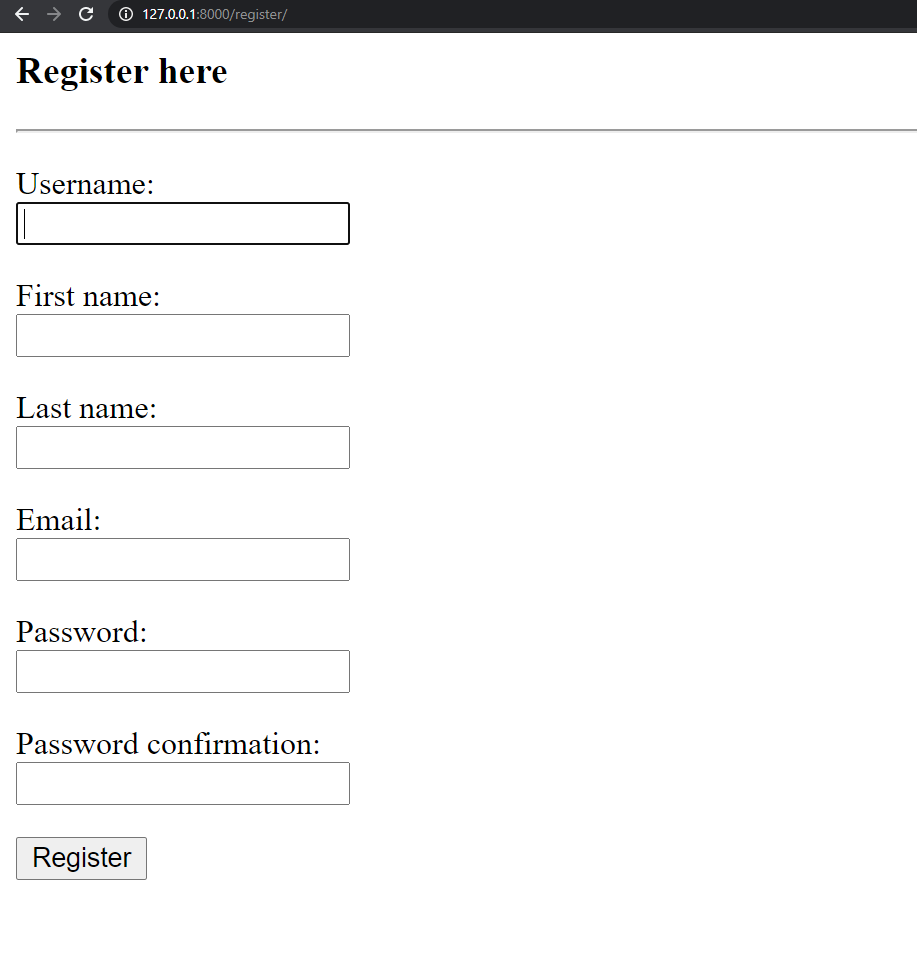
And user registration is done! Now we need to handle login and logout.
Log in and Log out
We will use LoginView and LogoutView for user login and log out. In our, urls.py we need to add two lines of extra code.
from django.contrib import admin
from django.urls import path
from django.contrib.auth import views as auth_views

from users import views as user_views

urlpatterns = [
    path('admin/', admin.site.urls),
    path('', user_views.home, name='home'),
    path('register/', user_views.register, name='register'),

    path('login/', auth_views.LoginView.as_view(template_name='users/login.html'), name='login'),
    path('logout/', auth_views.LogoutView.as_view(template_name='users/logout.html'), name='logout'),
]
We need to create two new files in our templates — login.html and logout.html. We will modify the login.html now. We can show any message in logout.html. Or we can show a redirect link to the home page in logout.html too.
login.html
<h3>login</h3>

<form action="" method="POST">
  {% csrf_token %} {% for field in form %}
  <p>
    {{ field.label }}: <br />
    {{ field }}
  </p>
  {% endfor %}
  <button type="submit">Login</button>
</form>

<p>Don't have an account? <a href="{% url 'register' %}">Signup here</a></p>
logout.html
{% extends 'users/base.html' %} {% block content %}
<br />
<div class="alert alert-success" role="alert">
  <h2 style="text-align: center;">Logged out!</h2>
</div>

<h3>Login again?</h3>
<a href="{% url 'login' %}">---> Login</a> <br />
<a href="{% url 'home' %}"><--- Or go back to home.</a>
{% endblock content %}
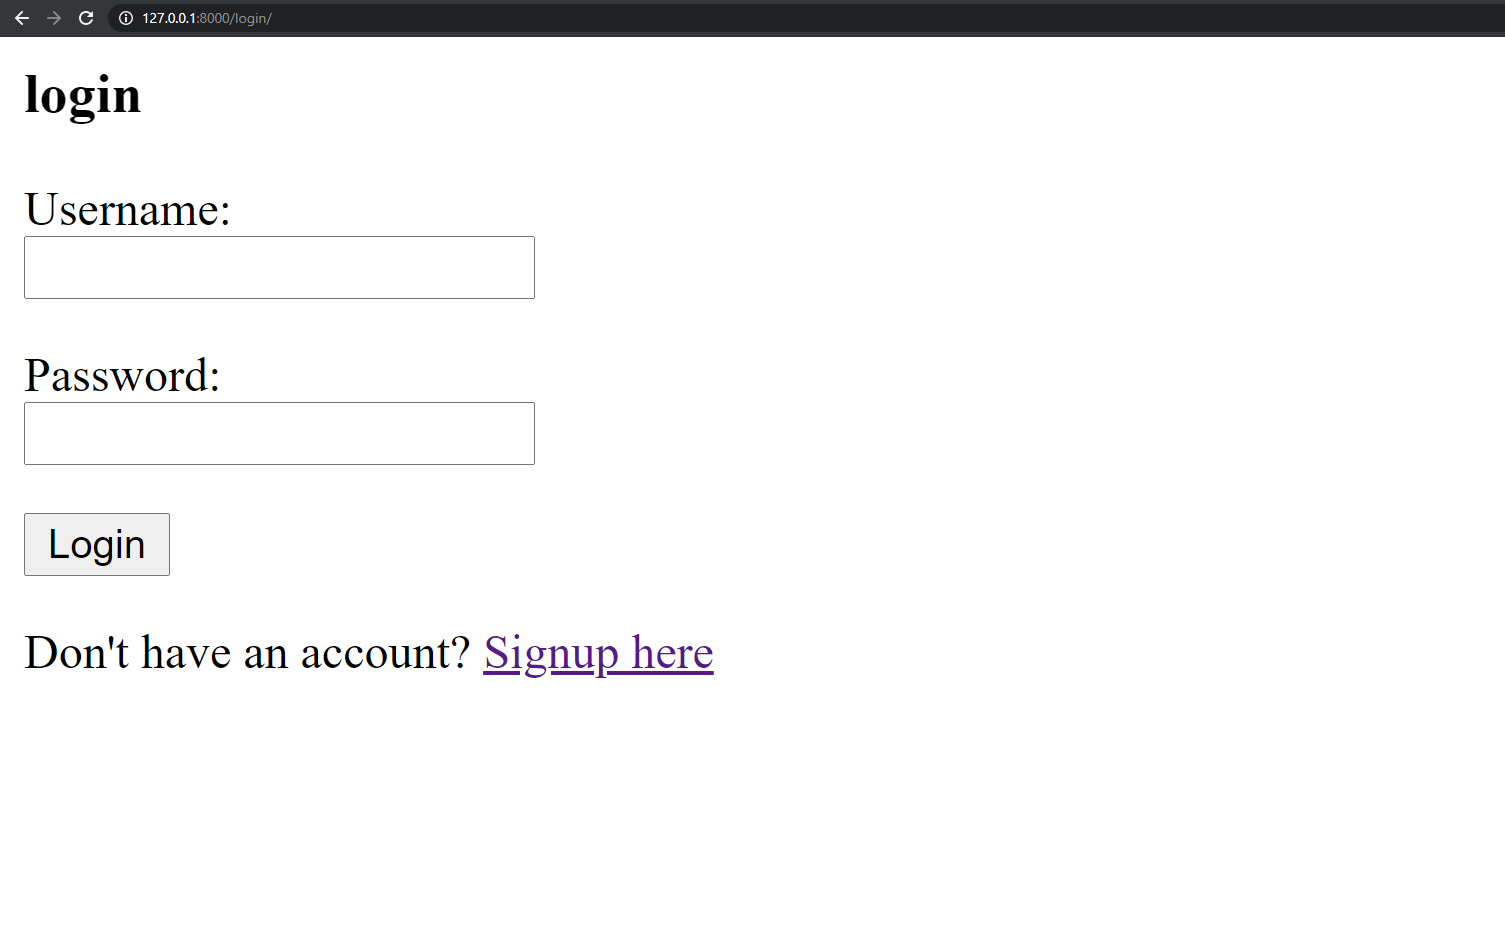
We need to navigate to http://127.0.0.1:8000/login for the login page. This is what the login page will look like:
We want to redirect to the home page after a successful login. We need to add it to our settings.py file. We need to add the following at the bottom of the settings.py file —
LOGIN_REDIRECT_URL = ‘home'
Now after logging in a user will be redirected to the home page.
Depending on whether a user is logged in or not the home page will change. If a user is logged in the home page will show a welcome message with the username and an option to log out. If the user is not logged in there can be two cases the user is registered or the user is not registered. So, in this case, there will be an option to register and for an existing user, there will be a login option. To handle this we need to put some logic in the home.html file.
home.html
{% if user.is_authenticated %}
<div class="alert alert-success" role="alert">
  <h3>Welcome {{ user.username }}!</h3>
  <a href="{% url 'logout' %}">Logout?</a>
</div>
{% else %}
<div class="alert alert-success" role="alert">
  <h3>Welcome!</h3>
  <a href="{% url 'register' %}">Signup</a>
  <a href="{% url 'login' %}">Login</a>
</div>
{% endif %}
Conclusion
And that's pretty much it! User authentication is done. There is a lot we can do here though. Like user registration with email confirmation. Or having the option for a password reset. Or maybe add fields like date of birth, join date, etc. With some research, we can add those too.
I hope this was helpful for you. Thanks for reading.
I have created a small project just to handle user registration and login authentication in a Django application. Here is the GitHub repository — FahadulShadhin/django_login_system
You can check it out for further help or use the code from it.
Comments
Loading comments…