In this blog, we will see how to use custom Python modules in our AWS Lambda function.
Brief about Lambda before we get our hands dirty
Amazon Aws Lambda
AWS Lambda is a serverless compute service that lets you run code without provisioning or managing servers, creating workload-aware cluster scaling logic, maintaining event integrations, or managing runtimes. You can write Lambda functions in your favorite language (Node.js, Python, Go, Java, and more) and use both serverless and container tools, such as AWS SAM or Docker CLI, to build, test, and deploy your functions.
Our Use-case:
By default, Lambda provides few additional modules (like json, boto3, botocore, pip, python-dateutil, and so on) in addition to Standard Python Library. But, this is not always sufficient and we might need few other packages like the Pandas module, mysql, snowflake, and so on.
To cater to this, the user needs to apply layers in the Lambda function.
Assuming we want to use the Pandas module in our Lambda function, let's go ahead and apply layers to our Lambda function to use Pandas in our code.
High-level steps:
- Create an Amazon Linux instance and check the Python version on this Ec2 instance. [ Optional — Upgrade or degrade to specific Python version based on your need ]
- Download necessary packages (pandas for our use-case) and create a zip
- Upload the zip to the S3 bucket
- Create Lambda function (Choose the same Python version used on Amazon Linux instance)
- Apply the layer to the Lambda function
- Import the Pandas library in the code and do a test run.
Demonstration —
Step 1: Create an Amazon Linux instance and log in to the EC2 instance to run the below commands.
mkdir python
cd python
Install the necessary packages in the Python folder using the below command.
pip3 install pandas -t .
rm -rf *.dist-info
Step 2: Move to the parent directory and zip the Python directory. (Note: Zip should have a Python directory).
zip -r pandas_layer.zip .
Step 3: Create an S3 bucket (if not already available) and upload the zip file created in Step 2. (Note: For our use-case, we have created an S3 bucket named demo-layers where we would be uploading this zip file)
aws s3 cp pandas_layer.zip s3://demo-layers/
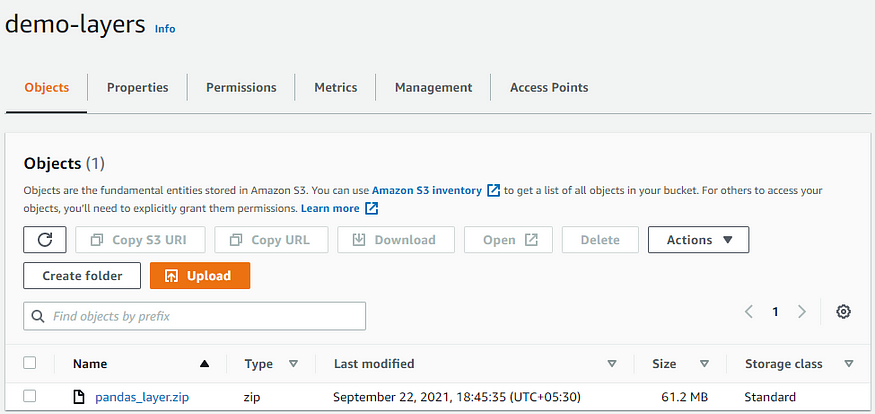
S3 bucket where the pandas_layer.zip was uploaded
Step 4: Create lambda function from AWS Console and select the correct Python version which was also used in the Amazon Linux instance. This is because sometimes modules are not compatible and you might face issues while using these modules in Lambda function.
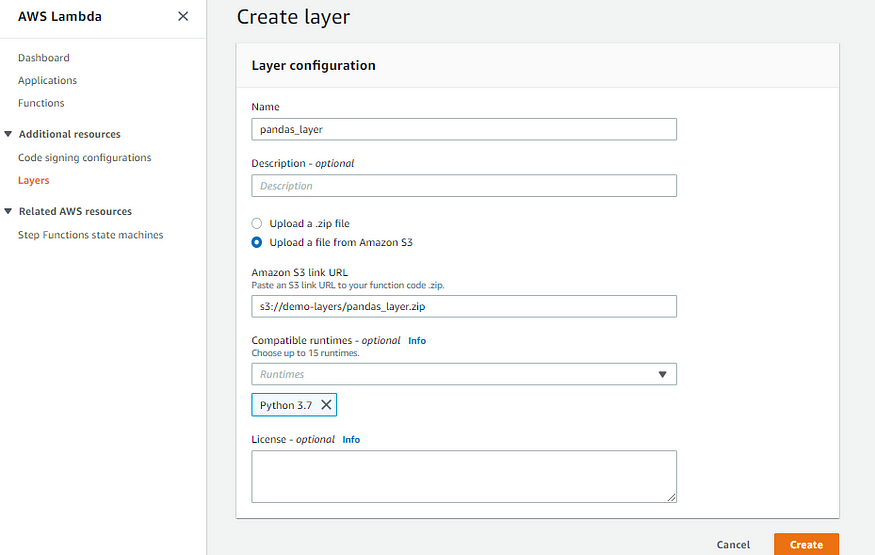
Step 5: Create layers for Lambda from AWS Console
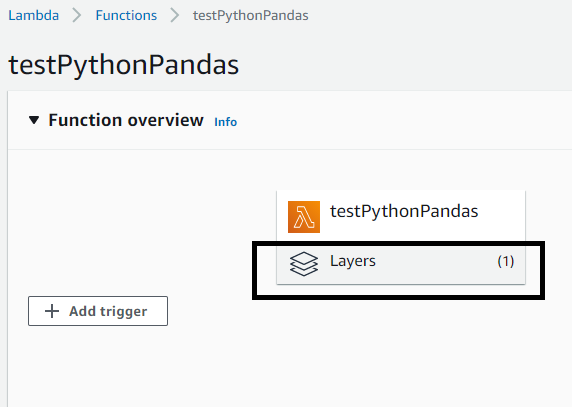
Go to the Lambda function to which the layer has to be applied. Click on layers (highlighted in the black box in the below screen-shot) which will redirect to the section where you could add layers.
Click on the ‘Add layer’ button to add layers

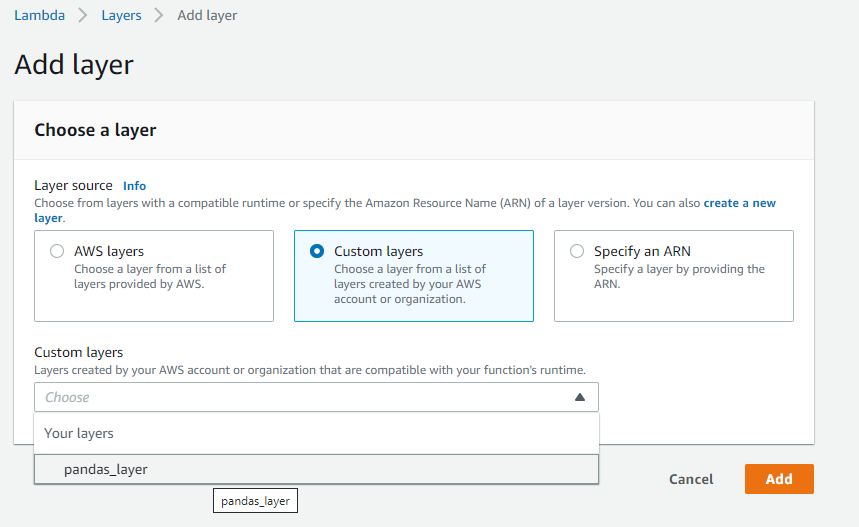
Select ‘Custom layers’ and from the drop-down, select your layer (‘pandas_layer’)
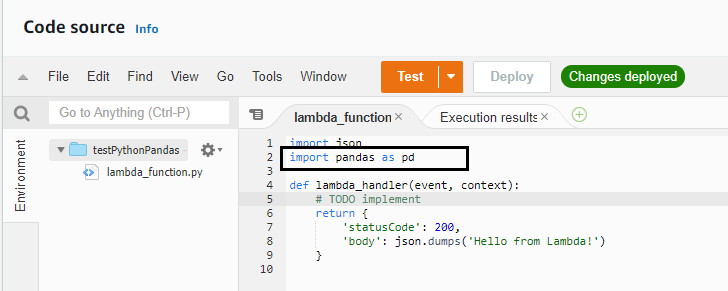
Step 6 : Import the pandas library in code and do test run to see if it is working fine
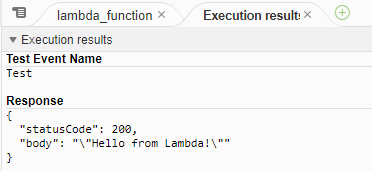
Test Execution is successful, which indicates the layer has been applied correctly. Good job, you did it!
Similarly, you could follow the above steps to use other modules in Lambda. Some organizations also create a zip of their code which contains some common code, so that their standard process/procedure is followed in each code rather than having a duplicate code.
Thank you. If you have liked the blog, please follow my blog and do provide your comments.