AWS Elastic Beanstalk offers several benefits for deploying and managing applications:
- Easy Application Deployment: Elastic Beanstalk simplifies the deployment process by automatically handling infrastructure provisioning, environment setup, and application deployment. Developers can focus on their application code without worrying about the underlying infrastructure.
- Scalability and Auto-Scaling: Elastic Beanstalk allows applications to easily scale up or down based on demand. It provides built-in auto-scaling capabilities that automatically adjust the number of instances to handle traffic spikes and ensure optimal performance.
- Load Balancing: Elastic Beanstalk uses Elastic Load Balancing to distribute incoming application traffic across multiple instances. This improves application availability, fault tolerance, and allows for efficient handling of high traffic volumes.
Requirement
Before we go so far, let’s prepare some software we need.
Software
- NodeJS (https://nodejs.org/en)
- Visual Studio Code (https://code.visualstudio.com/download)
- Github account
- AWS account
Setup Project
- Install NestJS CLI globally:
$ npm install -g @nestjs/cli
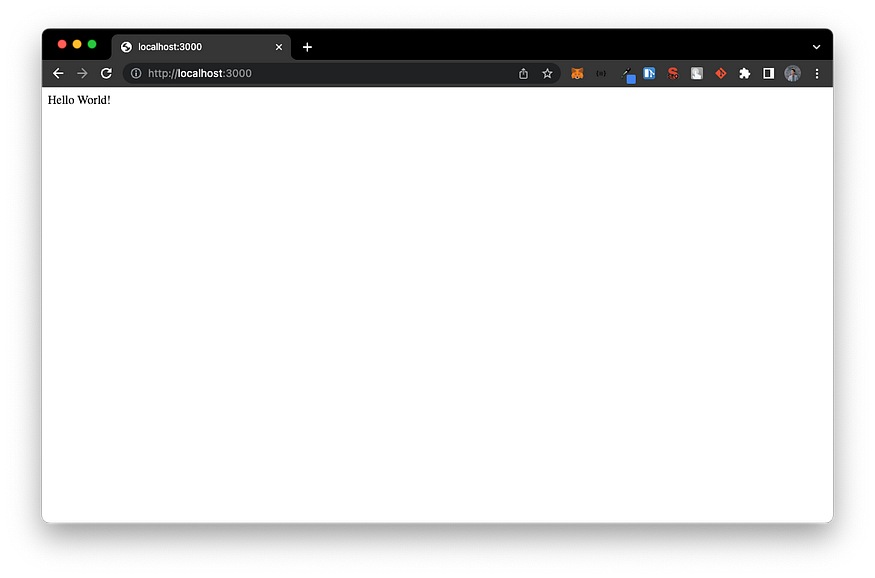
- Create a new project and test it:
$ nest new nest-deploy
$ cd nest-deploy
$ npm run start:dev
- The output will be like this:
Configure Project
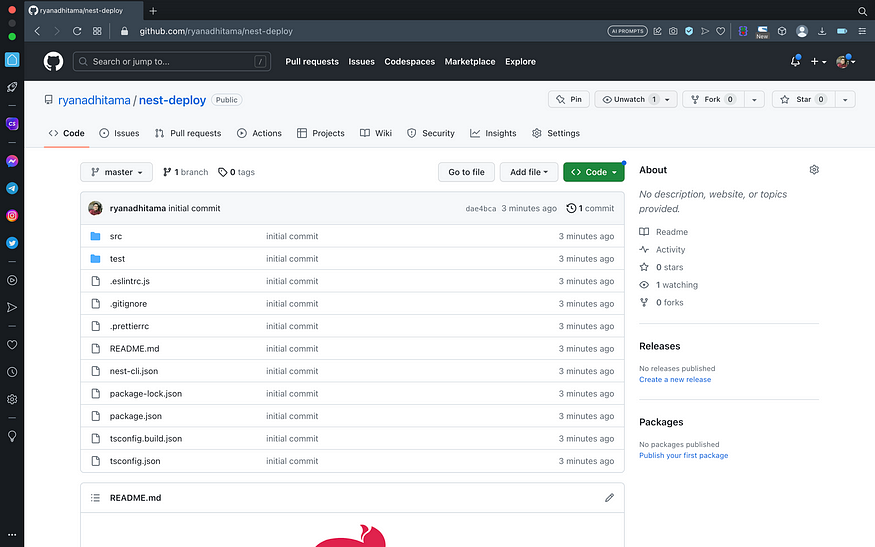
- Upload your project into github repository
- Create Procfile in root folder and add the following code
web: npm install && npm run build && npm run start:dev
- Update src/main.ts with the following code
import { NestFactory } from "@nestjs/core";
import { AppModule } from "./app.module";

async function bootstrap() {
  const app = await NestFactory.create(AppModule);
  await app.listen(process.env.PORT || 3000);
}
bootstrap();
- Commit and push changes into GitHub repository
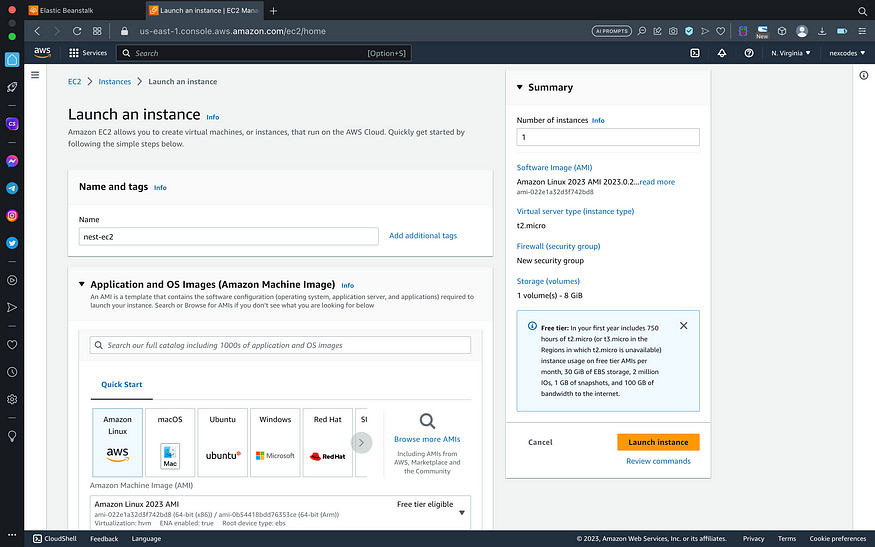
Create EC2 Instance
- Go to EC2 service > click launch instances

- Set name, operating system, create new key pair > click launch instance

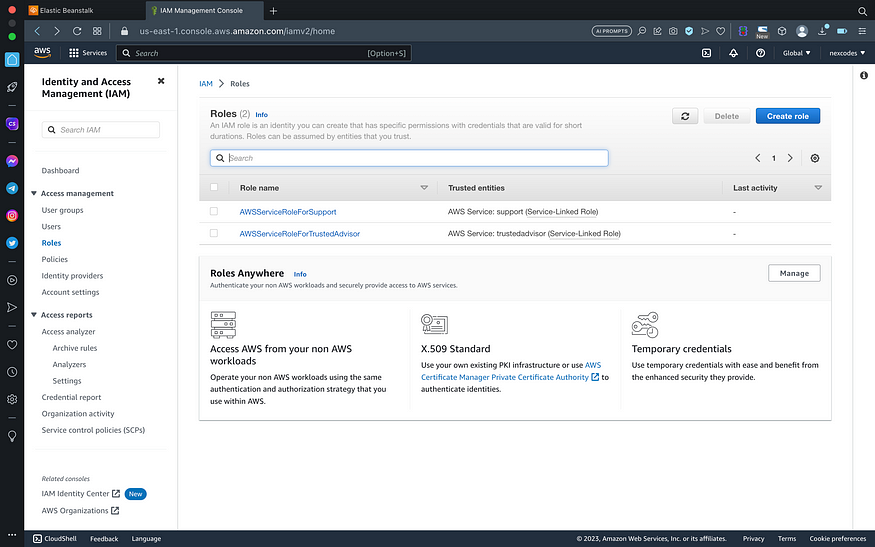
Create IAM Profile
- Go to IAM service > roles > click create role
-
Select trusted entity (AWS service) and EC2 as use case
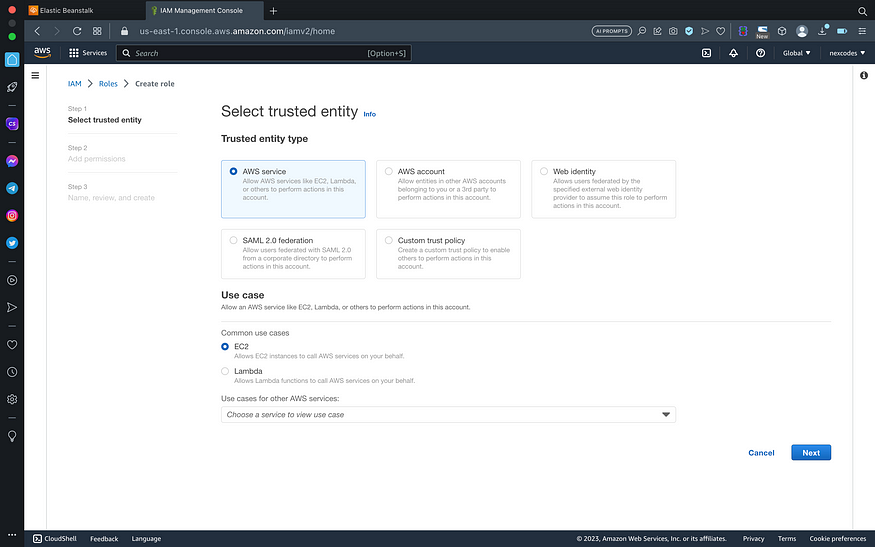
trusted entity -
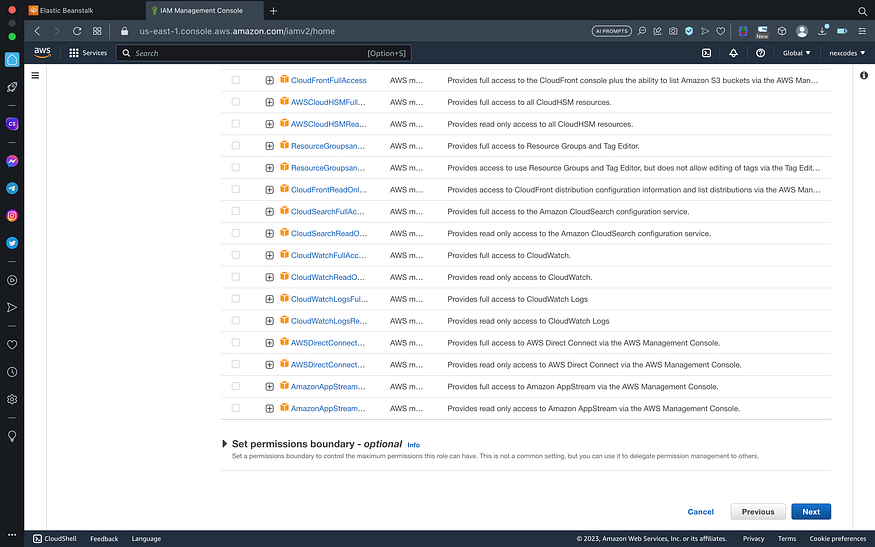
At Add Permission step, we don’t change anything. So, click Next :)
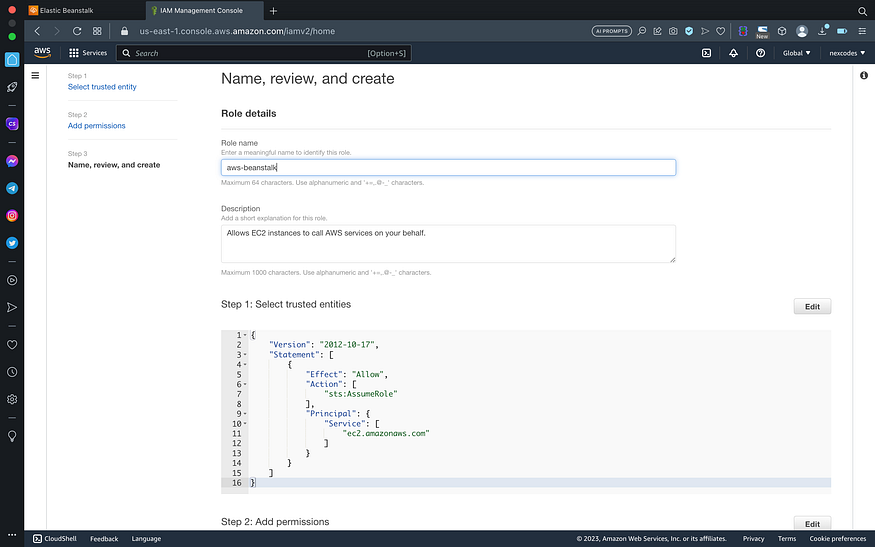
- Set role name and click Create role
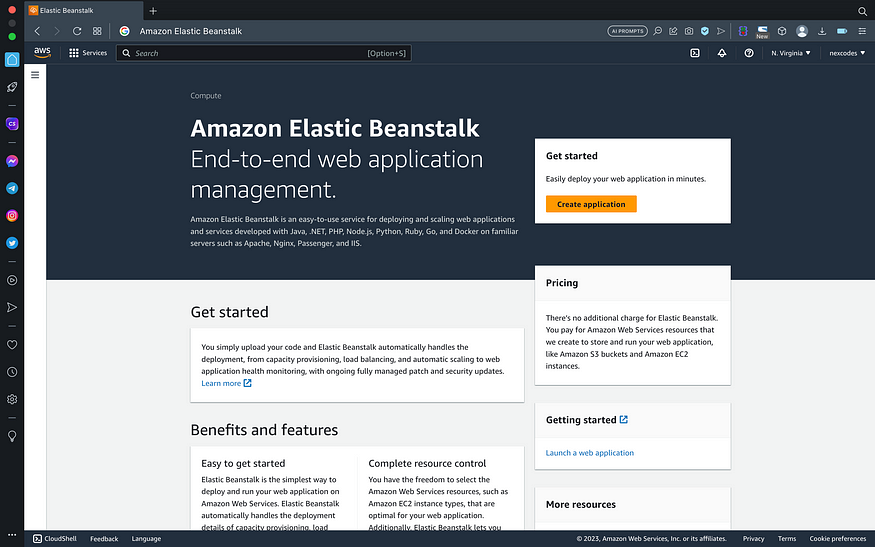
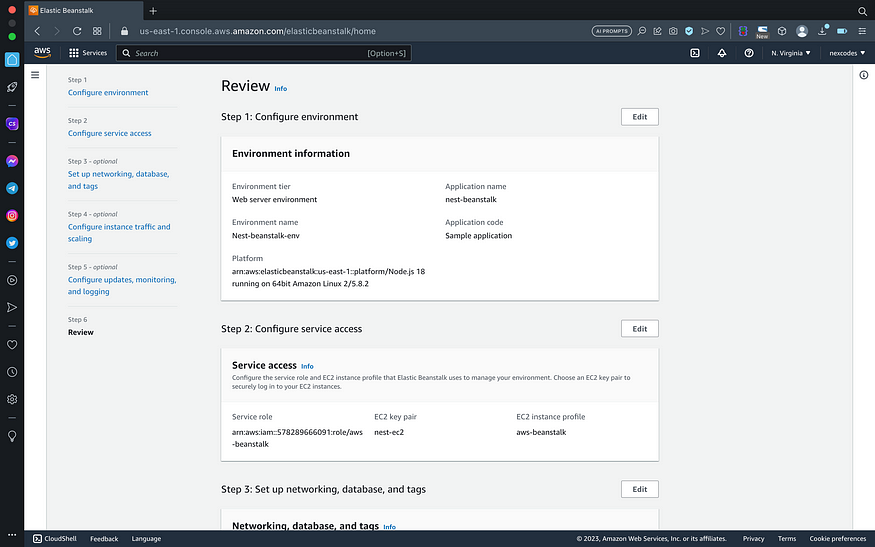
Create New Amazon Elastic Beanstalk Application
- Go to Elastic Beanstalk service
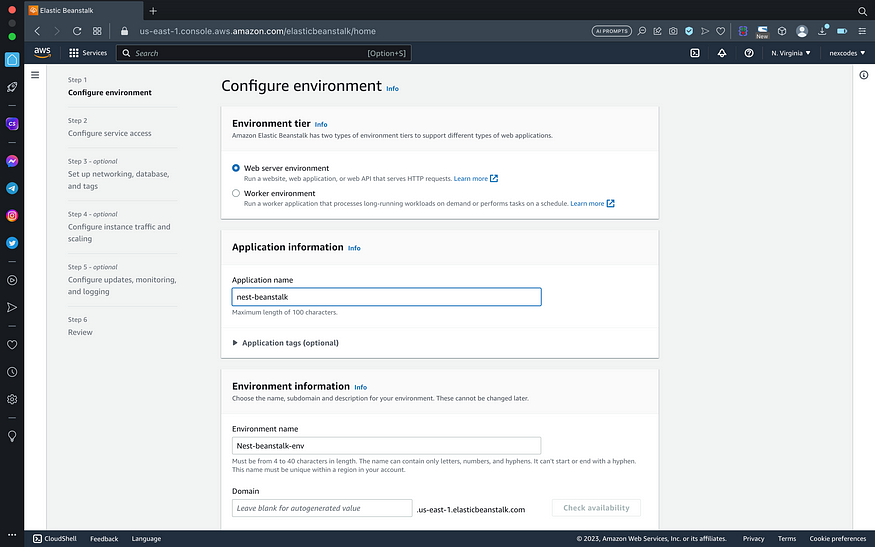
- Set application name. Example : nest-beanstalk
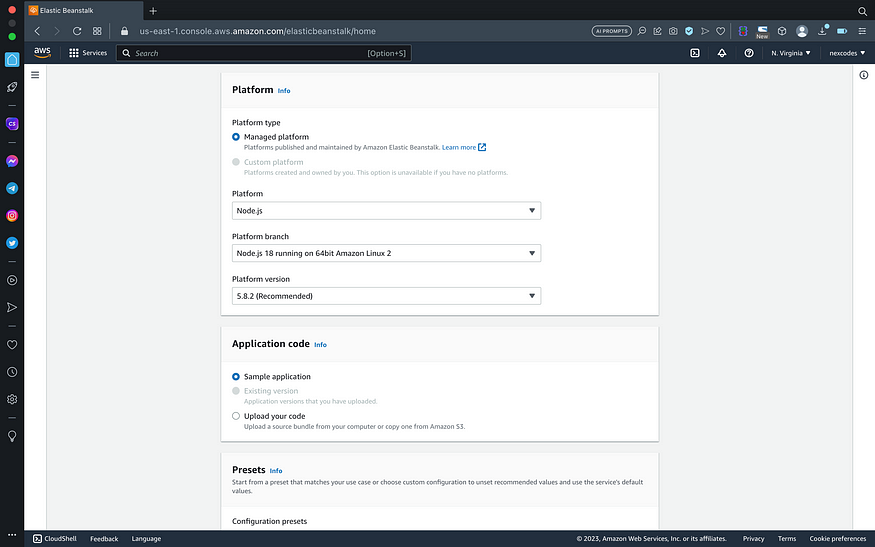
- Choose nodejs as platform, and click next
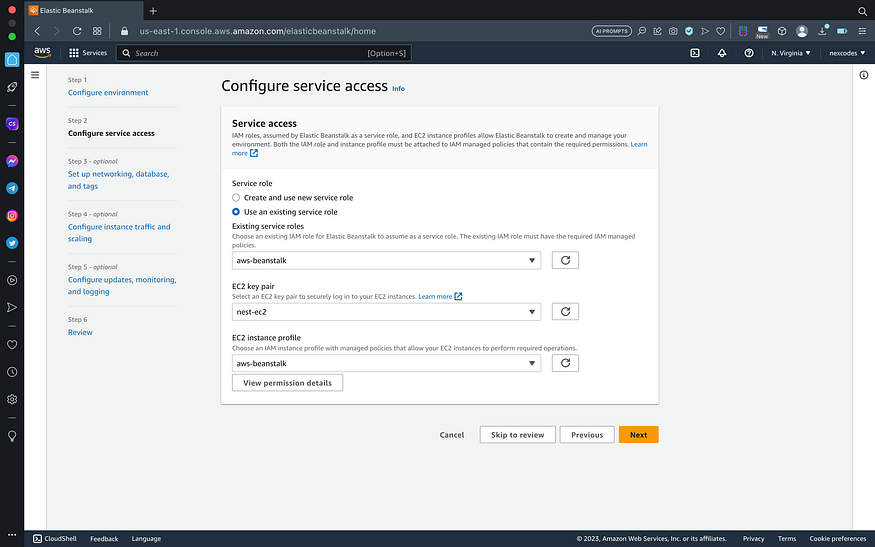
- Configure service access with ec2 and iam data that has been created before
- Skip process set up networking, database, tags, instance traffic, scaling, monitoring and logging
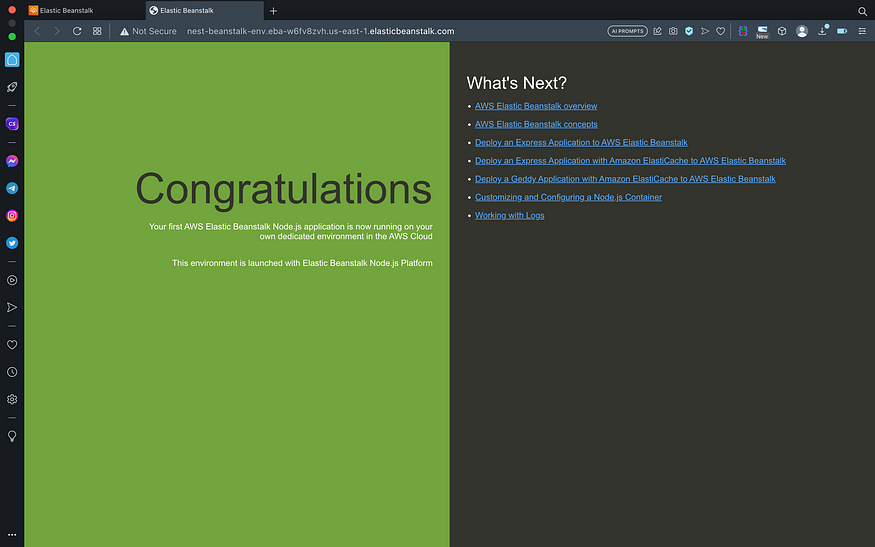
- At review stage, click submit. Deploy process will take a few minutes.
- Success deploy elastic beanstalk with sample project
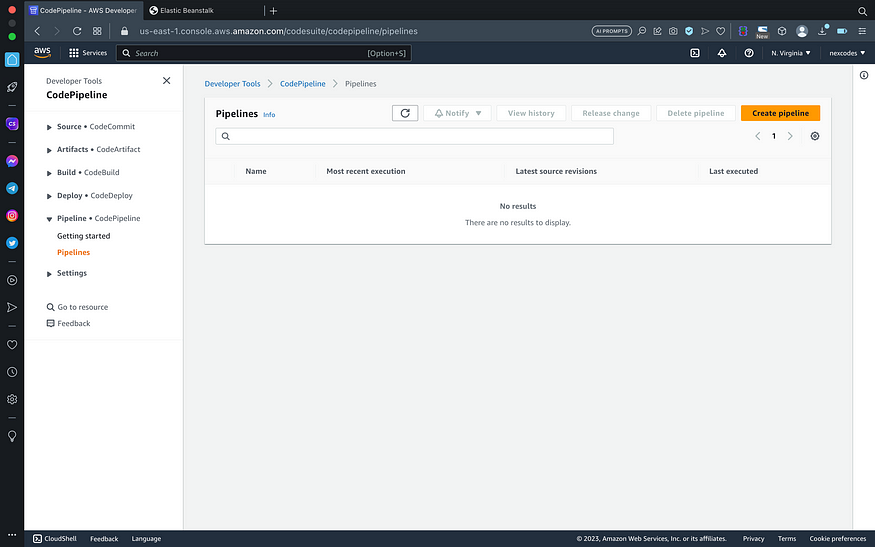
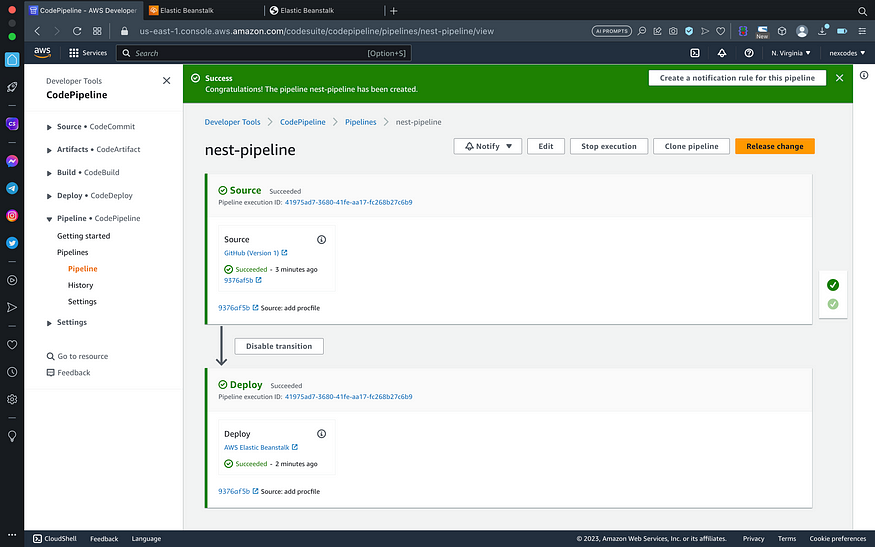
Connect AWS Beanstalk with CodePipeline to Continous Delivery
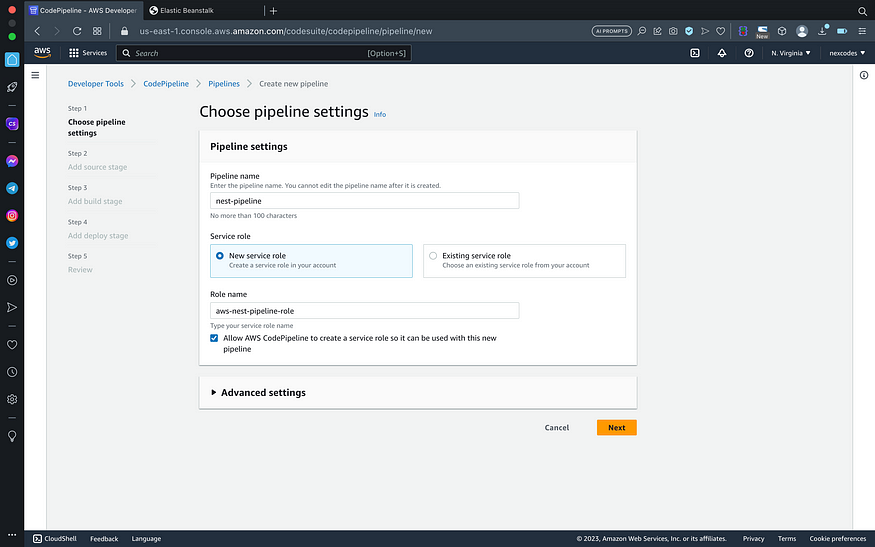
- Open CodePipeline service > create pipeline
- Set pipeline and role name
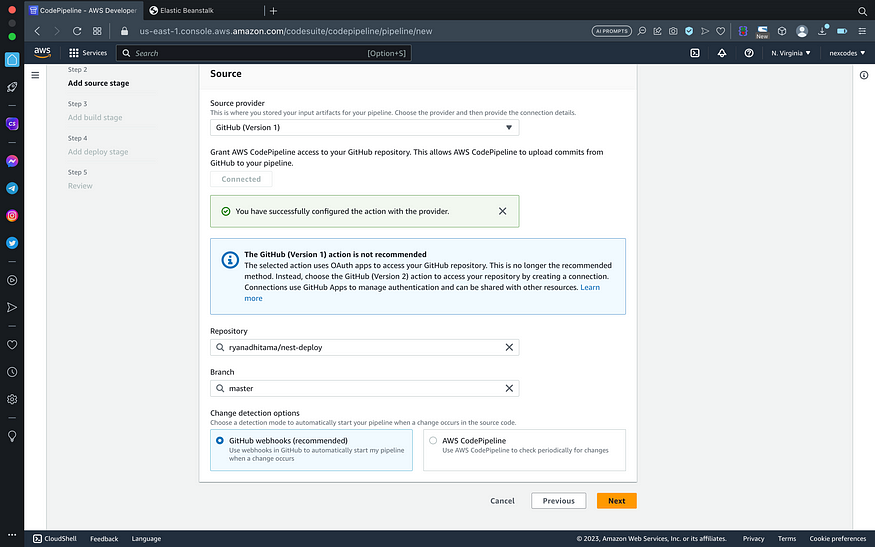
- Connect your github account and repository that has been created before
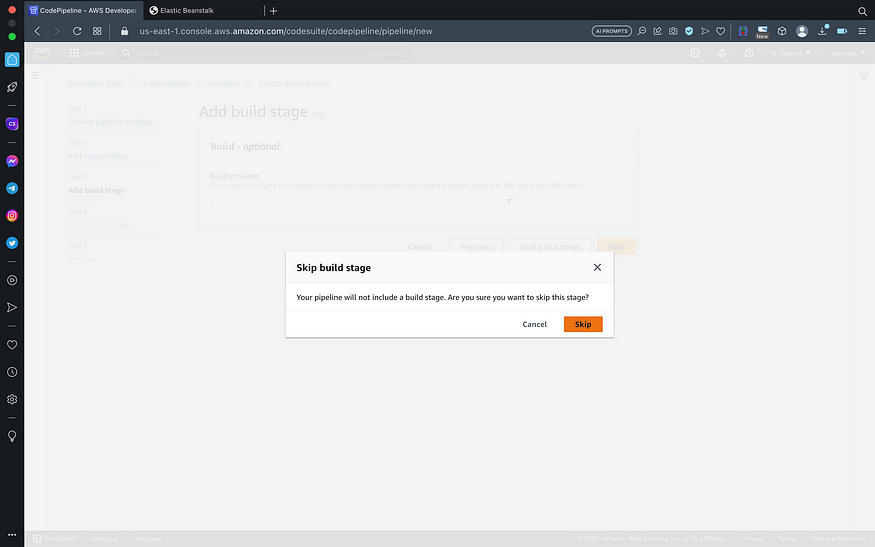
- Skip build stage
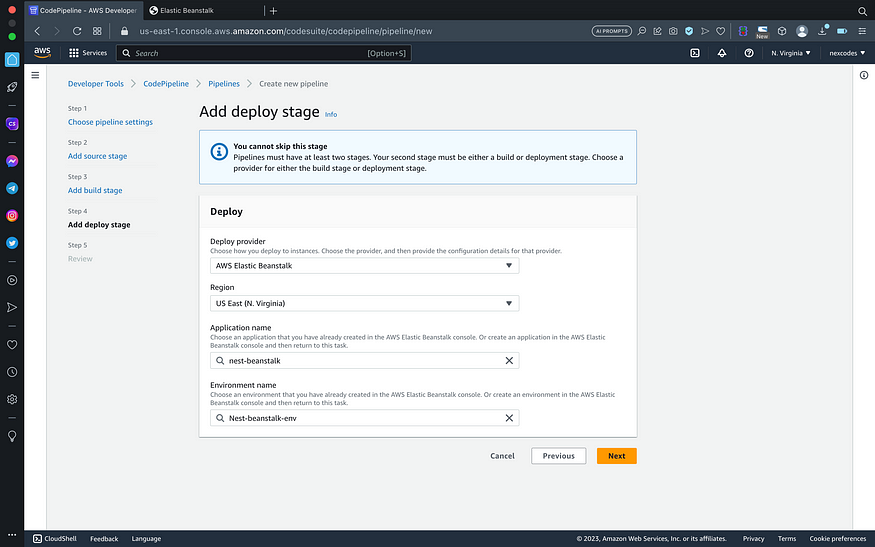
- Set deploy provider, region, application, and environment name
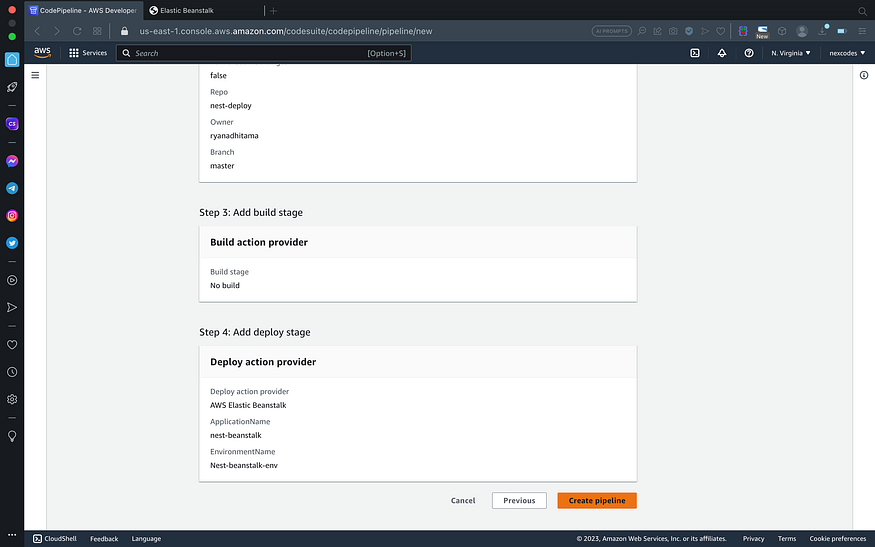
- On the review step, click create pipeline and wait until pipelines success
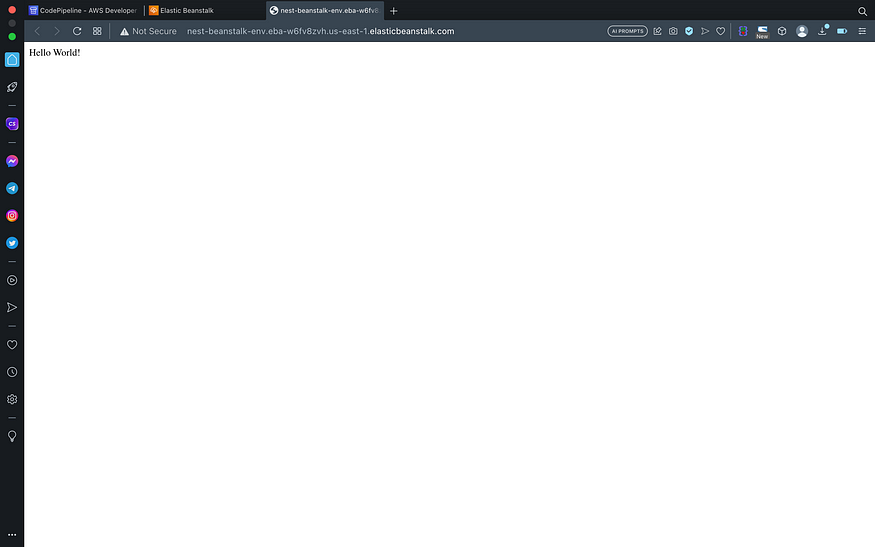
Deploy Success
After codepipeline success, revisit beanstalk deploy url
Conclusion
Today we have learned how to deploy a NestJS application into AWS Elastic Beanstalk. Stay on top of several other tutorials, let’s connect via LinkedIn!
Comments
Loading comments…