
You’ve worked on a few (or maybe a lot) of React projects but may have only started your own project by using create-react-app.
Create-react-app is great for beginners who just want to *get their hands into some React code *without going through the trouble of configuring the project with Webpack and Babel.
But you’re stronger now. You’re *owning *React….and now it’s time to soldier on by creating your project from the ground up. The “React” equivalent of building your car engine from scratch.
Fear not. You’ve got this.
Create project directory
First, create a new directory and cd into it.
mkdir my-app-from-scratch && cd my-app-from-scratch
Next, let’s initialize the app with npm to manage all our dependencies.
npm init -y
Great! Now you have your package.json file set up.
Install Dependencies
Next up, let’s install all the dependencies we’ll need for this application. Run this command and continue below for a breakdown of everything we just installed.
npm i webpack babel-loader @babel/preset-react @babel/core babel-preset-react html-webpack-plugin webpack-dev-server css-loader style-loader @babel/plugin-proposal-class-properties webpack-cli -D && npm i react react-dom -S
What we just installed:
-
Webpack: bundles all our files into one file
-
babel-loader: works with Webpack to transpile ES6+ into ES5 which is supported by older browsers
-
@babel/preset-react: extends Babel support to JSX
-
html-webpack-plugin: “simplifies the creation of HTML files to serve your Webpack bundles” -https://webpack.js.org/plugins/html-webpack-plugin/
-
webpack-dev-server:- allows you to use Webpack with a development server that provides live reloading.
-
webpack-cli: “webpack CLI provides a flexible set of commands for developers to increase speed when setting up a custom Webpack project.” -https://www.npmjs.com/package/webpack-cli
-
*css-loader: *allows Webpack to convert the CSS file into a JavaScript string.
-
*style-loader: *inserts the JavaScript string into HTML dom.
-
_@babel/plugin-proposal-class-properties: _“This plugin transforms static class properties as well as properties declared with the property initializer syntax” -https://www.npmjs.com/package/@babel/plugin-proposal-class-properties
-
*react: *JavaScript library
-
_react-dom: _“Serves as the entry point to the DOM and server renderers for React” -https://www.npmjs.com/package/react-dom
Add src directory and index.js file
mkdir src && cd src && touch index.js
Add file src/index.html
While still inside the src directory, type this command into the terminal:
touch index.html
Your file tree should currently look like this:
my-app-from-scratch/
┣ node_modules/
┣ src/
 ┣ index.html
 ┗ index.js
┣ package-lock.json
┗ package.json
Great!
Now let’s add some starter code
Inside of src/index.html add this code:
<!doctype html>

<**html** lang=”en”>
<**head**>
 <**meta** charset=”utf-8">
 <**title**>My React App from Scratch</**title**>
</**head**>
<**body**>
 <**div** id=”app”></**div**>
</**body**>
</**html**>
Inside of src/index.js add this code:
import ReactDOM from ‘react-dom’;
import React from ‘react’;

const App = () => {
 return <**h1**>This is my React app!</**h1**>;
 }

ReactDOM.render(<**App** />, document.getElementById(‘app’));
Configure Webpack & Babel
Awesome. Now it’s time to rig up our Webpack and Babel configuration files. These files allow us to customize Webpack & Babel to handle things like JSX and CSS inside of our project.
In the root directory, type this into your terminal:
touch .babelrc && touch webpack.config.js
Your file tree should look like this:
my-app-from-scratch/
┣ node_modules/
┣ src/
 ┣ index.html
 ┗ index.js
┣ .babelrc
┣ package-lock.json
┣ package.json
┗ webpack.config.js
Inside of webpack.config.js add this code:
const HtmlWebPackPlugin = require(“html-webpack-plugin”);
const htmlPlugin = new HtmlWebPackPlugin({
 template: “./src/index.html”,
 filename: “./index.html”
});

module.exports = {

mode: ‘development’,
  module: {
    rules: [{
   test: /\.js$/,
   exclude: /node_modules/,
   use: {
     loader: “babel-loader”
   }
 },
  {
   test: /\.css$/,
   use: [“style-loader”, “css-loader”]
  }
]},
 plugins: [htmlPlugin]
};
Inside of .babelrc add this code:
{
 “presets”: [“@babel/preset-react”],
 “plugins”: [“@babel/plugin-proposal-class-properties”]
}
Add ‘start’ script to package.json
Inside of package.json, add this code in scripts.
"start": "webpack serve --config webpack.config.js"
Your package.json file should look like this:
{
 “name”: “my-app-from-scratch “,
 “version”: “1.0.0”,
 “description”: “”,
 “main”: “webpack.config.js”,
 “scripts”: {
   “test”: “echo \”Error: no test specified\” && exit 1",
   "start": "webpack serve --config webpack.config.js"
},
 “keywords”: [],
 “author”: “”,
 “license”: “ISC”,

 “devDependencies”: {
 “@babel/preset-react”: “⁷.12.13”,
 “babel-core”: “⁶.26.3”,
 “babel-loader”: “⁸.2.2”,
 “babel-preset-react”: “⁶.24.1”,
 “css-loader”: “⁵.0.2”,
 “html-webpack-plugin”: “⁵.1.0”,
 “style-loader”: “².0.0”,
 “webpack”: “⁵.22.0”,
 “webpack-cli”: “⁴.5.0”,
 “webpack-dev-server”: “³.11.2”
 },
 “dependencies”: {
 “react”: “¹⁷.0.1”,
 “react-dom”: “¹⁷.0.1”
 }
}
Test to see your app running in the browser
Now it’s time for our moment-of-truth to see all our hard work in action!
In the root directory terminal, run
npm run start
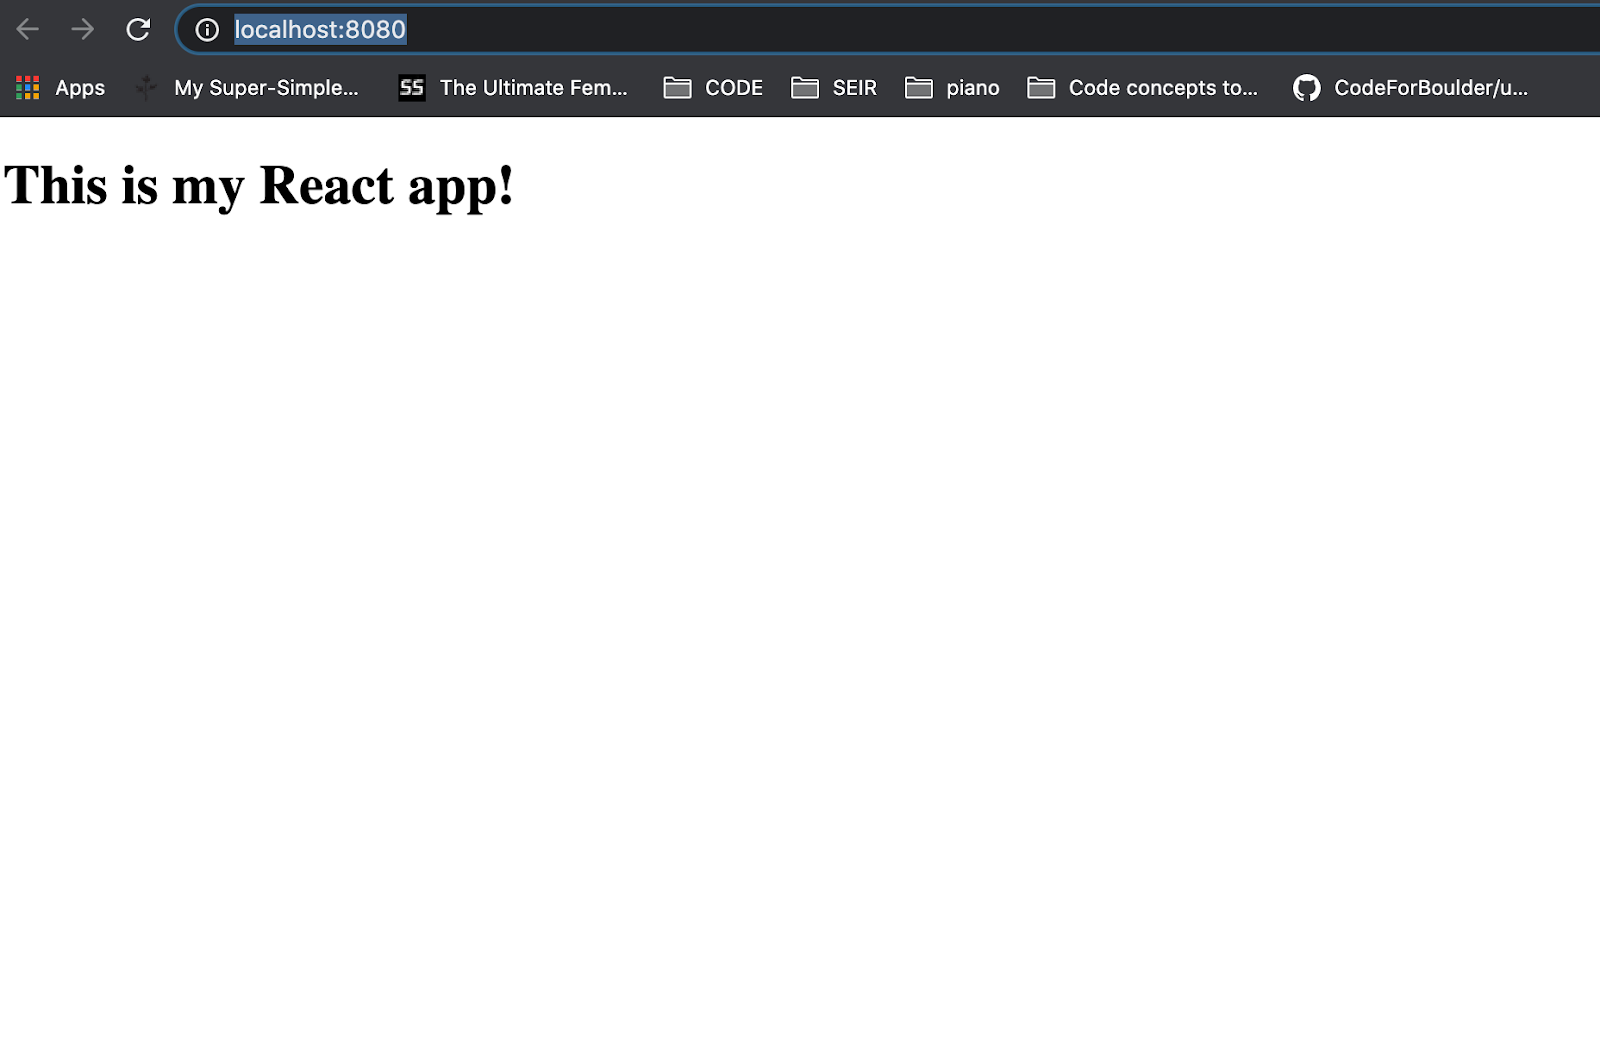
You should see your app running at http://localhost:8080/ in the browser.
Great work! You made a React application completely from scratch!
Resources: webpack
Further Reading
5 Tools & Practices To Help You Develop Faster in React
Comments
Loading comments…