
Introduction
I still remember that as a beginner, I always wanted to host my website. I was just obsessed with the thought of building a website and having a URL which I could access from anywhere. Let's see how to do it for free.
Prerequisites
- Basic understanding of Node.js and GitHub
- Git installed
- Heroku free account
What we are building
In this blog, with minimum steps, we will host a Node.js website on Heroku. Heroku docs are pretty good but as a beginner, I found it difficult as it explains everything in details, providing unnecessary explanations which scared me away. This blog contains only necessary and easy to follow steps to host a Node.js app
Even though we are going to host a simple Node.js app, you can extend it for Node apps containing multiple routers, controllers, database, etc.
If you need a database in your app, you can use MongoDB Atlas.
Setup
- Open cmd
- Check if node is installed
node -v
- Create a project directory and cd into it.
mkdir nodejs-heroku\
cd nodejs-heroku
- Initialise project. This command will create a package.json inside project root directory.
npm init -y
- Install required npm packages
npm i express
- Create index.js file inside project directory. This is how your folder should look like.

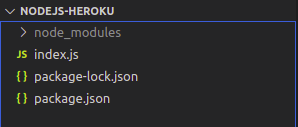
-
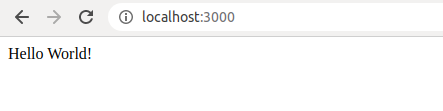
Add the following code to index.js. Basically this is code will run a server which will display "Hello World" when we visit it in the browser.
-
cd to project directory and run the server by entering following in cmd
node index.js

- Now visit http://localhost:3000/ to see the result.
- Now think about it. You manually executed the "node index.js" command, but when we will host it on Heroku, how will Heroku know what script needs to be executed. Let's see how to do it.
Open "package.json" file and you will see "scripts" key.
"scripts": {\
 "test": "echo \"Error: no test specified\" && exit 1"\
 },
Replace it with:
"scripts": {\
 "start": "node index.js"\
},
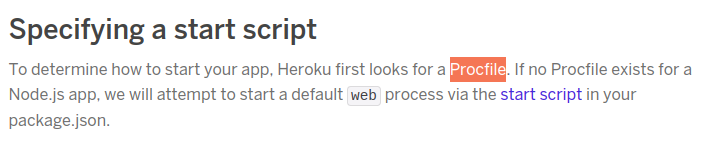
To understand why we did this, read the following and you will see that to tell Heroku what to execute we need to add either make Procfile or add command we want to execute into "start" tag in "package.json".
- One more thing we need to do is tell Heroku which version of Node.js we want to use.
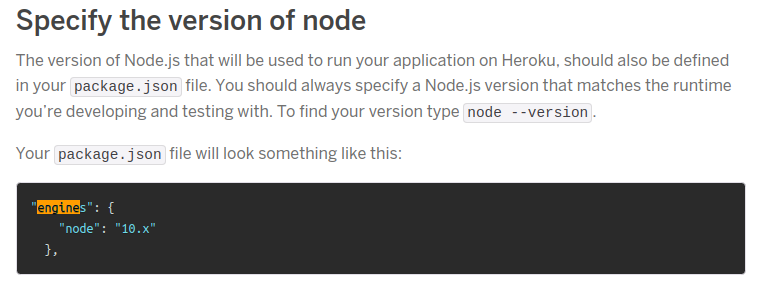
https://devcenter.heroku.com/articles/deploying-nodejs#prerequisites
- Add the above "engines" tag and after completing it this is how "package.json" should look like.
Initializing git
Here, I am not explaining each command because I am assuming you know the basics of git. Even if you don't know, just execute them for now.
git init\
git add .\
git commit -m "first commit"
Github
- Visit https://github.com/ and login
- Create a new repository. You will be shown a page like this.

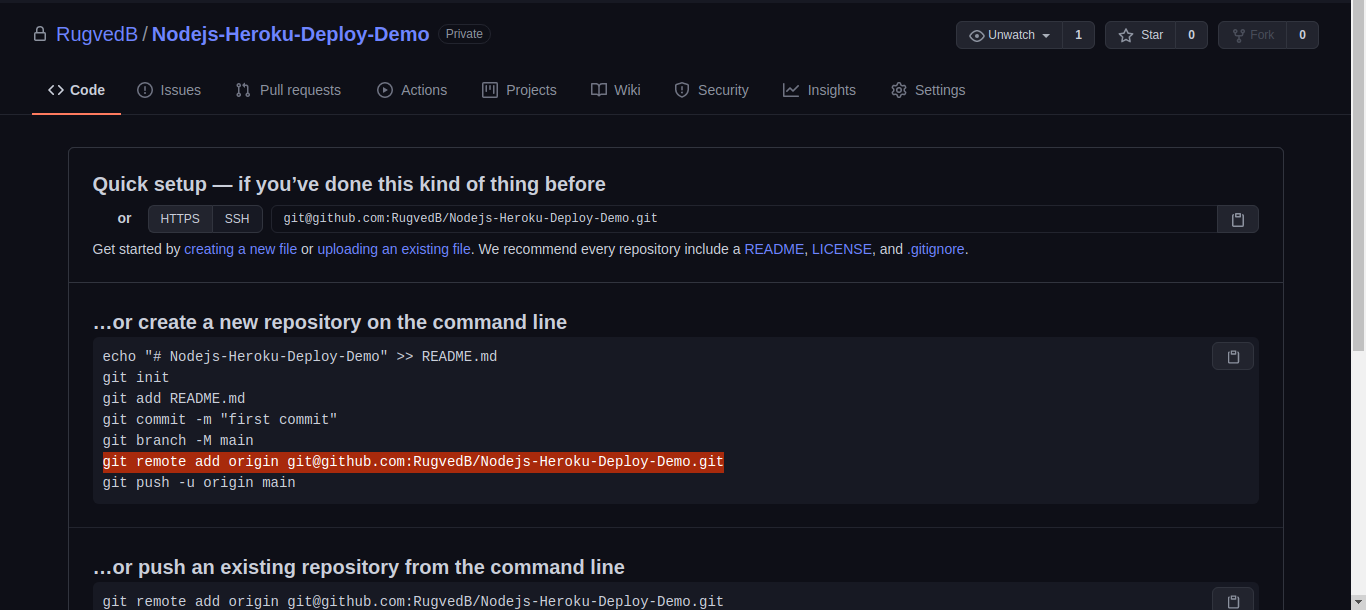
- Copy the line I highlighted in the above image. It will be different for you based on username and project name. For me, it was:
git remote add origin git@github.com:RugvedB/Nodejs-Heroku-Deploy-Demo.git
- Paste it in cmd and press enter.
Doing this will tell git that whenever we perform any action like pushing, pulling the code we want it with respect to this repository which we just mentioned.
- Now push the code to GitHub.
git push origin master

- After successfully executing the above command, refresh the GitHub page and you will see that your code has been pushed to GitHub.
We did this so that we can later tell Heroku to refer to this GitHub repository for code.

https://github.com/RugvedB/Nodejs-Heroku-Deploy-Demo
Heroku
- Login to Heroku by executing the following in cmd.
If you don't have Heroku CLI installed, visit here.
heroku login
- After login is successful, go to https://dashboard.heroku.com/apps you will list of apps created on this account.
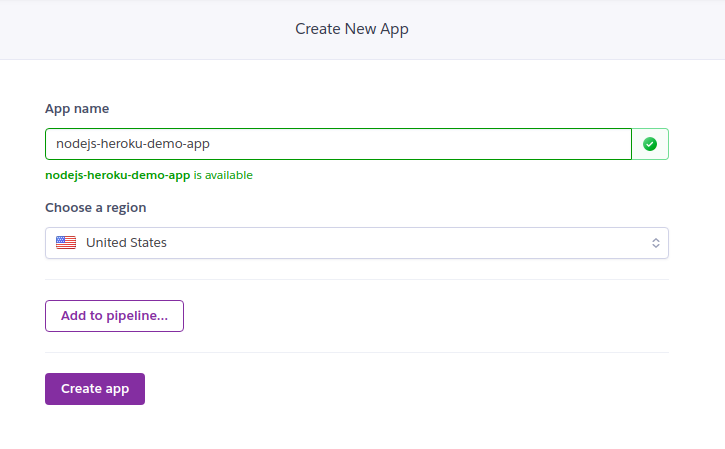
- Click on "New" -> "Create new app" button at top right.
- Give a name to your app and click "Create app". Note that this needs to be a unique name.
- You will be redirected to a new page where find the "Deployment method" section and click on Github.
- Enter the repository name -> click search -> Select correct repository -> Click connect.

- Click on "Enable automatic deploys" button which would mean that whenever you add any code to your GitHub repository, Heroku will update your hosted app too.
- And finally, click on "Deploy branch ". Wait for a couple of minutes and let the deploying process finish.
- After successfully deploying the website you will get a success message as shown.
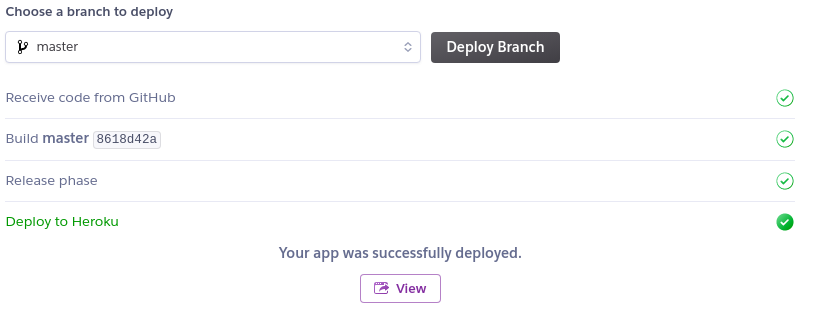
- Click on "View " to visit the website hosted by you.
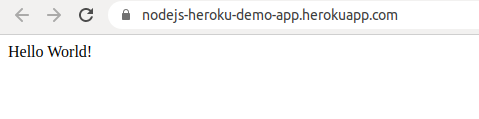
Even though it's a very simple app, the above steps can be followed to build apps with complex structures too.
Yay! That's all is needed to host a Node.js app.
Setup config vars
Everything is done. You don't need to follow this unless required.
Here is the answer to one of the most frequently asked questions.
If you have added some secrets like email, password, MongoDB Atlas URI, etc, then in the code, you shouldn't directly paste it. Instead, put the following in the code and set its value in the Heroku "config vars" section here.
Eg:
// In the code
process.env.EMAIL_PASSWORD

Setting config vars on settings page
Thank you for reading! Clap if you found this helpful!
Optionally, you could track Heroku logs with an external tool by collecting dynos and buildpacks logs to identify trends and patterns in the use and performance of your application.
Conclusion
We have successfully learnt how to deploy a Node.js app and how to set config vars on Heroku.
Comments
Loading comments…