This article will take you through the steps required to prepare a Next.js application for production and deploy it onto an Apache server running on an Amazon Web Services (AWS) EC2 instance. I assume that you already have a Next.js application ready for deployment.
Step 1: Preparing Your Next.js Application for Production
The first step towards deploying your Next.js application is preparing it for a production environment. This involves using Next.js’s built-in tools to create a production build.
Navigate to your project’s root directory and run the following command
npm run build
This command creates a .next directory in your project's root, which houses the production-ready build of your application.
Step 2: Setting Up AWS EC2 Instance
Next, we need to set up an AWS EC2 instance that will host our Next.js application. This step assumes that you have an active AWS account and are familiar with AWS EC2 instances. 1. Sign into your AWS Console and navigate to the EC2 Dashboard. 2. Launch a new EC2 instance. Consider selecting an Amazon Machine Image (AMI) like Amazon Linux 2 AMI, which comes pre-configured with an Apache server. 3. During the instance setup, ensure that you configure the security group to allow inbound HTTP and HTTPS traffic. 4. Once your EC2 instance is launched and running, connect to it using SSH. The SSH command usually follows this structure.
ssh -i /path/to/your/key.pem ec2-user@your-ec2-ip-address
In this command, /path/to/your/key.pem refers to the path on your local machine where your private key file (with a .pem extension) is stored. This file is needed to securely connect to your EC2 instance. ec2-user@your-ec2-ip-address is the username and the IP address of your EC2 instance.
Step 3: Installing Node.js on AWS EC2
To run our Next.js application, we need to install Node.js on our EC2 instance. You can install Node.js using the Node Version Manager (NVM), which allows you to manage multiple active Node.js versions.
curl -o- https://raw.githubusercontent.com/nvm-sh/nvm/v0.34.0/install.sh | bash
. ~/.nvm/nvm.sh
nvm install node
In these commands, the first line downloads and runs the NVM installation script install.sh from the NVM project's GitHub repository. The second line ensures that NVM is available in your current shell session, and the third line installs the latest version of Node.js.
Step 4: Configuring Apache
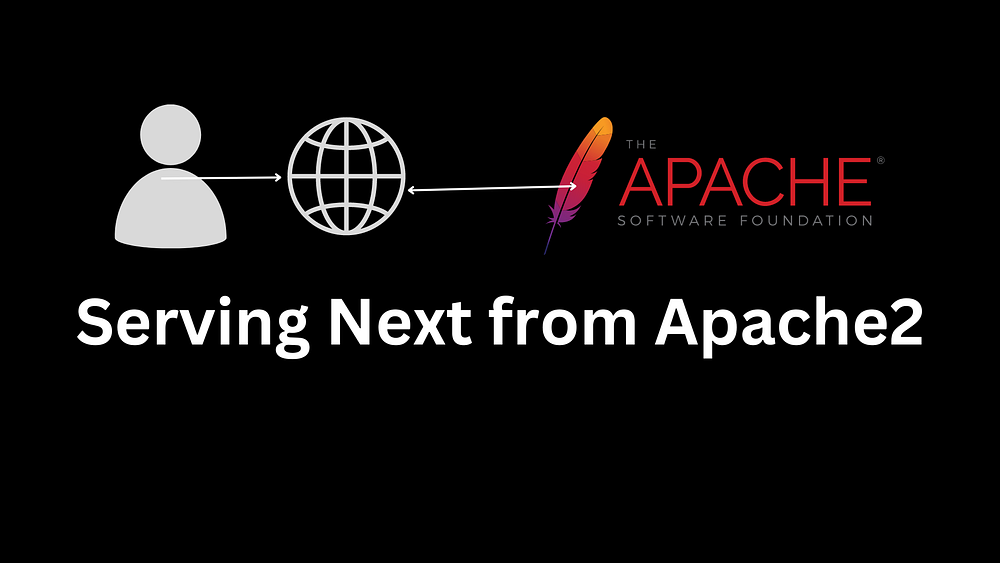
By default, Apache listens on port 80. However, our Next.js application will run on a different port (typically 3000). We need to configure Apache to forward requests to our Next.js application.
- Install
mod_proxyandmod_proxy_httpusing the following command.
sudo yum install mod_proxy mod_proxy_http
2. Edit the Apache configuration file, usually located at /etc/httpd/conf/httpd.conf. Add the following lines at the end of the file.
<VirtualHost *:80>
    ServerName your-domain.com
    ProxyRequests Off
    ProxyPass / http://localhost:3000/
    ProxyPassReverse / http://localhost:3000/
</VirtualHost>
3. Restart Apache to apply the changes.
sudo service httpd restart
Step 5: Deploying Your Next.js Application
With the server set up, we’re ready to deploy our Next.js application.
- Transfer your Next.js project to your EC2 instance. You can use SCP (Secure Copy Protocol) for this.
scp -i /path/to/your/key.pem -r /path/to/your/project ec2-user@your-ec2-ip-address:~
Here again, /path/to/your/key.pem refers to the path on your local machine where your private key file (with an .pem extension) is located. /path/to/your/project is the local path to the Next.js project you want to deploy.
2. After the transfer is complete, reconnect to your EC2 instance via SSH.
3. Navigate to your project’s directory and install the necessary dependencies
cd /path/to/your/project
npm install
4. Finally, start your Next.js application in production mode
npm start
Your Next.js application should now be running and accessible from your EC2 instance’s public IP address or domain(www.yourdomainname.com if the instance is configured to any).
Step 6: Keeping Your Application Running
By default, your Next.js application will stop running if you close your SSH session or if your server restarts. To keep your application running even after you exit the session, you can use a process manager like PM2.
- Install PM2 globally.
npm install pm2 -g
2. Use PM2 to start your application.
pm2 start npm --name "next-app" -- start
This command will start your Next.js application and keep it running in the background. You can check the status of your application by running pm2 status.
Conclusion
This article has walked you through the steps of deploying a Next.js application on an AWS EC2 instance with an Apache server. Depending on your specific requirements, you may need to adjust these steps. Always remember to monitor your application and server to ensure that everything is running smoothly and efficiently.
Comments
Loading comments…