Photo by Desola Lanre-Ologun on Unsplash
Django comes with the necessary features to set up a complete user authentication system. In this tutorial, we’ll cover the most critical components of a user authentication system in Django, namely:
- Registration
- Login
- Logout By the end of this tutorial, you should be able to
- Create a Django project where users can register, login, and logout.
- Create forms in Django
- Redirect users after successful login or logout
Prerequisites
This tutorial assumes you have a good knowledge of Django and you have Python3 installed in your operating system.
Create a Django Project
It is recommended to set up a virtual environment to ensure that project dependecies are isolated from system packages . Virtual environments also makes it easier to install the correct versions of modules. Start by creating a directory to house your project files.
mkdir Django_Login
cd to the directory you have created above start by creating a virtual environment with the python venv module.
cd Django_Login
python -m venv my_env
The [_venv_](https://docs.python.org/3/library/venv.html#module-venv) module provides support for creating lightweight “virtual environments” with their own site directories, optionally isolated from system site directories. Each virtual environment has its own Python binary (which matches the version of the binary that was used to create this environment) and can have its own independent set of installed Python packages in its site directories.
Activate the virtual environment and install Django.
source my_env/bin/activatepip install django
Create a Django project called django_auth
django-admin startproject django_auth
Your project directory now looks like this:
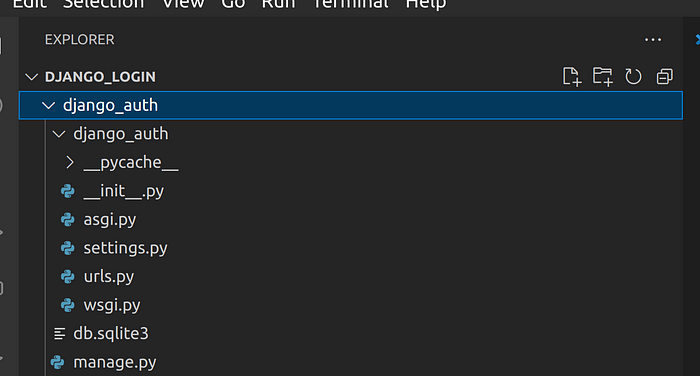
User Authentication in Django
Django comes complete with an authentication system so you don’t have to create an authentication one from scratch.
The Django authentication system is provided by **django.contrib.auth** and consists of the following
Users
Permissions: Binary (yes/no) flags designating whether a user may perform a certain task.
Groups: A generic way of applying labels and permissions to more than one user.
A configurable password hashing system
Forms and view tools for logging in users, or restricting content
A pluggable backend system
**django.contrib.auth** provides all the logic needed to successfully register, login and logout users and restrict content to unauthorized users.
**django.contrib.auth**is already present in your Django project. If you open the settings.py file, you will find the configurations namely django.contrib.auth and django.contrib.contenttypes in the list of INSTALLED_APPS, as shown below.
You can also find auth and sessions middleware configurations in the settings.py file
Authentication Database Tables
Running the migrate command will create the necessary tables for the user authentication system. Lets run the command
python manage.py migrate
The command will create actual tables in our database, and you should see something like this: You can also view the tables and confirm that they have been created: As you can see above, we have the following tables:
- auth_group -
- auth_group_permissions
- auth_user
- auth_user_groups-
Create a superuser
Let’s create a superuser so that we can have access to the Django admin site:
python manage.py createsuperuser
Run the development server.
python manage.py runserver
You should see something like this:
Watching for file changes with StatReloader
Performing system checks...System check identified no issues (0 silenced).
August 25, 2022 - 08:10:00
Django version 4.0.6, using settings 'django_auth.settings'
Starting development server at <http://127.0.0.1:8000/>
Quit the server with CONTROL-C.
The application should start at http://127.0.0.1:8000/. If you navigate to http://127.0.0.1:8000/admin, you can be able to login with the superuser details you created above.
Once you login, the admin site looks like this
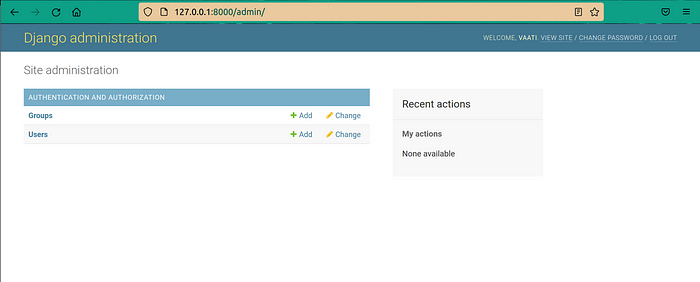 As you can see above, you can create users from the admin site, but that’s not what we want. We want to provide an interface where users can register, log in, and log out independently.
Authentication Views
Since Django has already provided all the login needed to register, login and logout, we need to create pages where users can do their own authentication.
To do that , Django provides the django.contrib.auth.urls ,include them in the root urls.pyfile as shown below.
The URLs provided by Django auth are:
accounts/login/ \[name=’login’\]
accounts/logout/ \[name=’logout’\]
accounts/password_change/ \[name=’password_change’\]
accounts/password_change/done/ \[name=’password_change_done’\]
accounts/password_reset/ \[name=’password_reset’\]
accounts/password_reset/done/ \[name=’password_reset_done’\]
accounts/reset/<uidb64>/<token>/ \[name=’password_reset_confirm’\]
accounts/reset/done/ \[name=’password_reset_complete’\]
Create users app
Lets create a users app which will handle all the stuff to do with authentication. Create a Django app called users with the startapp command:
python manage.py startapp users
The command above will create a directory called users in the django_auth project. Your files should now look like this.
Since Django already comes with the User model, we will not create models for this app.
Open settings.py and add the users app in INSTALLED_APPS.
Create a Home Page
A home page will be the first page a user sees when they open our application.
Whenever Django wants to render a page, it will automatically look for it in the templates directory of the app. The best practice is to place the HTML page inside a directory with the same name as the app.
Create a templates folder in the users app. Inside the templates you have just created, create another folder users . Next create a file home.html in the inner most users folder. Your structure of the users app should now look like this:
Add the following code to home.html:
Dont worry about the url’s, they dont work for now.
Let’s now render the home page. Django provides the render() function, which loads the template and provides the contexts when they are passed as arguments. Open users/views.py and write the following view, which renders the home page.
Map the View to a URL
Create a file called urls.py in the users app directory and add the URL for the home page. At the top of the urls.py file, import the path object from django.urls and the home view function from views.py:
Don’t forget to add the users app URLs to the project’s URLs. The django_auth/urls.py file should now look like this:
Now when you run the server and navigate to 127.0.0.1:8000/home/, you should see the following page:

Home page
Authentication Views
Django provides a list of authentication view classes which include all the logic for performing their unique purposes. These view are:
-
class LoginView
-
class LogoutView
-
class
PasswordChangeView -
class PasswordChangeDoneView
-
class PasswordResetView
Since these views are already implemented, we don’t need to write the logic from scratch, rather we need to provide the template for each view. Create Login Page By default, the
http://127.0.0.1:8000/accounts/login/url will try to render the login template . By default, the name of the template for logging users should be**registration/login.html**. Django will look for the login template in the registration folder in the templates directory. Let’s create a folder in the templates directory of the users app calledregistrationand add thelogin.htmlfile: Add the following code the in thelogin.htmlfile Here we add acsrf_tokento our form. Django uses CSRF tokens to protect forms from malicious users. It does this by adding a secret token inside the POST method when the form is rendered.{{ form.as_p }}renders the form as a series of<p>tags, with each<p>containing one field. Now, you can now be able to log in. If you navigate tohttp://127.0.0.1:8000/accounts/login/, you should see the following page:
Login page
The login form contains 2 fields username and password. When a user submits the login form with the proper credentials, the user is redirected to the URL specified in the next. If the user login is not successful, the login form is redisplayed.
Let’s try and log in with the wrong credential, you should see the errors below:
To provide a seamless user experience, we need to redirect users to the home page after successful login. To do that, add the following in
settings.py.
# users will be redirected to the home page after loginLOGIN_REDIRECT_URL = “home”
After successful login., you should see the following welcome page.
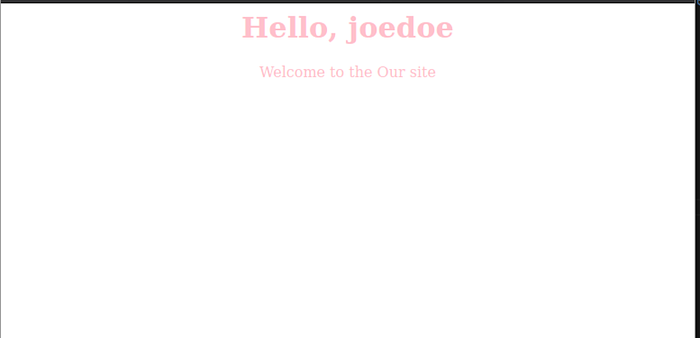
Home Page
Create a Logout Page
To log out users, we will add a link that will log out users if they click on it. We will also add a redirect URL in settings.py, which will redirect users back to the home page once they log out. Open the settings.py file and add the following line of code
LOGOUT_REDIRECT_URL = "login"
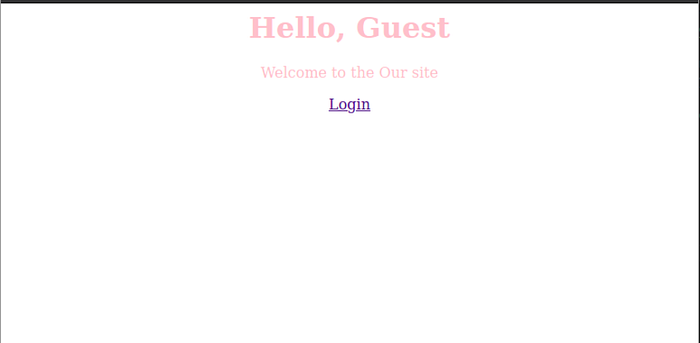
Open home.html and update it as shown below:
Here we check if a user is authenticated, and show the logout link if True, and if False, we show the login link.
Create a User Registration Page
Up to now, we have been relying on the superuser to perform login and logout functions. We are now able to log in and log out successfully. Let’s see how users can register on their own without having to use the Django admin.
The easiest way to do this is to use the UserCreationForm and the CreateView class-based view, which Django provides. The UserCreationForm is a ModelForm for creating a new user and it generates the necessary fields i.e., username and password.
Open user/views.pyand add the SignUp view class:
Next, create the templates/registration/signup.html page and add the following:
Lastly, add the view into urls.py. Remember to call .as_view()since it's a class-based view.
The registration page now looks like this:
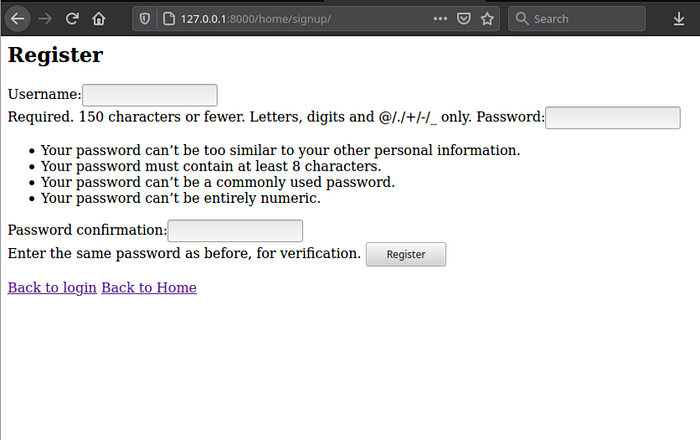
Registration page
After successful registration, a new user will be redirected to the login page.
Clean Up
Now let’s do some clean-up to ensure that if a user is logged in, they see the logout button and Home link. Open home.htmland add the following logic:
Conclusion
Django provides a more effortless and built-in way to log in and authenticate users. You can also use the UserCreationForm provided by Django to create new users. I hope this tutorial will help you get started in designing your own login and registration system in Django. The full source code can be found here.
Comments
Loading comments…