
Hello world, there is a phrase “we learn by practice”, which I like a lot. So, for the beginners who have learnt the basics of HTML, CSS and JavaScript, I would like to help them in making a very basic working calculator so that you guys can put your knowledge into practice. You can also get the entire code in my GitHub profile- souvik-pl/calculator
So, let's begin-
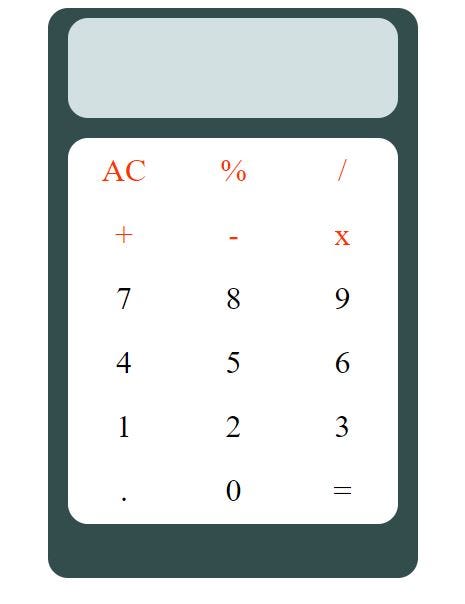
Objective: To make a basic calculator which is shown below-
Step 1: We will create a folder anywhere in the computer, which will have three files — calc.html, calc.css, and calc.js
Step 2: Then we'll open 'calc.html' in text editor like Notepad, Notepad++, Sublime Text etc. The head section of the html file will be declared as follows —
<!DOCTYPE html>
<html lang="en">
  <head>
    <meta charset="UTF-8" />
    <title>Calculator</title>
    <link rel="stylesheet" href="css/calc.css" />
    <script src="js/calc.js"></script>
  </head>
</html>
Step 3: In the <body> element, we'll create a <div> element which will hold our calculator frame. Under <div>, we'll create <header> element with no content inside and it will be our calculator's screen. After creating <header> element, we'll create a <table> element under <div>. This <table> element will hold six rows, i.e. <tr> and each <tr> element will contain three columns, i.e. <td> element.
<body>
	<div>
  <header id="screen"></header>
  <table>

    <tbody>
      <tr class="orange">
        <td onclick="clearScr()">AC</td>
        <td onclick="sendNum('*0.01')">%</td>
        <td onclick="sendNum('/')">/</td>
      </tr>
      <tr class="orange">
        <td onclick="sendNum('+')">+</td>
        <td onclick="sendNum('-')">-</td>
        <td onclick="sendNum('*')">x</td>
      </tr>
      <tr>
        <td onclick="sendNum('7')">7</td>
        <td onclick="sendNum('8')">8</td>
        <td onclick="sendNum('9')">9</td>
      </tr>
      <tr>
        <td onclick="sendNum('4')">4</td>
        <td onclick="sendNum('5')">5</td>
        <td onclick="sendNum('6')">6</td>
      </tr>
      <tr>
        <td onclick="sendNum('1')">1</td>
        <td onclick="sendNum('2')">2</td>
        <td onclick="sendNum('3')">3</td>
      </tr>
      <tr>
        <td onclick="sendNum('.')">.</td>
        <td onclick="sendNum('0')">0</td>
        <td onclick="equalTo()">=</td>
      </tr>
    </tbody>
  </table>
</div>
</body>
</html>
In the above codes, you will find that in <header> element, id =”screen” is mentioned. We'll use this “id” to style our calculator's screen using CSS and we'll also use this “id” to display the numbers and calculated results using JavaScript. Similarly, in first two elements, you will find class =”orange”, which will be used to color the texts in first two rows . At last, in all the <td> elements, you'll find an event “onclick” followed by functions like — clearScr(), sendNum() and equalTo(). These functions are defined in the “calc.js” fil, which will be invoked on clicking the <td> elements.
Step 4: Now lets style our calculator using CSS. The code will be as follows-
div {
  background-color: #334d4d;
  margin: 50px;
  width: 350px;
  height: 550px;
  margin: 0 auto; /* horizontally centreing an element */
  border-radius: 20px;
  padding: 10px;
}

header {
  background-color: #d1e0e0;
  width: 330px;
  height: 100px;
  border-radius: 20px;
  margin: 0 auto;
  font-size: xx-large;
  color: #000000;
  text-align: center;
}

table {
  background-color: #ffffff;
  margin: 0 auto;
  margin-top: 20px;
  margin-right: 10px;
  margin-left: 10px;
  border-radius: 20px;
}

td {
  width: 110px;
  height: 60px;
  text-align: center;
  font-size: xx-large;
}

.orange {
  color: #ff3300;
}

td:active {
  background-color: #e0e0d1;
  border-radius: 20px;
}
Step 5: Now we'll add interactivity to our static page. Let's dive into the codes of JavaScript file “calc.js”
var a = "";
var b = "";
var num = [];
var ans;

// All the numbers and operators input will be stored in an array "num" using function "sendNum()"
function sendNum(digit) {
  num.push(digit);

  if (num.length != 1) {
    a = "";
    document.getElementById("screen").innerHTML = a; // clearing the screen.
  }

  for (i = 0; i < num.length; i++) {
    a = a + num[i]; // concatenate the elements of the array "num" into a single string, which will be displayed on the screen
  }

  document.getElementById("screen").innerHTML = a; // displaying the concatenated string
}

// when the user presses "=", function "equalTo()" is called
function equalTo() {
  document.getElementById("screen").innerHTML = "";

  for (i = 0; i < num.length; i++) {
    b += num[i]; // concatenating the array "num" into a single string
  }

  ans = eval(b);

  document.getElementById("screen").innerHTML = ans; // result display

  while (num.length > 0) {
    num.pop(); // emptying the array "num"
  }

  num.push(ans.toString());
}

// When user presses "AC", function "clearScr()" is called
function clearScr() {
  document.getElementById("screen").innerHTML = "";

  while (num.length > 0) {
    num.pop(); // emptying the array "num"
  }

  a = "";
  b = "";
}
In the above codes, I have included all the necessary comments, so that you can easily understand the logic of this script.
Summary
If you have followed above steps then you have learnt the procedure to create a basic calculator. Now, I would suggest you to create your own calculator by taking help from this article. You can change the user interface and add more interactivity to it.
Comments
Loading comments…