In this article, we will see how we can load local images when using React.
So let's get started.
1.When using Create React App:
To start with, clone the countdown timer repository code from HERE which I created in this article
once cloned, run the following commands to start the application
- npm install
- npm start
Now, download the images that we will be using to display from HERE. Create a new directory with name images inside src directory of the project and place those downloaded images inside src/images directory
Now, open the Timer.js and search for Begin Countdown button and we will add an image inside the button as
<img alt="timer" src="images/timer.png" />
So your button code will look like this
<Button
 variant="primary"
 type="button"
 onClick={this.calculateCountdown}
>
Begin Countdown
<img alt="timer" src="images/timer.png" />
</Button>
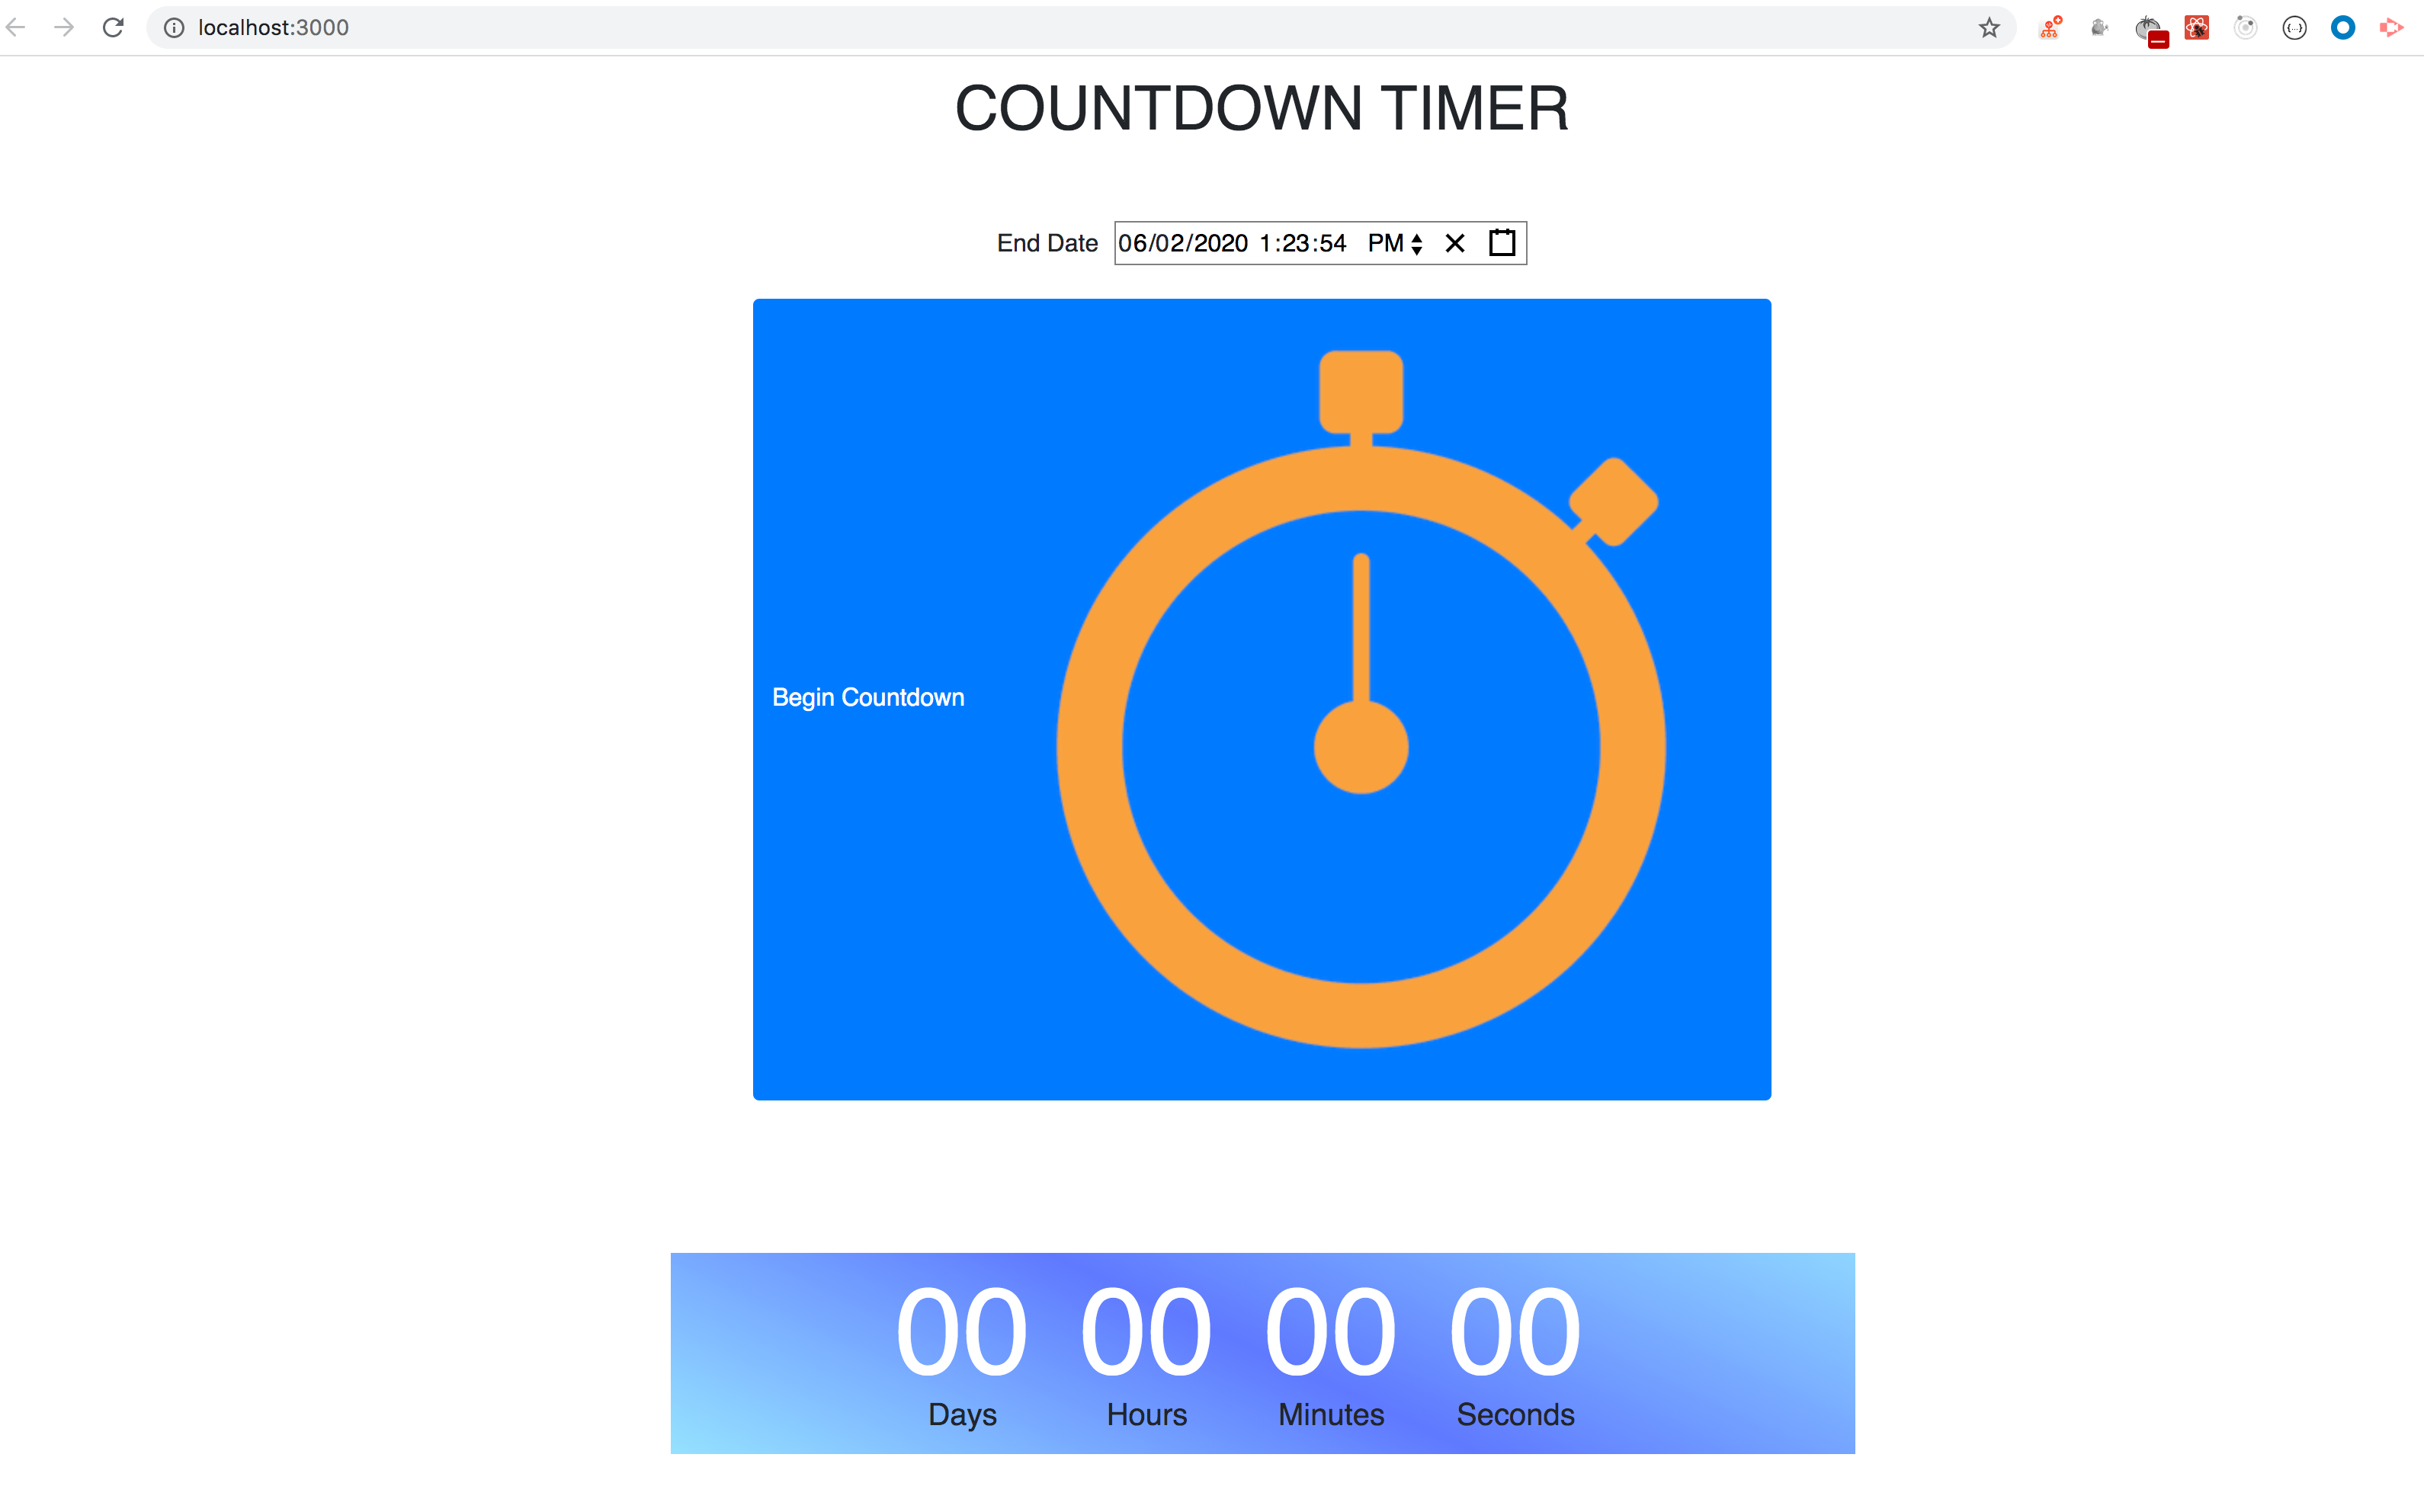
If you save the file and load the application, you will see that, the image is not displayed but broken icon is displayed for the button with alt text.

So to fix this, we need to include the image by using require syntax
<img alt="timer" src={require('./images/timer.png')} />
Now you will see that, the image is loaded as shown below

But the image itself is too large, lets add some css to make it look good
In styles.css add following CSS
img {
 width: 40px;
 height: 40px;
}

.btn-start {
 margin-left: 5%;
}
and for the button add btn-start class
<Button
 className="btn-start"
 variant="primary"
 type="button"
 onClick={this.calculateCountdown}
>
Begin Countdown
<img alt="timer" src={require('./images/timer.png')} />
</Button>
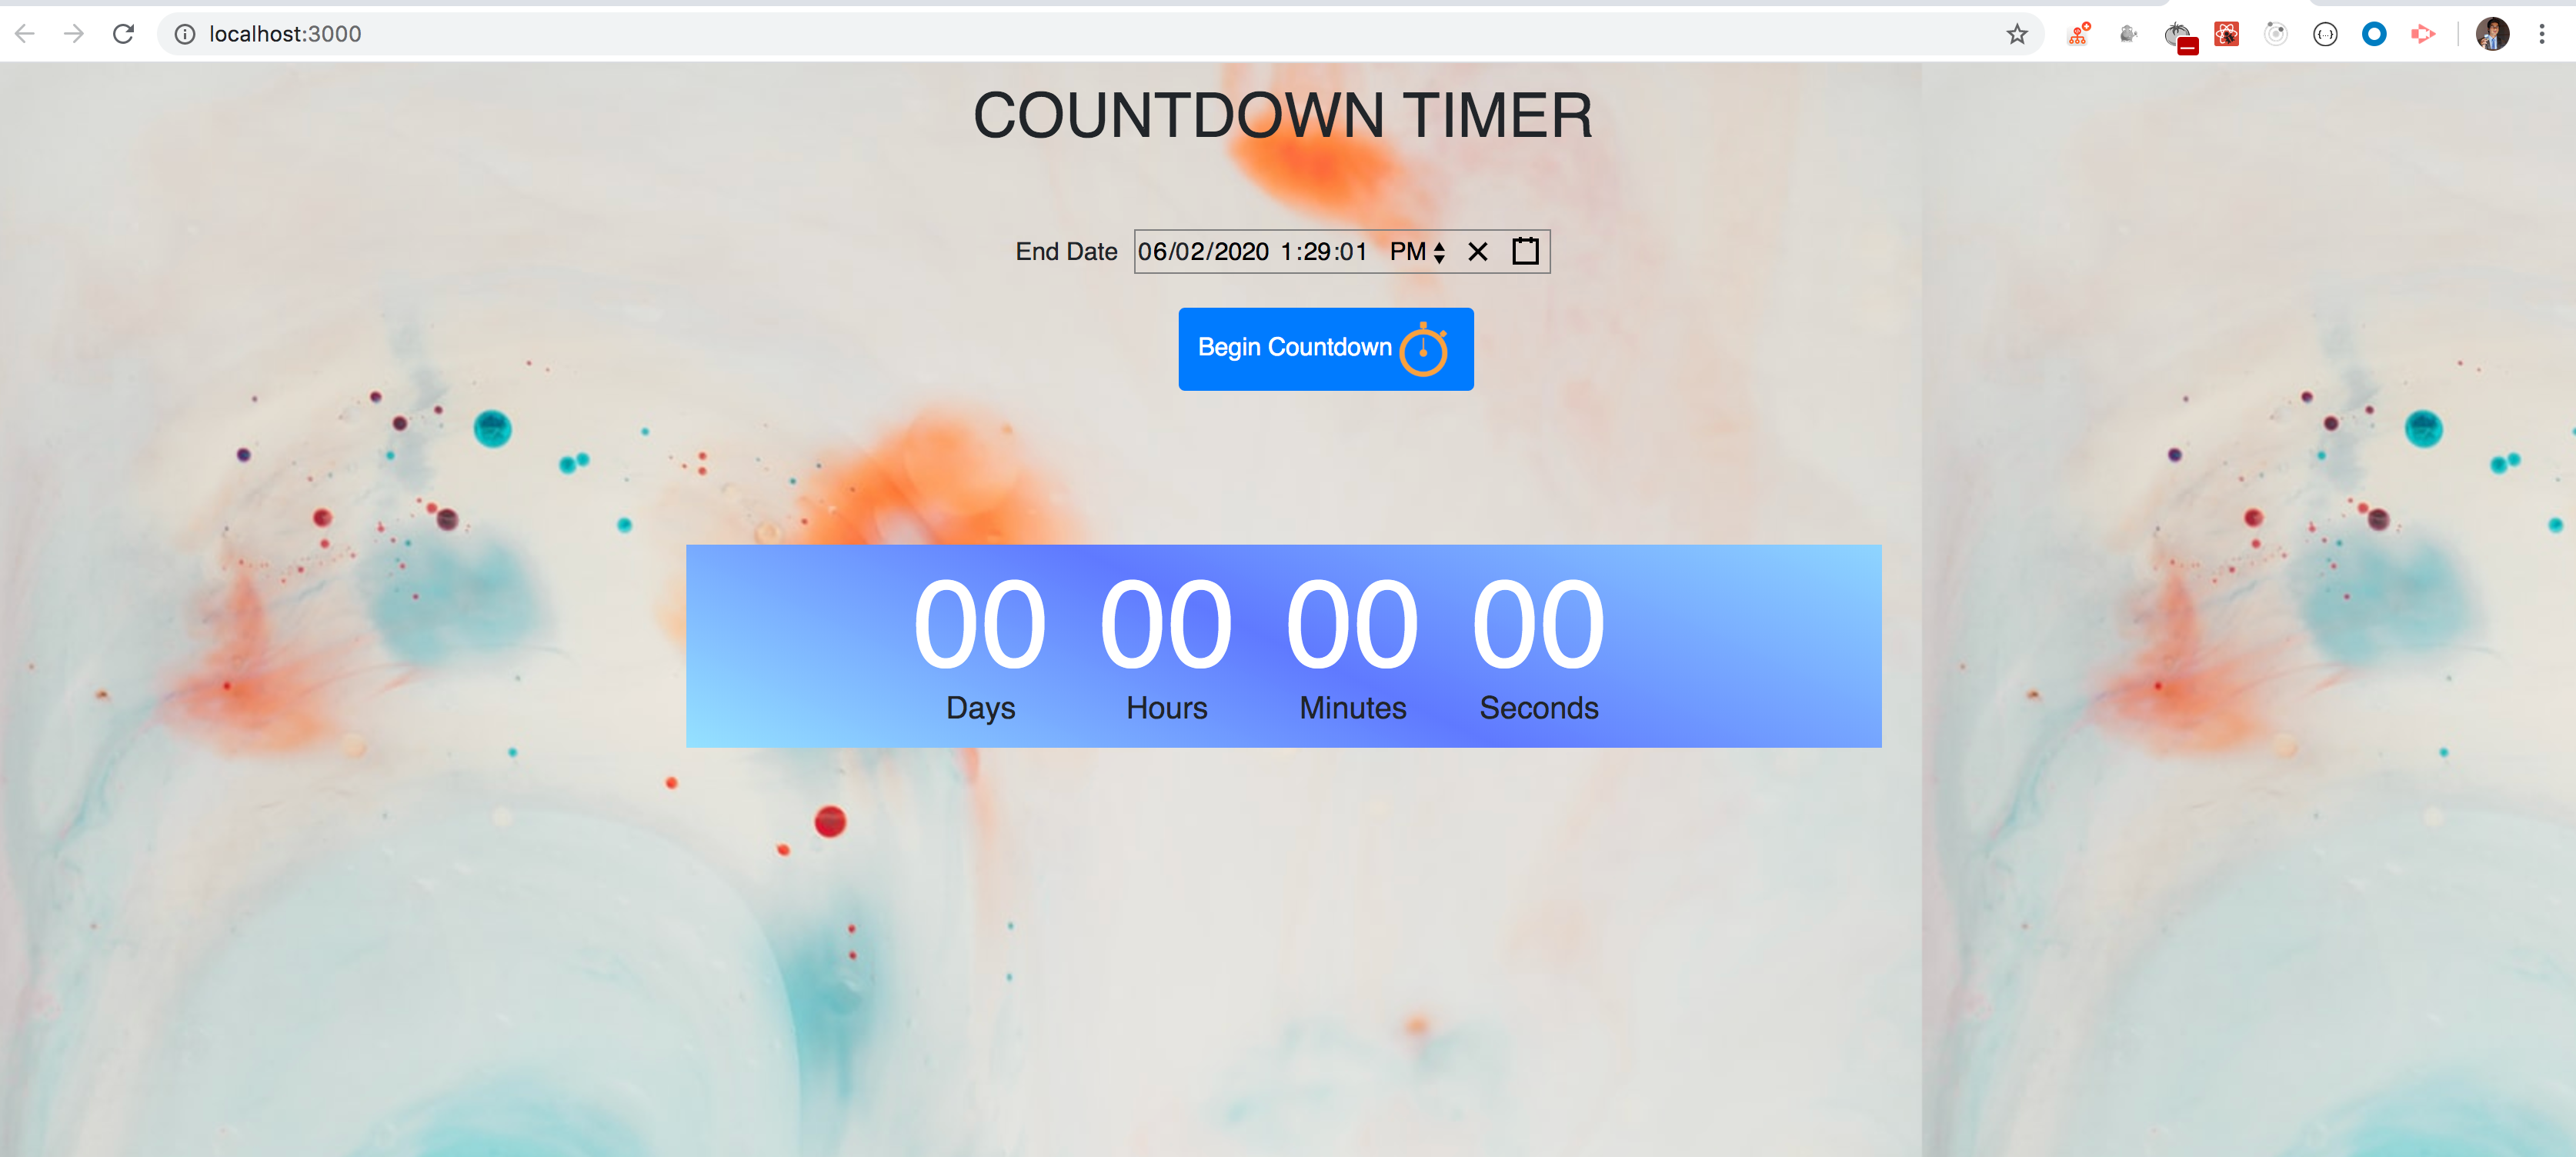
So now the button and image will look nice

Let’s add some background image to the application so the application will look nice. For the body tag add background property in style.css
body {
 padding: 10px;
 font-family: sans-serif;
 background: url('./images/background.jpeg');
 text-align: center;
}
Now, the application will look nice.

Note: As the background image is loaded from CSS file, it’s displayed correctly. Only when we load the local image using img tag, we need to use the require syntax
Github Source Code: https://github.com/myogeshchavan97/countdown_timer_updated
2.When using your own webpack and babel setup:
If you have your own webpack and babel setup for React as described in the article HERE , then you need to follow the following steps
-
Install the url-loader npm package using
npm install url-loader@3.0.0
-
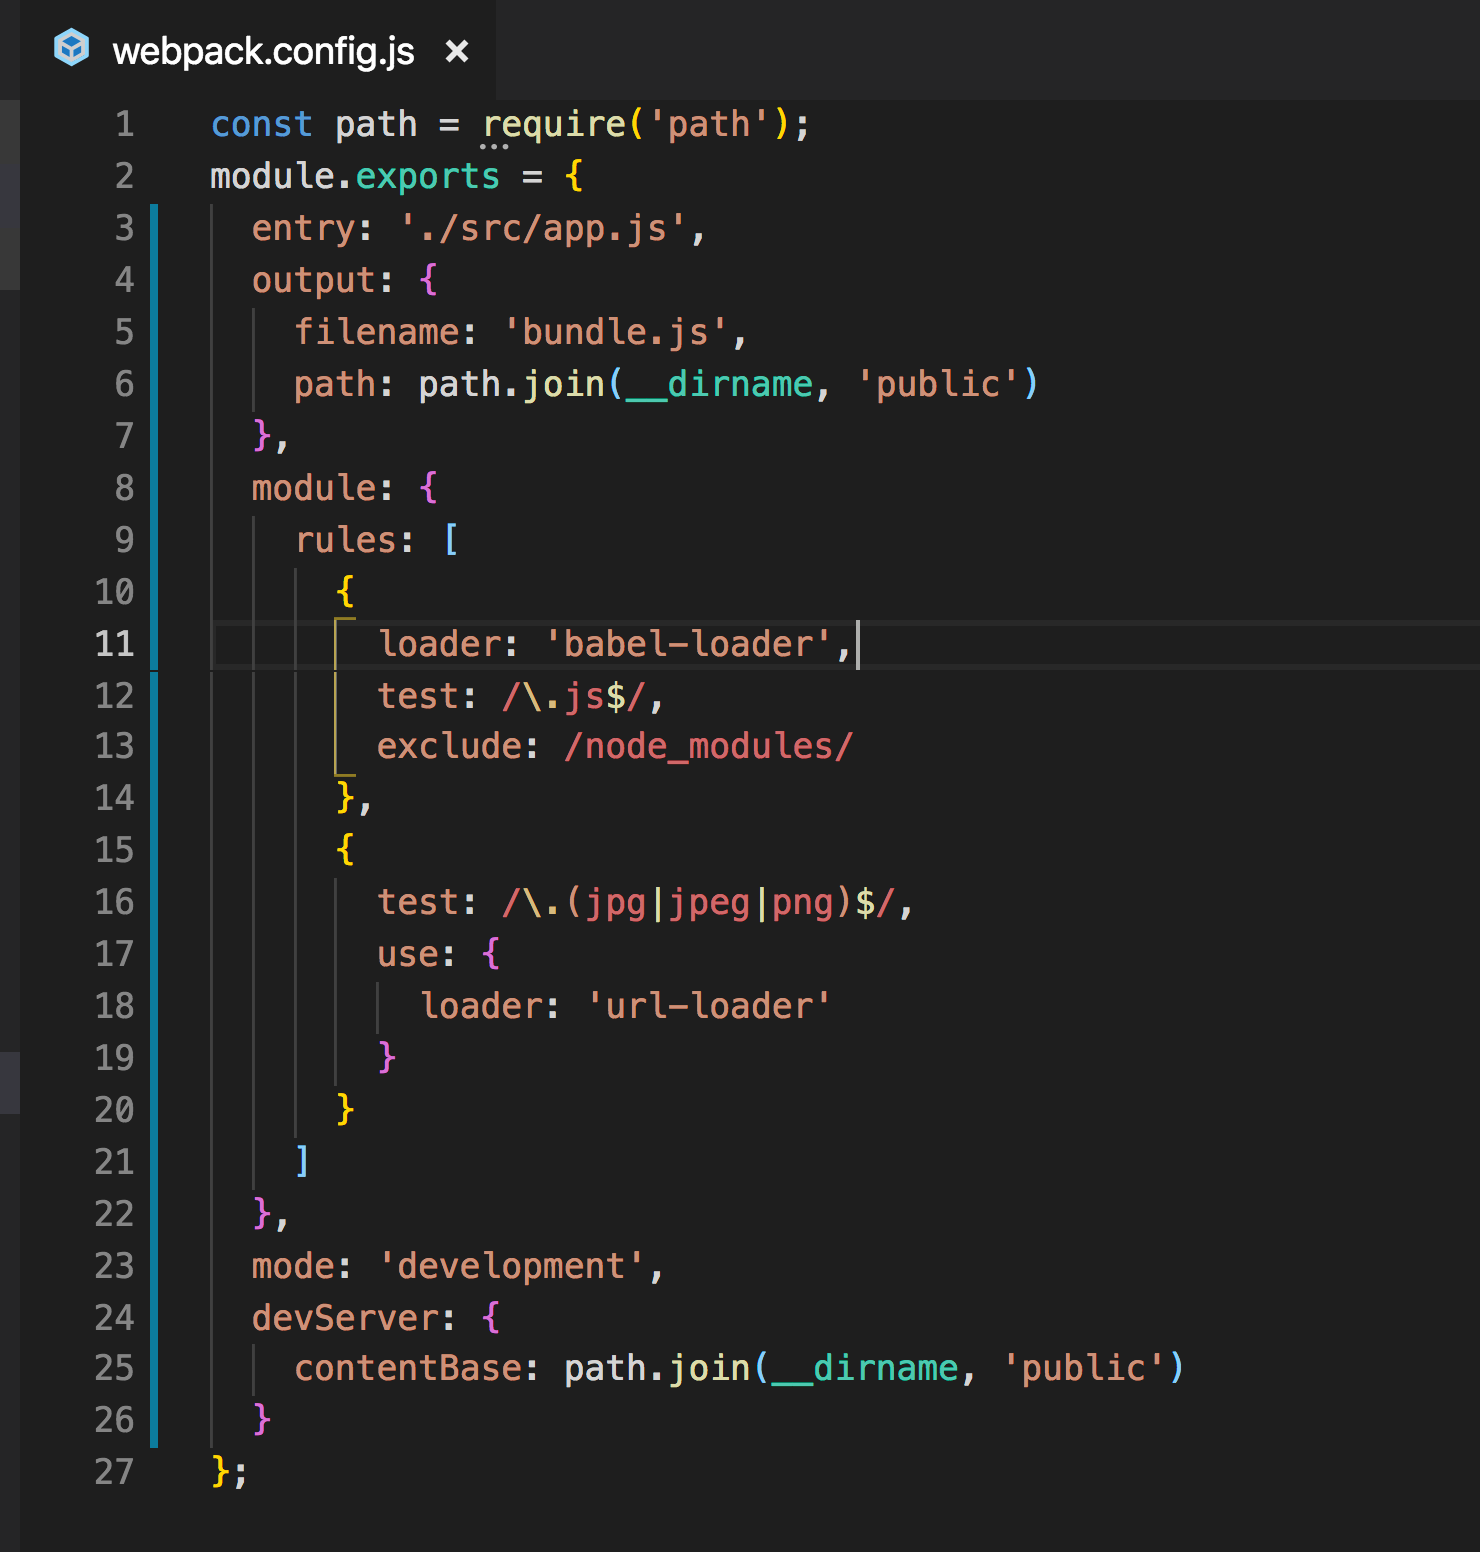
Add the url-loader configuration in webpack.config.js as
{ test: /.(jpg|jpeg|png)$/, use: { loader: 'url-loader' } }

-
Import the image as
import timerImage from "./images/timer.png";
-
Use the image in the img tag
That’s it for today. Hope you learned something new today.
Don’t forget to subscribe to get my weekly newsletter with amazing tips, tricks, and articles directly in your inbox here.
