
If you read this article you probably have a little knowledge about these two frameworks, if not I would recommend you first to take a look at these, they have very good documentation on their websites.
Storytime
So apparently I started a little Github repository where I created some web-app boilerplates and I wanted a server-side rendering solution as well. So while I was sinking in the deeps of the monorepo magic world🎩, I faced a question regarding Next.js and NestJS. Do I really need two node servers?🤔 One to render the react application and one for the backend APIs? NO! So here came the idea to let's just merge these two.
Next.js is amazing!
The guys at Next.js already thought about this, they have a description on their website regarding how can you use a custom server, so from here my job becomes 100% easier.
But there's a catch, nothing comes without a price. The price that we will lose the Automatic Static Optimization but I'm okay with it. In my projects, almost every page has “blocking data requirements”, so it's not a big drawback in my situation.
Integrating with NestJS
In NestJS we wrap up controllers and services in modules, so in my case, I think the best option is to create a module which purpose is only to serve the UI side, so basically to render our react pages.
Let's call this module View Module, and it will contain the View Controller(route handling), View Service(providing the next render).
Let's code!🚀
First, let's install the NestJS CLI tool for creating a project:
npm i -g @nestjs/cli
Note: I suggest to use yarn, I had some problems with npm, apparently installed the wrong webpack version for Next.js.
Now create a base application(choose yarn):
nest new myapp
This is how should the project structure look like:
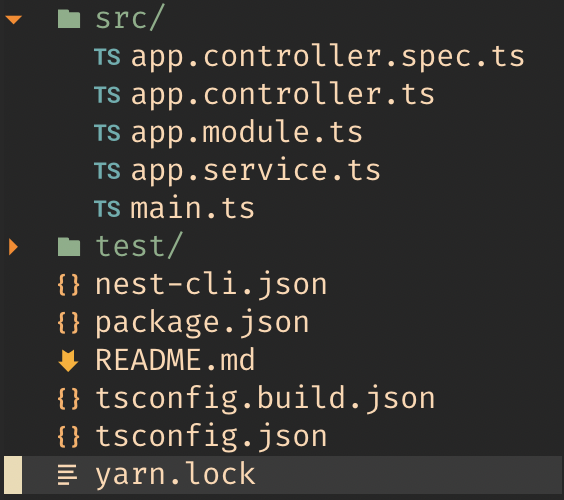
I suggest changing the structure to fit our goal. We need to separate the client and the server files, delete the app.controller.ts, app.service.ts files, also to make this more simple delete the test files(temporary).
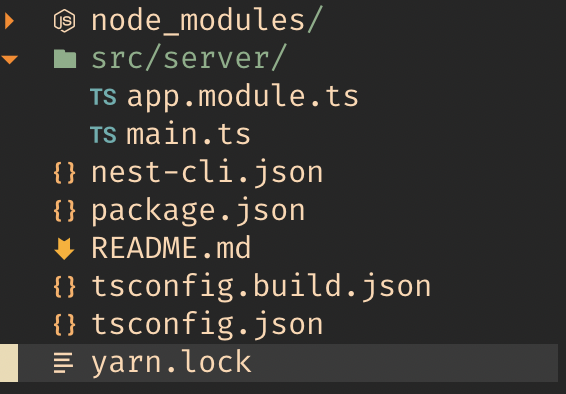
We need to modify some additional files:
nest-cli.json
{
  "collection": "@nestjs/schematics",
  "sourceRoot": "src/server",
}
tsconfig.json
{
  "compilerOptions": {
    "module": "commonjs",
    "declaration": true,
    "removeComments": true,
    "emitDecoratorMetadata": true,
    "experimentalDecorators": true,
    "allowSyntheticDefaultImports": true,
    "target": "es2017",
    "sourceMap": true,
    "outDir": "./dist",
    "incremental": true,
    "jsx": "preserve"
  },
  "include": ["src/server/**/*.ts"],
}
The next step is to install the next, react, react-dom packages:
yarn add next react react-dom
yarn add -D @types/react @types/react-dom
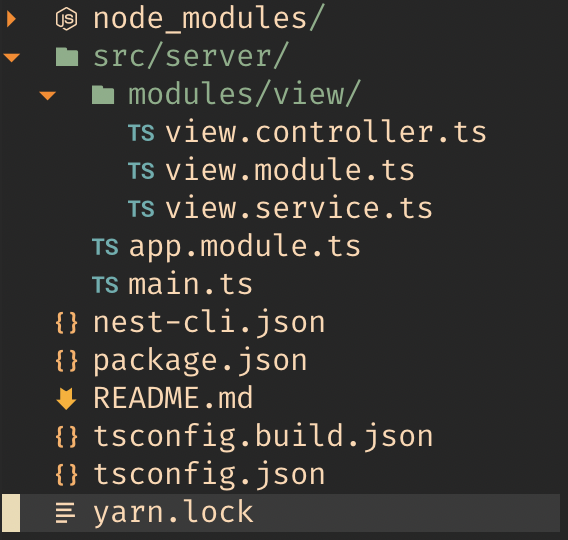
Now we need to implement our view module. Let's create a modules directory and a view directory inside that, this will contain our view.controller.ts, view.module.ts, view.service.ts:
The View Service
Here we will create our next object(where the 🪄 happens).
src/server/modules/view/view.service.ts
import { Injectable, OnModuleInit } from '@nestjs/common'
import next from 'next'
import NextServer from 'next/dist/next-server/server/next-server'

@Injectable()
export class ViewService implements OnModuleInit {
  private server: NextServer

  async onModuleInit(): Promise<void> {
    try {
      this.server = next({ dev: true, dir: './src/client' })
      await this.server.prepare()
    } catch (error) {
      console.log(error)
    }
  }

  getNextServer(): NextServer {
    return this.server
  }
}
Note: we create the NextServer object in the OnModuleInit, before the application starts, so we can handle requests.
The View Controller
This will connect our NestJS application with the Next.js server(where the 💥 happens).
src/server/modules/view/view.controller.ts
import { Controller, Get, Res, Req } from '@nestjs/common'
import { Request, Response } from 'express'

import { ViewService } from './view.service'

@Controller('/')
export class ViewController {
  constructor(private viewService: ViewService) {}

  @Get('*')
  static(@Req() req: Request, @Res() res: Response) {
    const handle = this.viewService.getNextServer().getRequestHandler()
    handle(req, res)
  }
}
Basically what we do is that we pass the request object to the Next Request Handler(the '*' is used to match every route, and yes the react pages are still rendered by the Next.js).
The last thing we need to do is to modify the view.module.ts, app.module.ts:
src/server/modules/view/view.module.ts
import { Module } from '@nestjs/common'

import { ViewController } from './view.controller'
import { ViewService } from './view.service'

@Module({
  imports: [],
  providers: [ViewService],
  controllers: [ViewController]
})
export class ViewModule {}
src/server/app.module.ts
import { Module } from '@nestjs/common'

import { ViewModule } from './modules/view/view.module'

@Module({
  imports: [ViewModule],
  controllers: [],
  providers: []
})
export class AppModule {}
The Client
This will contain our react pages. The structure will look like this:
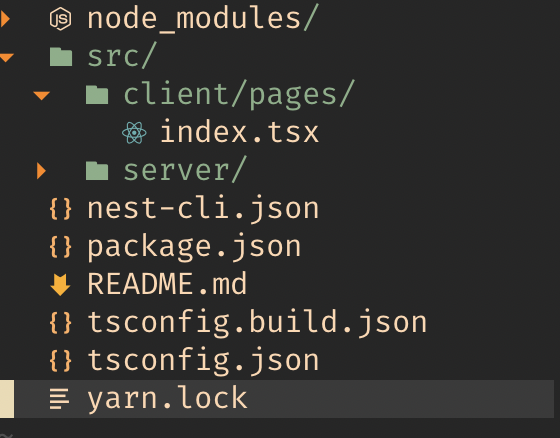
We need to put the react pages under the client/pages directory(this is how the Next.js will recognize the pages).
src/client/pages/index.tsx
import React from 'react'
import { NextPage } from 'next'
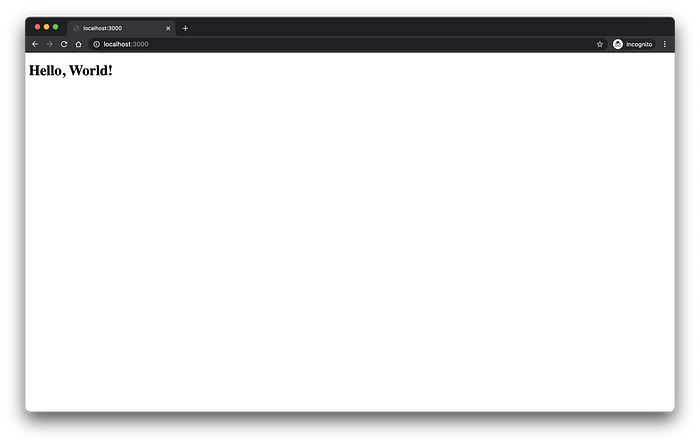
const Home: NextPage = () => {
return <h1>Hello, World!</h1>
}
export default Home
Now run the magic command: yarn start
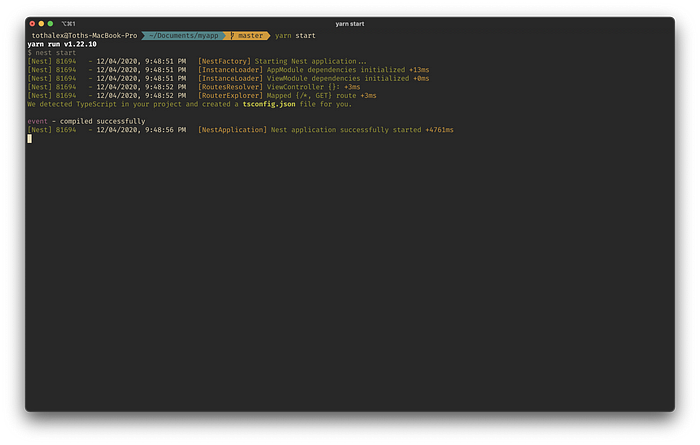
Note: Next.js will create his own tsconfig.json, next-env.d.ts this is the expected behavior.
Conclusion
I didn't make the Next.js any better, I just used the available function to create a more modern server, this way you can design your API routes better(the view module should be always imported as the last one because the '*' will match every route), also you can take advantage of the getServerSideProps. I have an example on my github❤️.
Comments
Loading comments…