My Journey
Like most, when I first started using Testing Library, I used Fire Event to test component interactions. After all, this API shipped with the library itself and was used in the test examples in the documentation. But I soon discovered that Fire Event had serious limitations. I would try clicking something and the expected effect did not happen. Why?
Browser Events
To understand this issue, we need to better understand browser events. When a user clicks something in their browser, multiple events are triggered — mouseDown, mouseUp, click, and focus. Similarly, when typing something, the keyDown, keyUp, and keyPress events all trigger! Because a single user interaction could trigger multiple events, developers have multiple options for implementation. This is where I ran into my issue.
Fire Event
Fire Event, unfortunately, requires you to use the method for the corresponding event handler to trigger. If an element has an onClick event handler, I have to use fireEvent.click; if an element has an onMouseDown event handler, I have to use fireEvent.mouseDown. In other words, I need to know the exact implementation of the event handler to successfully use fireEvent.
User Event
User Event is a higher-level implementation of Fire Event that better simulates browser events. It builds upon Fire Event to trigger the sequence of events that would normally occur on the browser. This allows you to interact more like a user and not care about internal implementation, ultimately ensuring that your test environment interactions are more realistic.
User Event vs Fire Event
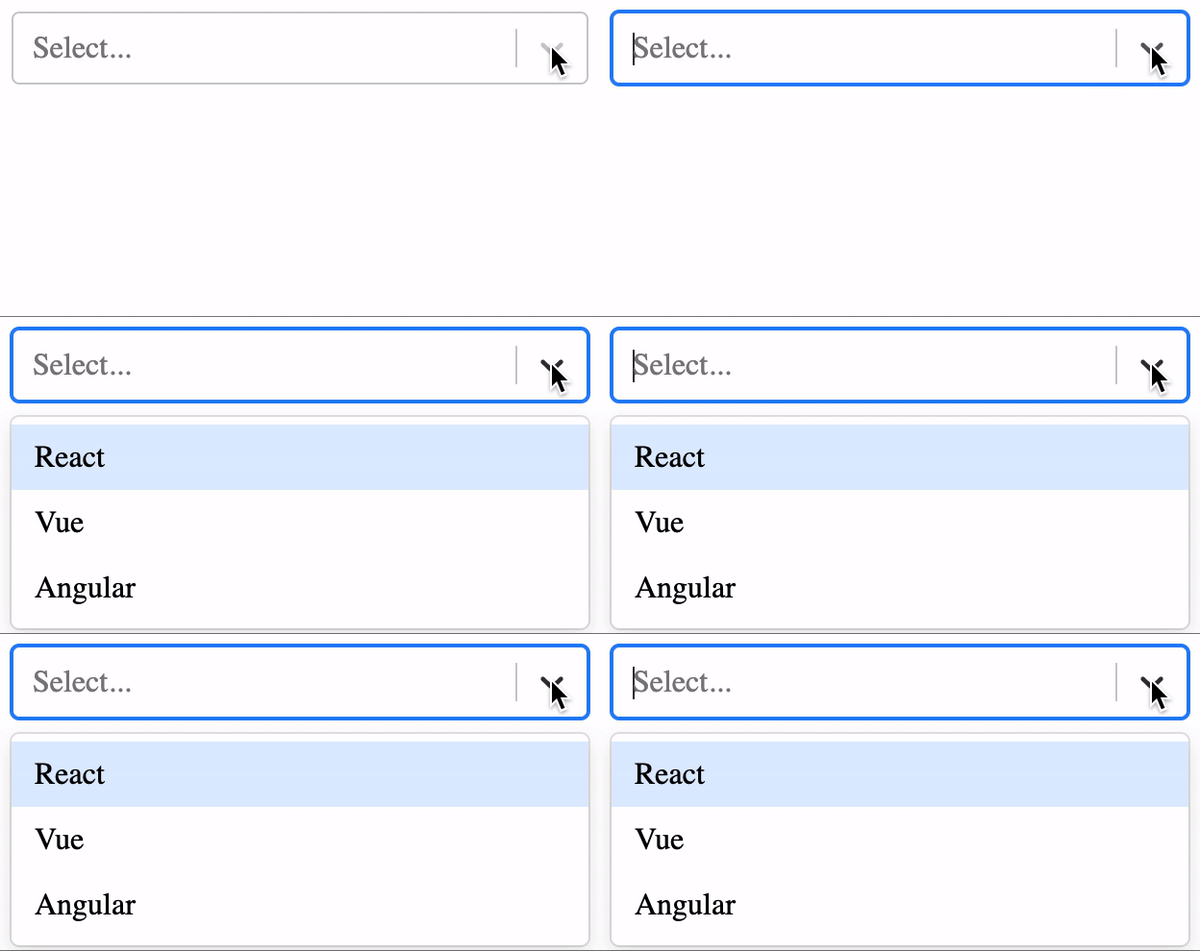
React Select is a prime example of the limitations of Fire Event and the value of User Event. It render an input that opens a menu of options when you click on it.
 React Select
Using Fire Event, you would expect to see the select options when clicking on the dropdown indicator.
import { fireEvent, render, screen } from '[@testing](http://twitter.com/testing)-library/react';
import ReactSelect from 'react-select';

// test fails
test('should open select menu with fireEvent click', () => {
  const { container, queryByText } = render(
    <ReactSelect classNamePrefix="select" options={options} />
  );
  const control = container.querySelector('.select__dropdown-indicator');
  fireEvent.click(control);
  expect(getByText('React')).toBeTruthy();
  expect(getByText('Vue')).toBeTruthy();
  expect(getByText('Angular')).toBeTruthy();
});
But this does not happen! When I encountered this, I was so confused. After stumbling through the tests in the React Select codebase, I found out that I needed to use fireEvent.mouseDown to get the expected effect of opening the menu.
But with with User Event, however, I don't need to worry about this implementation detail!
import userEvent from '[@testing](http://twitter.com/testing)-library/user-event';

// test succeeds
test('should open select menu with userEvent click', () => {
  const { container, getByText } = render(
    <ReactSelect classNamePrefix="select" options={options} />
  );
  const control = container.querySelector('.select__dropdown-indicator');
  userEvent.click(control);
  expect(getByText('React')).toBeTruthy();
  expect(getByText('Vue')).toBeTruthy();
  expect(getByText('Angular')).toBeTruthy();
});
Since userEvent.click triggers multiple events, which includes the mouseDown event that would normally occur in the browser, the correct event handler is triggered and the menu opens.
APIs
User Event provides more than just the above click method. It provides the following APIs that will make your testing life so much easier.
-
hover will trigger pointerOver, mouseOver, pointerMove, mouseMove event handlers for the target element and trigger pointerEnter and mouseEnter event handlers for all the parent elements.
-
unhover will do the same thing as the above hover API but in the opposite order.
-
click will trigger the above hover API and then the pointerDown, mouseDown, focus, pointerUp, mouseUp, and click event handlers. It will also trigger blur if there was a previously focused element.
-
dblClick will trigger the above click method twice but only trigger the above hover once.
-
type will first trigger the above click API on the element and then trigger keyDown, keyUp, keyPress, and change event handlers. Text added through this API will be done on top of existing text. So if you do userEvent.type(input, ' World') and the input already has the value Hello, the resulting text will be Hello World. In addition, type will respect any selected text behavior and delete it when adding new text.
-
upload will trigger the above click API and then the blur (when the file selector pops up), focus (after a file is selected from the pop up), and change event handlers on the input element.
-
clear will trigger the above type method with select all and delete to clear input text.
-
selectOptions will trigger the above hover, click, and unhover APIs on a select element option.
-
deselectOptions will do the same as the above selectOptions API if the select element has multiple values enabled.
-
tab will trigger the focus event handler on the next tabbable element and trigger the blur event handler on the current focused element.
-
paste will trigger a paste clipboard event that will insert text on top of existing text.
Final Thoughts
User Event aims to resolve disconnect between usage and implementation, making your test more accurate and dependable. It removes the need to understand implementation and strives to closely resemble how users interact with the component, which is a core guiding principle of Testing Library itself. Users don't care if you implemented the event handler using mouseDown vs mouseUp vs click! And neither should your tests! But only if you start using User Event.
Resources
Disclaimer
While writing this article, I did notice that the Fire Event documentation now includes a blurb about using User Event instead. This was added in August 2020.