![Photo by [Ilya Pavlov]: https://unsplash.com/@ilyapavlov?utm_source=medium&utm_medium=referral](/assets/post-content/top-5-tools-for-web-developers.webp)
A good artist will invest in quality tools. A good web developer will use the best tools they can to get the job done. Luckily, the only significant investment you need to make as a developer most of the time is your choice of computer.
Assuming that you are working in your preferred environment or otherwise have some means of accessing a computer to develop your skills and do your work, you will want to make sure you use the best tools you can to hone your skills. Below are five essential tools of the trade that every web developer should learn to do their best work in the long run.
5. Chrome Developer Tools
To start, when you're learning, using the inspector and web console are great ways to reinforce understanding of crucial core concepts in real-time. These concepts include working with the Document Object Model (DOM), the CSS Box Model, and it greatly aids in debugging JavaScript code.
I'm sure many of you will be familiar with the Chrome DevTools, but in case you are not, here is how you access them:
On macOS, press ⌘+⌥+I (Cmd+Option+I) or Ctrl+Shift+I on Windows, or you can press F12. You can also navigate through the chrome menus, but that's slow! You should see a screen like the one below either docked in or popped out of your main browser window.
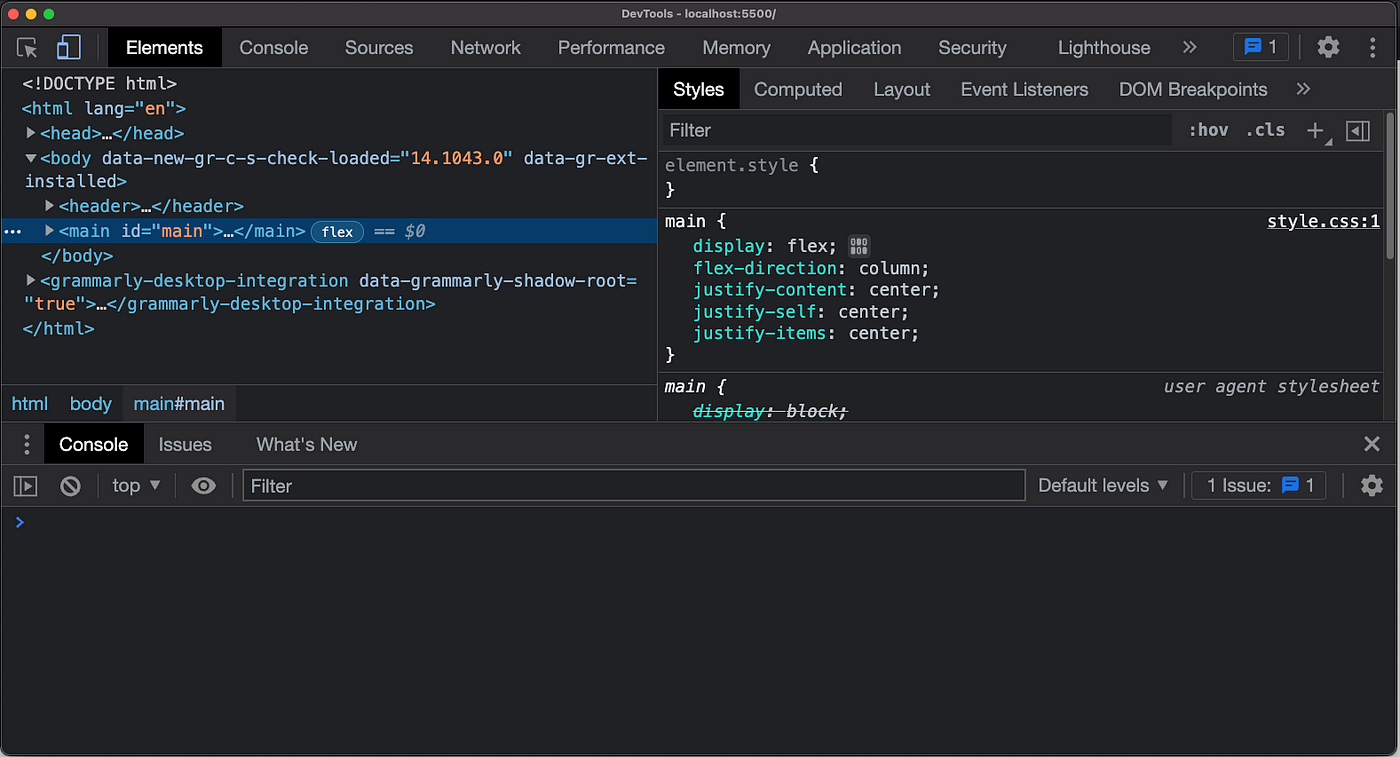
The Google Chrome Developer Tools open to a scratch page I made
Pay attention to each part of the developer tools window. As you can see, there are multiple tabs. The default tab is Elements, and, at least with my setup, the JavaScript console is underneath.
Take a sample HTML file (or slap something together), open it in chrome, and open the developer tools described above. Play around with it. Try grabbing DOM elements in the JavaScript console (a REPL that allows you to manipulate the page's presentation on your machine) or changing the HTML or CSS in the other screens.
You don't need to provide your own web documents to work with the DevTools either. A really fun thing you can do is open any webpage and edit it. Don't be afraid to do so! It won't break the actual page, it'll just temporarily change a few things client-side until you hit refresh/reload.
Try selecting elements and changing their text or background colors. If that's too boring, you could add or delete elements or change the layout of the page entirely. Again, this will not break the actual webpage - the changes are only visible in your web browser on your computer until the page is reloaded. So, what are you waiting for? Try figuring out how to change the text of this article if you want.
Additionally, you can enhance the Chrome Devtools with chrome extensions (such as The React Developer Tools)!
I will be releasing a tutorial for the major features of the DevTools at a later date. Go ahead and experiment with them in the meantime!
4. Node Package Manager (NPM)
You will need to know how to work with Node.js to build modern web applications. A big part of that is knowing the basic syntax and commands of the Node Package Manager (npm).
You can use npm to
- Initialize a new Node.js project
- Install dependencies like frameworks and libraries and other tools for developing your web applications
- To update installed packages
The main commands you'll need to know how to use are npm install <package_name>, npm init,
npm start, and npm update. You will need to know how and when to install packages globally or
locally and what that means. In addition, learn about
how the package.json file works and
how to work with it.
Here is a list of some frequently run npm commands:
- npm init (this initializes the current directory as a Node.js package/project)
- npm install <package_name> (this installs package_name locally to your project as a dependency. To install a package system-wide, use the -g flag)
- npm uninstall <package_name> (this uninstalls package_name)
- npm start (this runs the script defined as "start" in your package.json)
- npm list (this lists all the dependencies in your project. Tack -g at the end to see a list of packages you installed globally)
- npm update (updates all packages)
To learn more about npm, you can read the documentation.
3. Git/Github
Ever worry that you will break your entire app with a minor change or two? What if your hard drive fails or you spill coffee on your laptop? Do you wish there were a simple way to track changes to your code and compare different versions of the same file? What about a way to easily go back to a previous version of your codebase if things go awry? Do you want to be able to easily share your code with other developers? Better yet, do you want to ensure that changes other developers make don't break the whole application? And do you want all these great features for free or relatively low cost?
This is where a *version control system *like git comes in. Github is a platform to host your projects. Most serious devs have a Github account and push commits to their repositories daily.
Back up, James - what does it mean to push commits to a repository? When I first heard about Github in college, someone described commits to me as just a really feature-rich save button. I think that view doesn't do justice to the full power of a git commit but regardless, it's an apt analogy. When you commit changes to a git repository, you are essentially saying: "git, add this version of my code to the codebase and record the changes made but keep the record of all previous changes."
You can have many commits per push to a remote repository. Essentially, a commit is a *save *and a push is a cloud backup of local saves. That isn't the full picture, but there's a lot going on with git outside the scope of this article, so check out the git documentation. Keep in mind that git and Github are related, but git is the VCS while Github is a popular remote git repository hosting service.
2. The Command Line
Also known as the terminal, prompt, shell, or console, the command-line is a fundamental tool you must master to be an effective developer. In my experience, it's generally faster, once you know the basics, to do things in the terminal rather than a GUI.
The commands do differ a bit between macOS, Linux distros, and Windows, but I have used both Mac and PC systems and also debian-based Linux distros and can safely say that you can pick up the commands relatively quickly.
There are many different shells to choose from such as bash, zsh, csh, and Microsoft PowerShell, to name a few. The first three are all traditionally on UNIX-based systems, but you can now run PowerShell on Macs and Linux machines too!
Learn how to navigate files and directories and use git and node from the command line and you'll be well on your way to learning these critical tools! For reference, here are some frequently used commands in a UNIX shell:
- cd <file_or_directory_path>
- ls
- pwd
- touch
- mkdir <directory_name>
- sudo <command_requiring_root>
- rm
- cp <file_or_directory_name> <new_location>
Examples of usage:
~ $ cd Documents\
~/Documents $ pwd\
/Users/jybryce/Documents\
~/Documents $ ls\
document1.docx code sample.txt some*picture.jpg\
idk lol stuff\
~/Documents $ cd\
~ $ pwd\
/Users/jybryce\
~ $ *
See if you can figure out what each command does by looking at the example console output above and experimenting.
One final note when experimenting with the command line: be
careful with [rm](https://itsfoss.com/sudo-rm-rf/) and [sudo](https://itsfoss.com/sudo-rm-rf/)!
1. Visual Studio Code (VSC)

My VSC Setup with a scratch file open in the editor, terminal, and some of the projects I am working on can be seen in the file explorer. You might be wondering what I am building here; a lot of those files are for future articles!
Microsoft's Visual Studio Code is the best of the best in my opinion when it comes to text editors you can use. VSC could easily have its own article devoted to it. In fact, there are many on this site and elsewhere already!
In essence, VSC is a code editor that can be transformed into a full IDE with extensions. It features IntelliSense, themes, debuggers, an integrated terminal, and snippets as well as all sorts of formatters such as Prettier. It is highly customizable and integrates well with git and Github accounts so you can clone, pull from, commit and push to local or remote git repositories with ease. Virtually everything can be done from the keyboard once you know the shortcuts, and a lot can be done by using the command palette (Ctrl+P or ⌘+P).
I highly recommend it because of the above features alone. It is quite frankly the most powerful development software I have ever had the pleasure of using!
And that's that! 5 tools you should learn and learn well as a web developer. I hope you enjoyed reading this article. Thank you for your time!
Bonus: SpinupWP
If you want managed hosting, you can find some very good hosts, but they often come with a high price.
If you want to manage yourself, it can be hit and miss. Often there are unforeseen challenges. But you can save money in the long run if you don't succumb to all the pitfalls.
There is a middle place, which is called SpinupWP. You choose your own, cost effective bare-metal infrastructure, and SpinupWP provides the interface. Being a modern cloud-based server control panel, this effective tool spins up your own extremely fast WordPress server, and it does so in just minutes.
No software installation necessary. Just give SpinupWP access and you can manage your server remotely. It's like a remote control for your server.
Here's a rundown of what this awesome server control panel offers: The ability to work with almost any cloud-hosting provider., such as DigitalOcean, Linode, Vultr, Amazon Web Services, and more. Extensive caching options, such as full-page solutions to align with Nginx performance requirements, and Redis. A bunch of thoughtful security options, such as site sandboxing, error logging by default, and a wealth of hardening provisions to help keep you safe (on top of what your host will already provide). Developer-focused features, such as a 'push-to-deploy' feature for Git-based development. This lets you work on your site through a Git repository, then use it to trigger an update to your live site.
Comments
Loading comments…