
AWS Elastic Beanstalk is an easy-to-use service for deploying and scaling web applications and services developed with Java, .NET, PHP, Node.js, Python, Ruby, Go, and Docker on familiar servers such as Apache, Nginx, Passenger, and IIS.
You can simply upload your code and Elastic Beanstalk automatically handles the deployment, from capacity provisioning, load balancing, auto-scaling to application health monitoring. At the same time, you retain full control over the AWS resources powering your application and can access the underlying resources at any time.
There is no additional charge for Elastic Beanstalk — you pay only for the AWS resources needed to store and run your applications.
Elastic Beanstalk provides two types of environments, namely:
- Single Instance Environment
- Load Balanced Environment
The load balanced environment manages multiple servers behind a load balancer that distributes requests to the servers while the single instance environment manages a single server, no load balancer and an EIP(Elastic IP address) that points to the server.
Setting up SSL on a load balanced environment is straightforward using the AWS console. Create a certificate using ACM(AWS Certificate Manager) and attach it to your load balancer which should already have a domain pointed to it.
But for the single instance environment, extra configuration is required for SSL to work.
Prerequisites
We’ll be setting up an ElasticBeanstalk Single Instance Environment with a sample application.
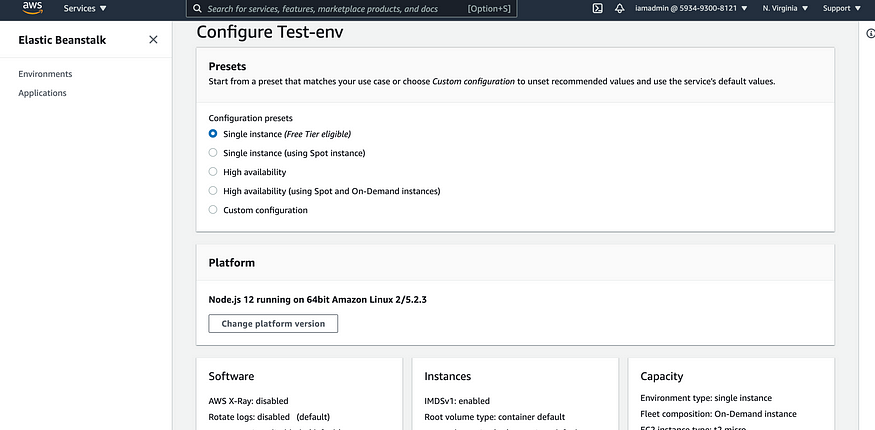
Once your environment is done setting up we’ll need to link a subdomain to the environment. I’ll be using Route53 to setup a subdomain for the application.
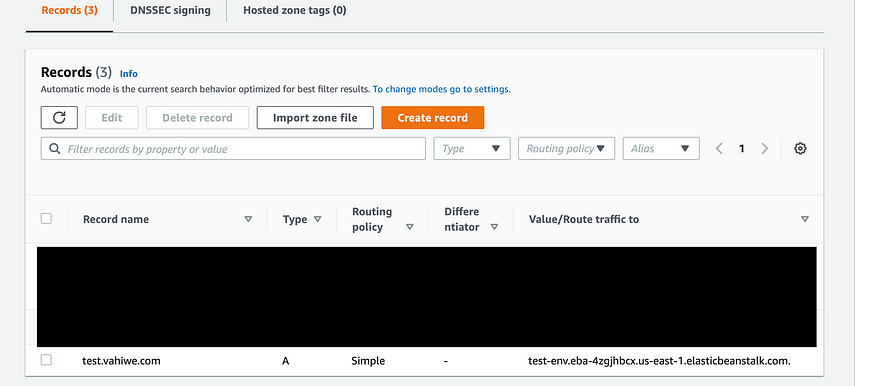
With the subdomain created and pointing to the elasticbeanstalk application, we need to add some environment variables to our environment. This can be done from the elasticbeanstalk dashboard.
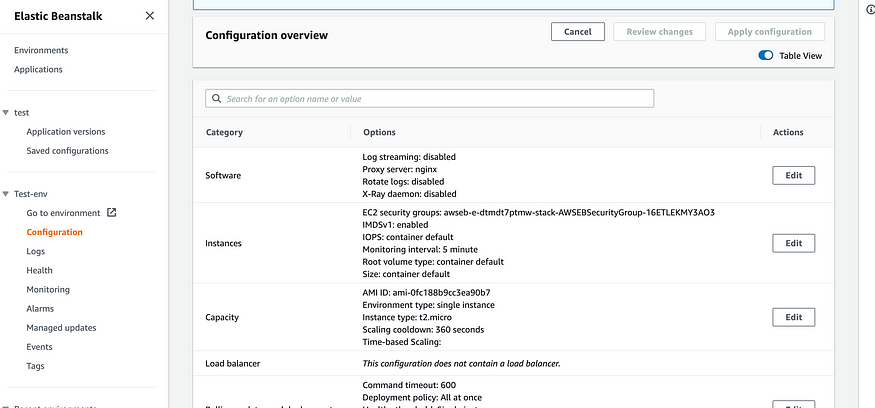
Edit the software settings. That’s where you’ll be able to add the environment variables needed for the SSL setup to work. You’ll need to add three environment variables, namely: DOMAIN_LINK which points to the subdomain created on Route53, EMAIL_LINK which points to any of your emails and PORT which is an environment variable that is read by the application to decide on which port to run on. This should also be the PORT number that nginx redirects requests to.
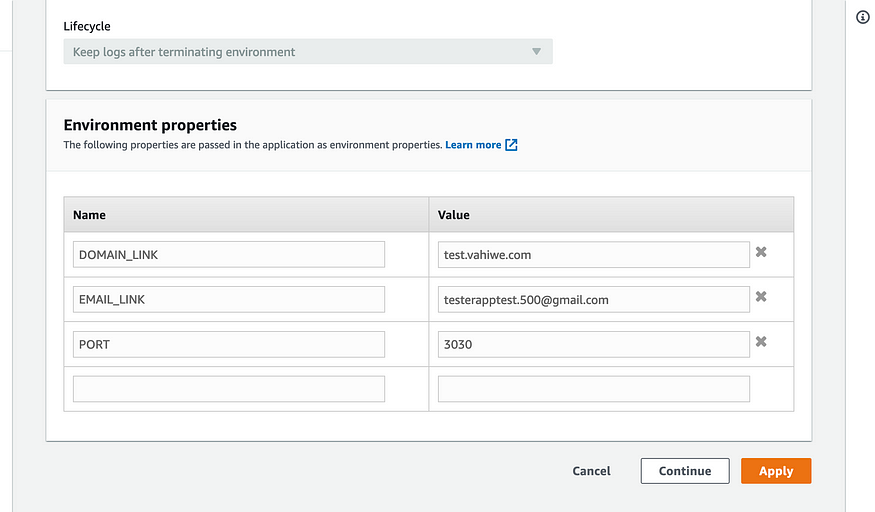
Once you apply the changes made, you can go on to setup your application with the necessary files needed for SSL to work.
Folder Structure
We’ll be using a repository that I’ve setup with all the necessary files. You can check it out here. Open the repository and check out the contents of the folders. In your project setup, you need to add two folders, namely: .platform and .ebextensions . The .platform folder allows you override nginx configuration files and .ebextensions folder contains AWS Elastic Beanstalk configuration files that allows one to configure their environment and customize the AWS resources that it contains. Configuration files are YAML- or JSON-formatted documents with a .config file extension. Please check **line 2 of .platform/nginx/conf.d/https_custom.conf** and make sure it’s pointing to the port your app is running on. Below is the folder structure:
├── .ebextensions
│ └── ssl.config
├── .gitignore
├── .platform
│ └── nginx
│ ├── conf.d
│ │ └── https_custom.conf
│ └── nginx.conf
├── EBSampleApp-Nodejs.iml
├── app.js
├── cron.yaml
├── index.html
└── package.json
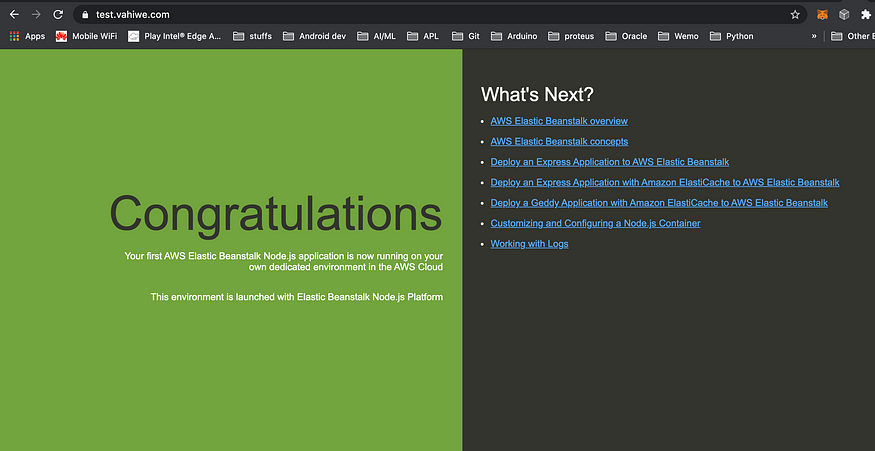
These folders should be in the root of your project. Your source code can be uploaded to the environment by using eb-cli , uploading a zipped copy of the project on AWS console or AWS CodeDeploy. I’ll be zipping my repo files and uploading to ElasticBeanstalk. Once the deployment is done, the application will be served with https . The configuration also redirects http to https .
Conclusion
The configuration in this article is only applicable to single instance environments on ElasticBeanstalk. This should help protect your web projects with SSL. Good luck!
References:
1. docs.amazonaws.cn/en_us/elasticbeanstalk/latest/dg/ebextensions.html

