
Recently, I was working on a React project that required me to build a component that (a) takes in an array of objects, (b) renders each object as a child component, and (c) gives the user the ability to sort the rendered components alphabetically with a Sort button.
I spent a few minutes thinking about how to achieve this. The task sounded like a mess, but much to my relief, a quick Google search revealed that JavaScript has a built-in method capable of getting such a job done: the Array .sort() method.
In this article, I’ll walk through the process of rendering child components from an array of objects and creating a Sort button using React.
1. Project setup
To prepare, I’ve created a new React application on my desktop called sort-demo using create-react-app. This will create a simple front-end build pipeline that will allow us to illustrate the example.
cd ./Desktop
npx create-react-app sort-demo
cd sort-demo
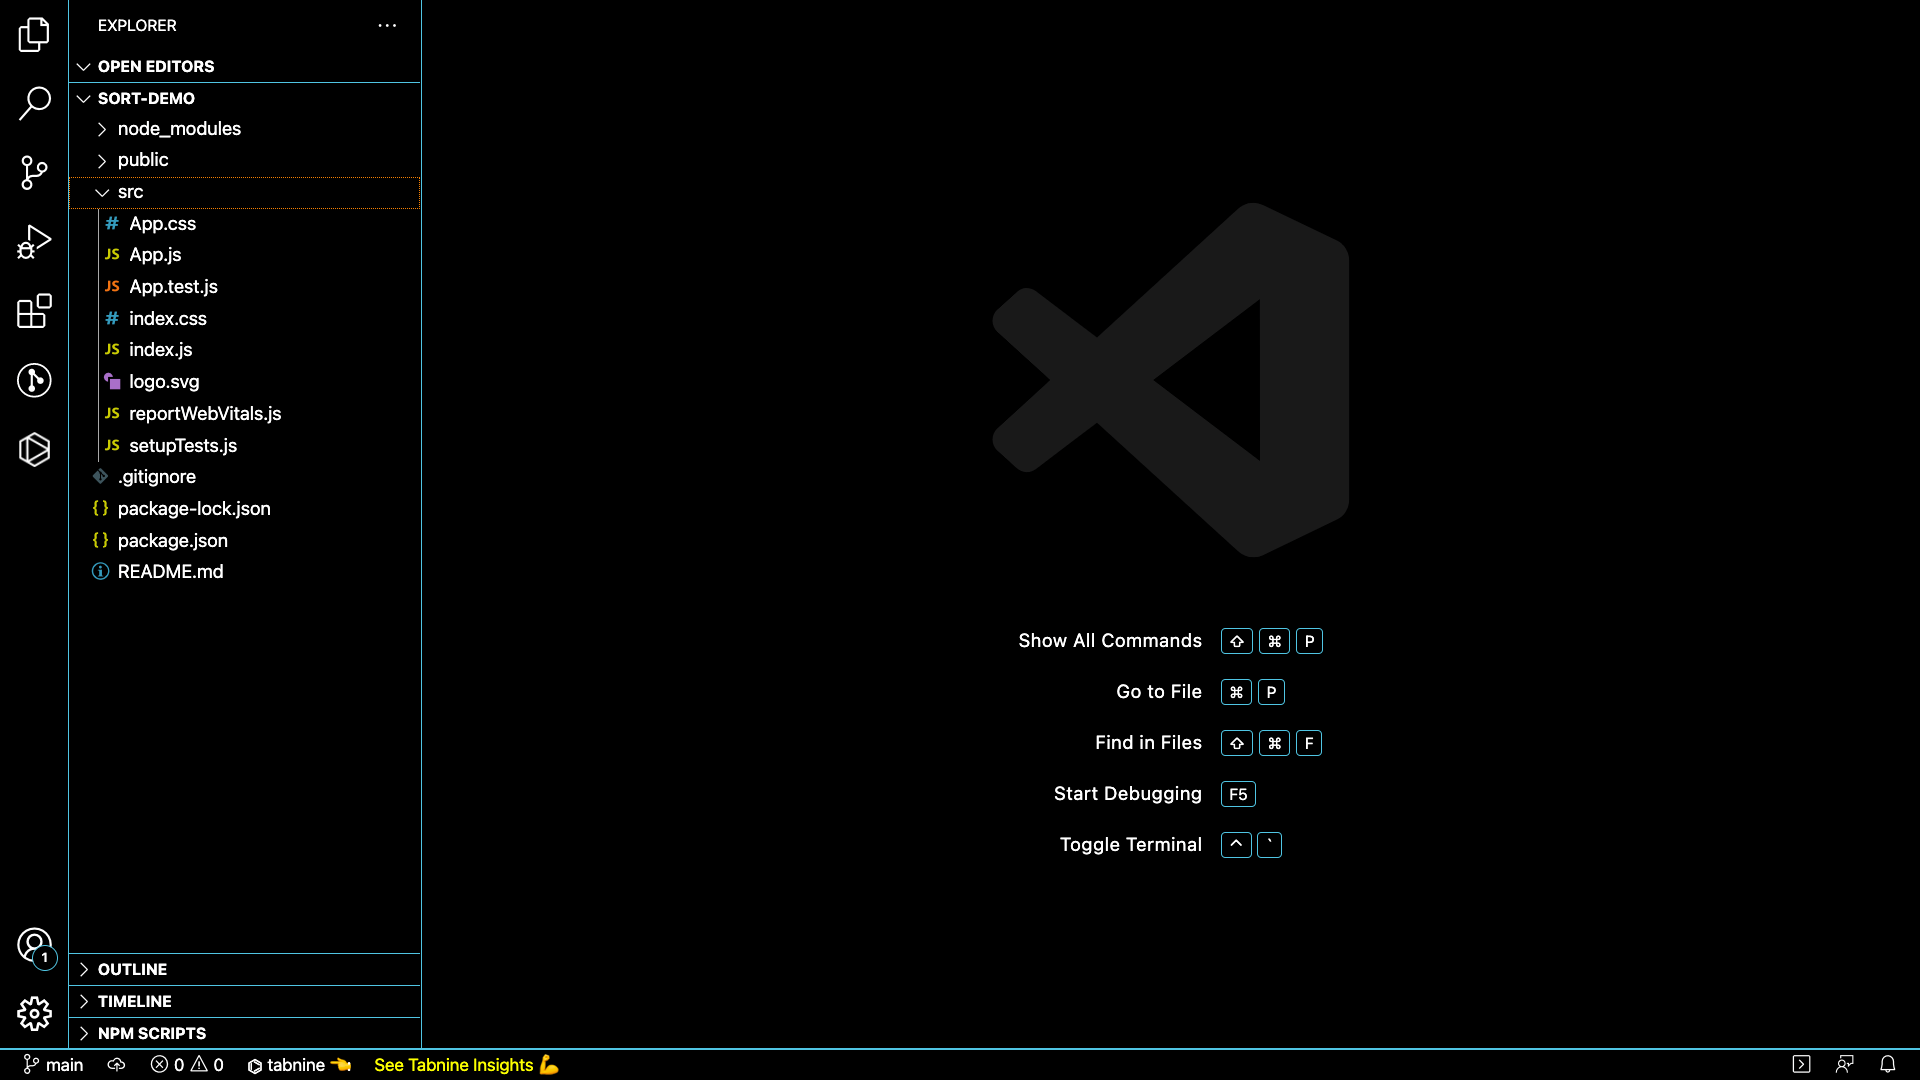
Once the new project has been created, I’ve navigated to the new folder and opened it up in my code editor. I am using VSCode.
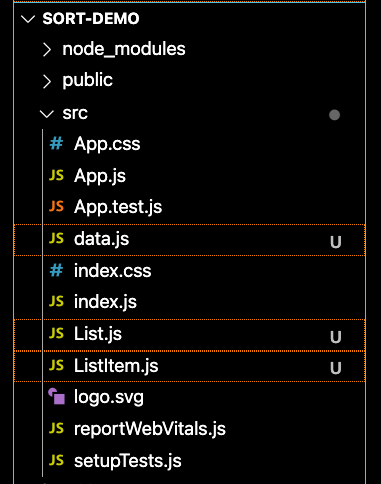
Next, I’ll create three new files in the src directory: List.js, ListItem.js, and data.js. List will be the parent component, and inside the list, we want one ListItem per object that exists in data.js (our sample dataset).
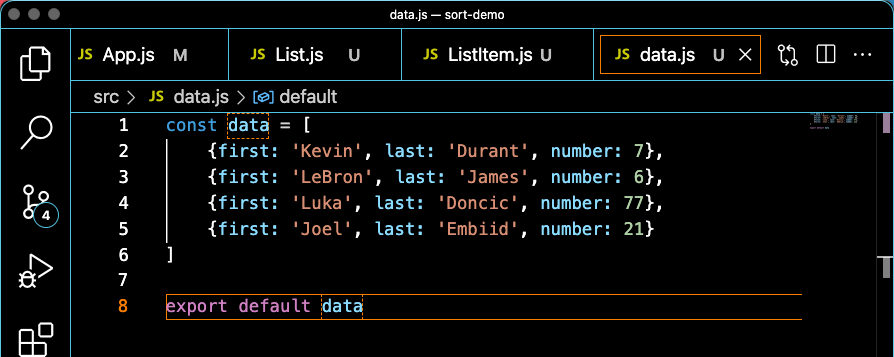
- data.js contains an array of sample objects, each of which contains data for an NBA player. Don’t forget to include **export default data **so we can import it into other files.
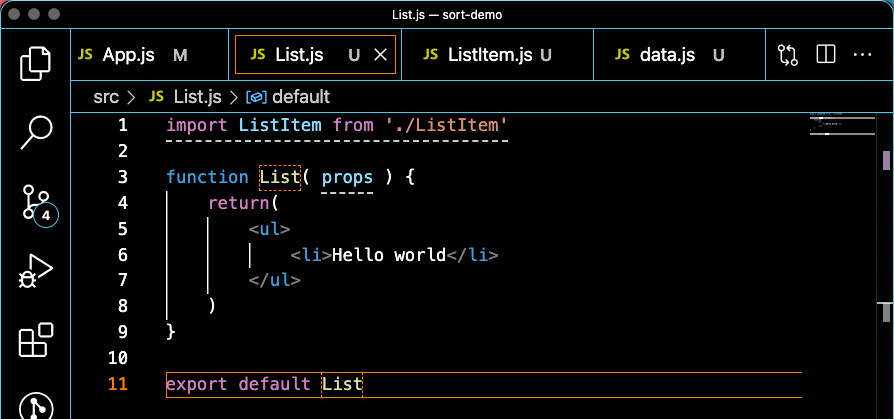
- List.js is what will render each of these objects inside it as children. For now, we will render a
<ul>tag with one<li>in it as a placeholder. Also, let’s import ListItem since we know we’ll need it, and also include **props **as a parameter since this component will need to receive some kind of data. Lastly, export it so it can be imported into other files.
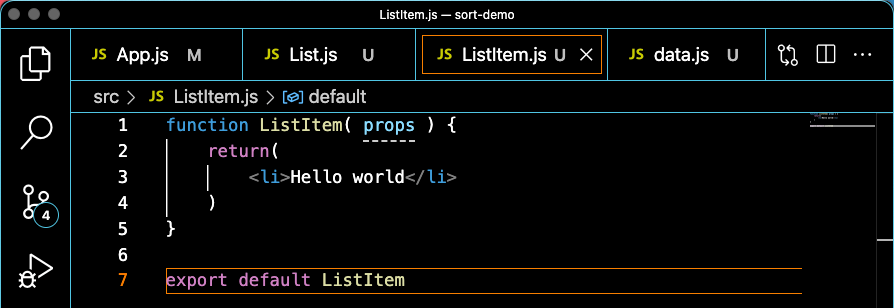
- **ListItem.js **is what will be rendered inside List for each object. Since List is a
- tag, let’s make ListItem an
- .
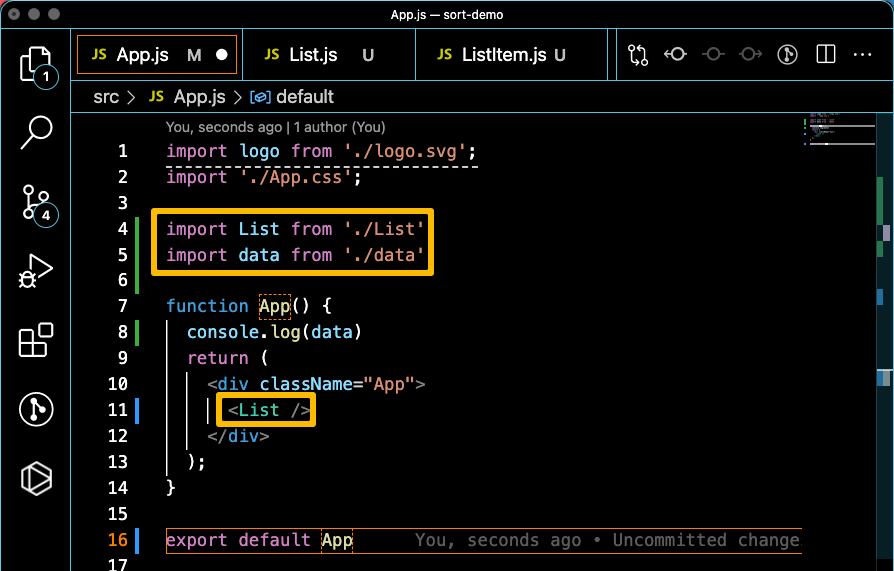
App.js is the top-level component for our basic React app. Take out the placeholder content inside App, import our List component and our data, render a List component inside the return() statement, and save all your files. Lastly, start the local development server by running npm start in your terminal, and then navigate to localhost:3000 in your browser.
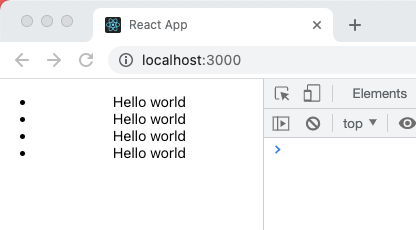
In my browser, I can see the placeholder “Hello world” rendering from the List component and I can see the contents of **data **in my console window (I added a console.log of data on line 8 above to confirm the data is coming through). The setup is complete.

2. Rendering an array of objects as child components
Now that we’re finished getting set up, we can begin building out the logic. We already imported the data array into App.js, so let’s pass that down to the List component. Inside List, we can access the array using props.sampleData, and we’ll use props.sampleData.map() to create an array of ListItem components.

Save your files and go back to your browser. You should see “Hello world” four times — one for each object in sampleData.
We’ve successfully passed data down to the List component, but “Hello world” isn’t very helpful. We can add to our .map() function to give each ListItem more data about each object that it’s mapping.
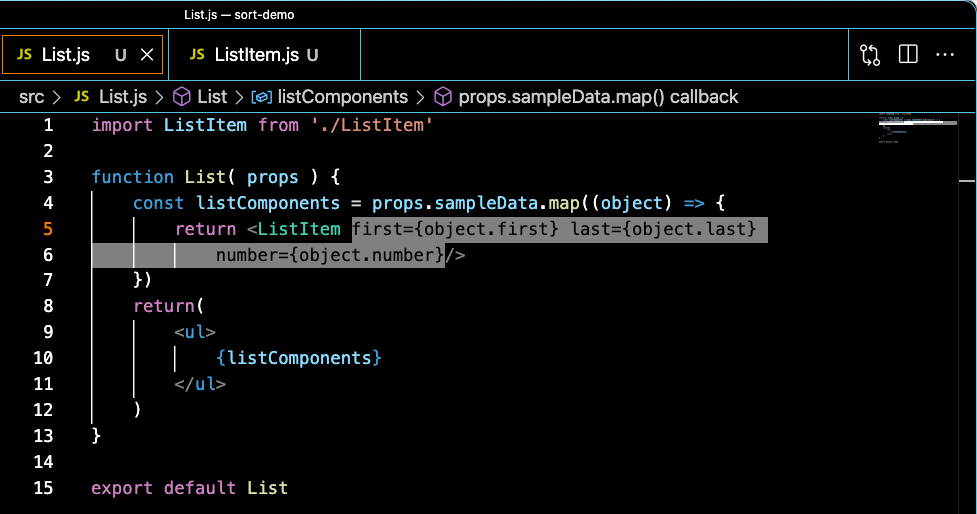
Now each ListItem has access to three props — first, last, and number. Note we could’ve also passed the entire object as one prop also, instead of passing its properties as different props.
In
ListItem, we can amend the return statement to show each piece of data. In the example below, I am wrapping the content of the - in back ticks (`), which allows me to interpolate each piece of data into one string.

Save your files and see the results in your browser.
3. Adding sort functionality
The first thing we need to add to allow sorting is, well, a sort button. Inside List, I’ve added a button. We also now need to keep track of our data objects, because sorting them will change their order.
-
Using the
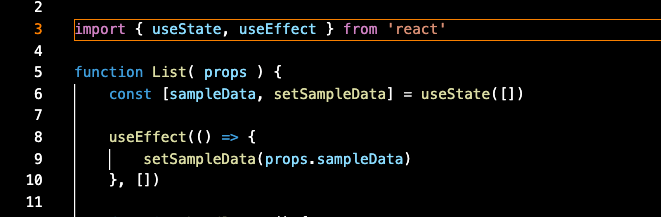
useState()React Hook, we can tell React to keep track of changes to the data prop that it receives by using it as state. Import the useState hook from ‘react’ and initialize it as an empty array. useState returns two things: a variable that contains our state, and a function we can use to update it. (Remember that every time state changes, the component will re-render) -
We also need to import the useEffect() hook and tell it to set props.sampleData as the sampleData state on the first time loading the page (do this by passing an empty array as the second argument to useEffect). Now, when the component first loads, it will take the value passed to it in props.sampleData and set that as the sampleData state.
-
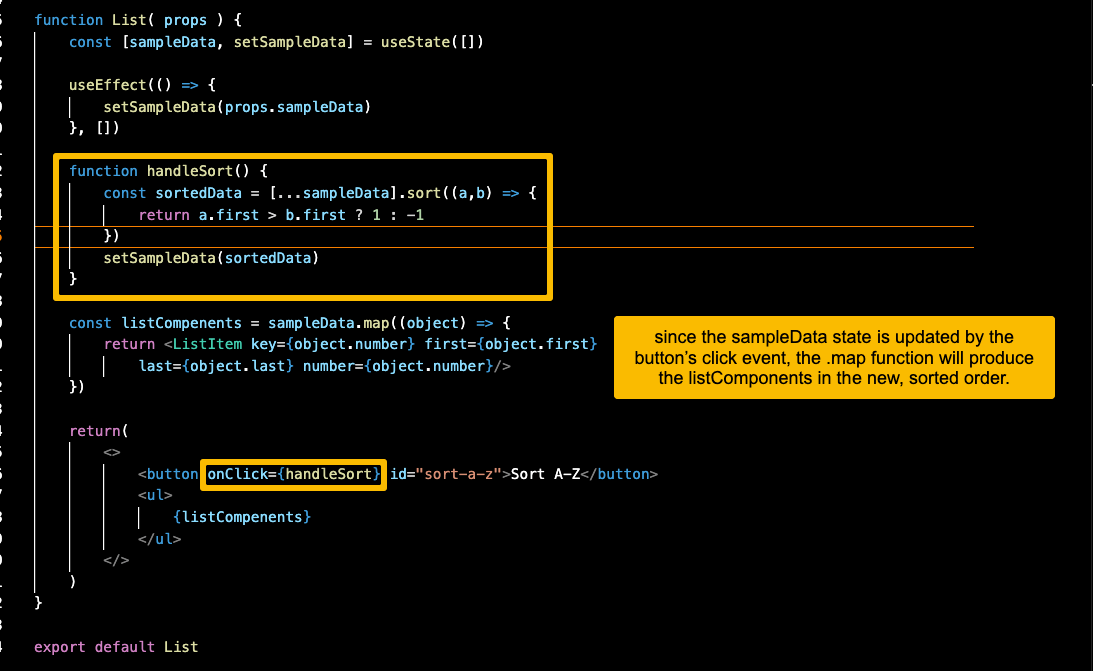
Define a function handleSort() and pass that as the onClick handler for the new button. When the button is clicked, we want to copy the state array (sampleData), run .sort() on it, and update the state to be the sorted array.
-
I’ve also replaced props.sampleData with sampleData (our new state) in the .map function that produces our child components. Since state is being updated, the component will re-render, and listComponents will be built from the sorted array.
Now, for what probably brought you here: a little more about the .sort() function:
-
.sort() takes a callback function as a parameter.
-
The callback takes two parameters which represent two elements to compare in the array.
-
Inside the function body, the return statement contains a ternary expression: it is comparing the first (first name) property of two elements in the array, A and B.
-
If element A has a “greater” first name than element B (e.g., A comes later in the alphabet), then return 1; else return -1.
-
If 1 is returned, element A gets sorted first. If -1 is returned, element B gets sorted first.
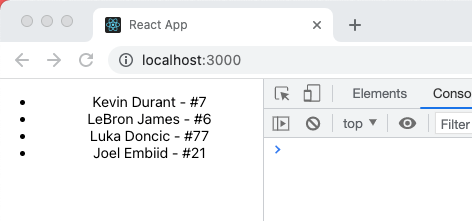
Indeed, now clicking the Sort button sorts our records A-Z by first name. Joel Embiid is now listed first:
4. In conclusion
.sort() is part of the base JavaScript library so it often gets overlooked, but it’s a very versatile method with many possible applications that extend far beyond simple alphabetical sorting. Try it in your next project!
Thank you for reading.
-
Comments
Loading comments…